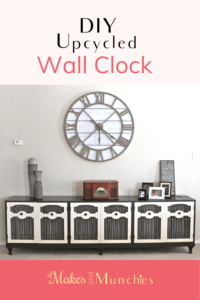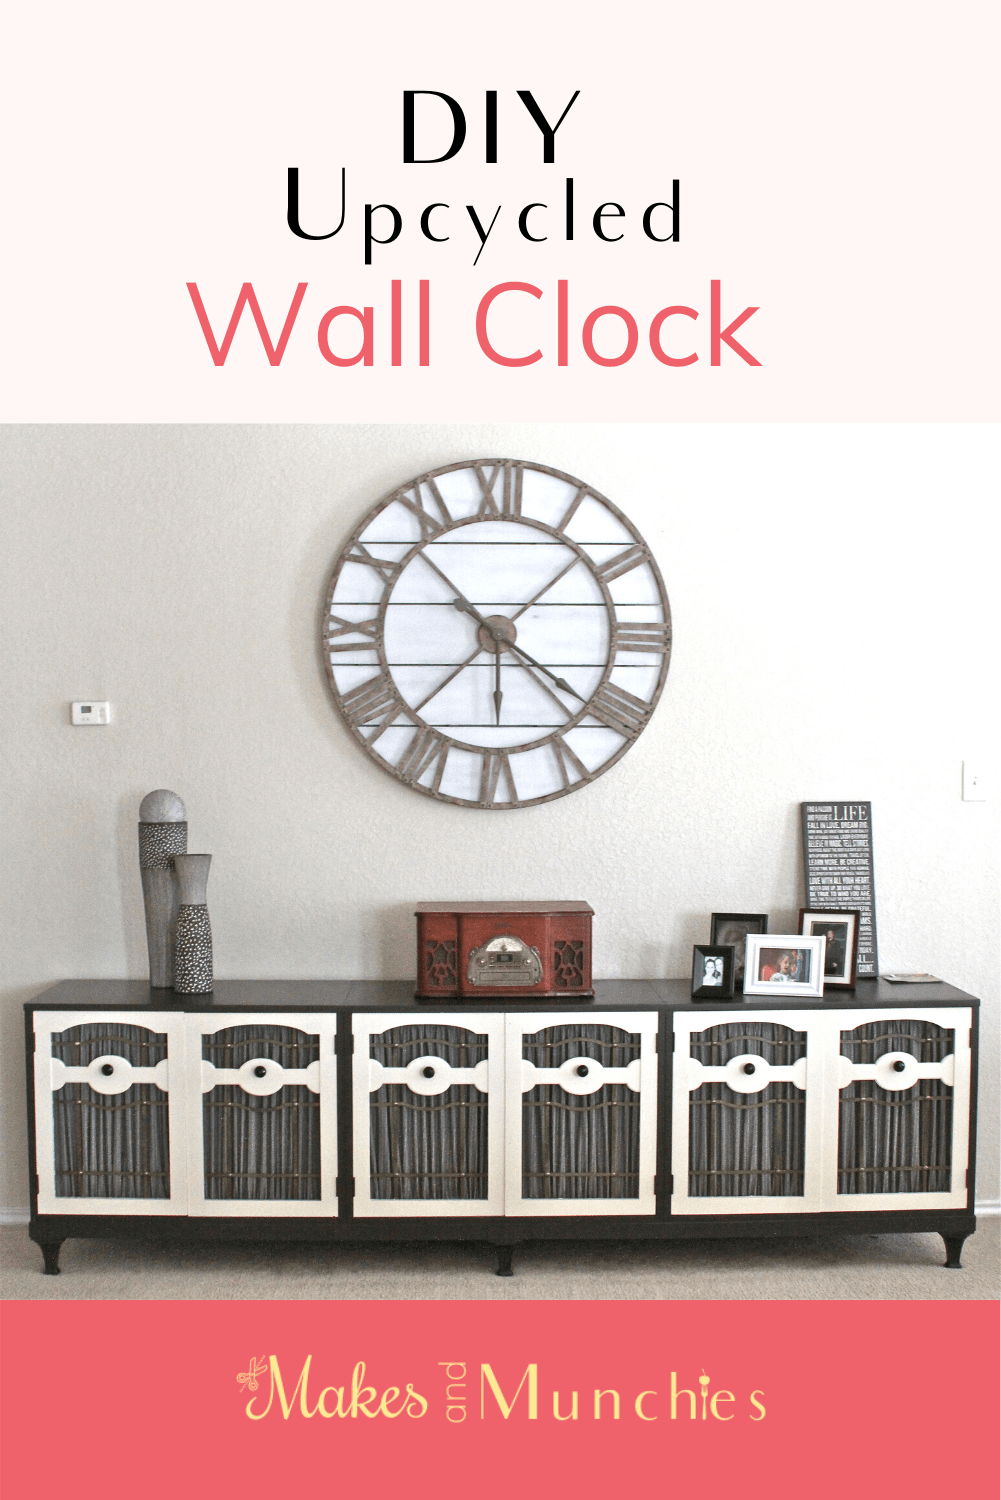
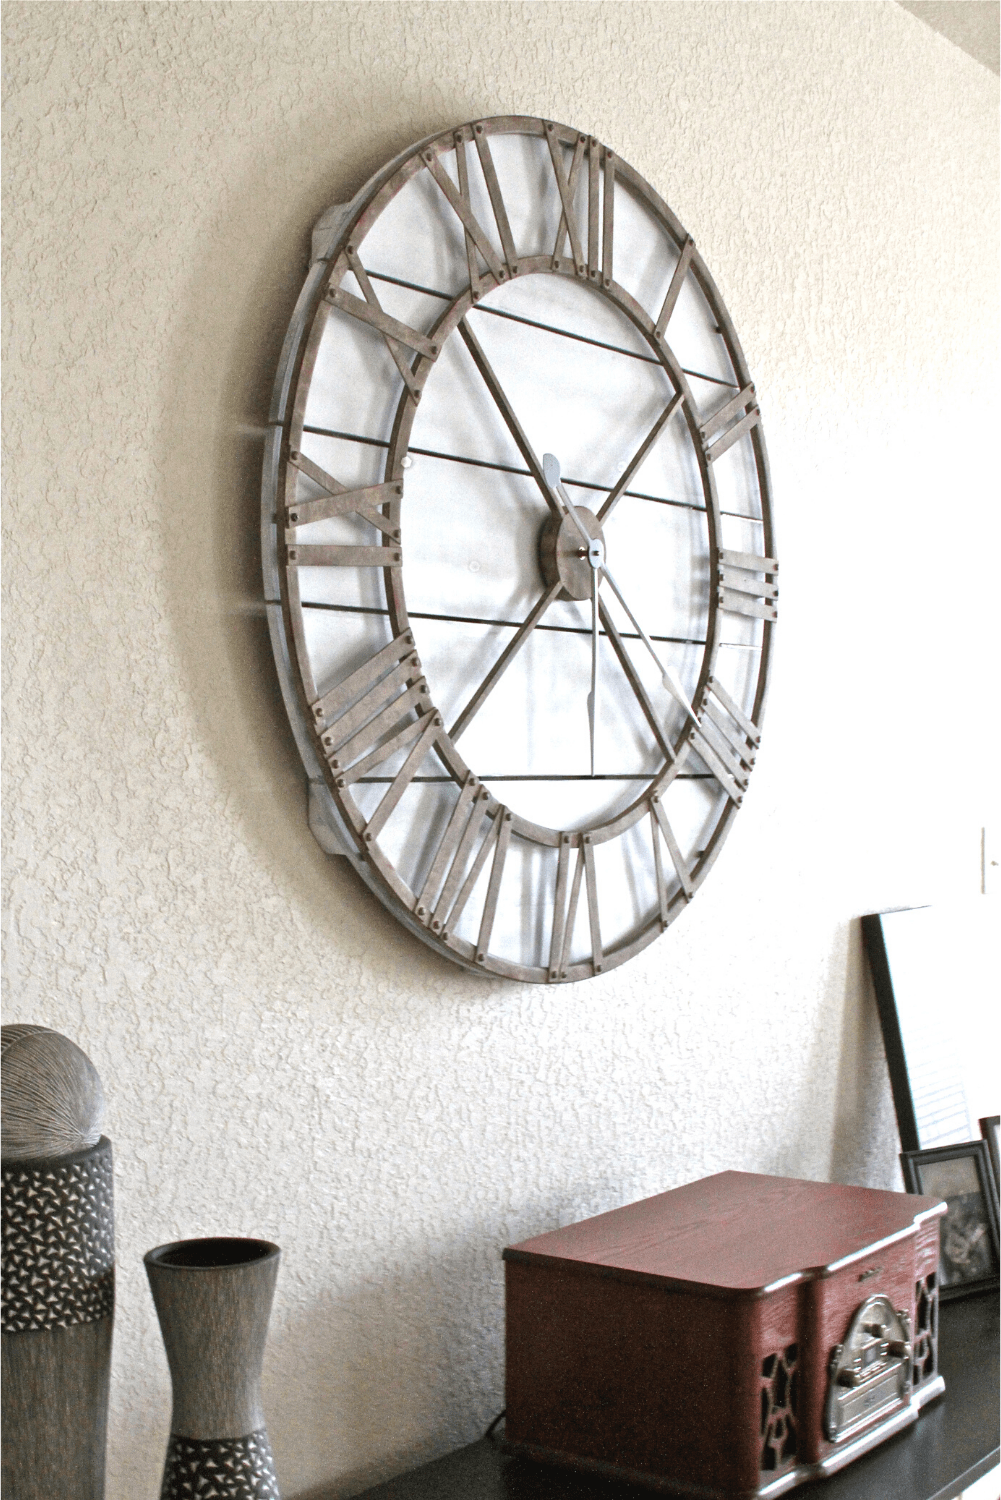
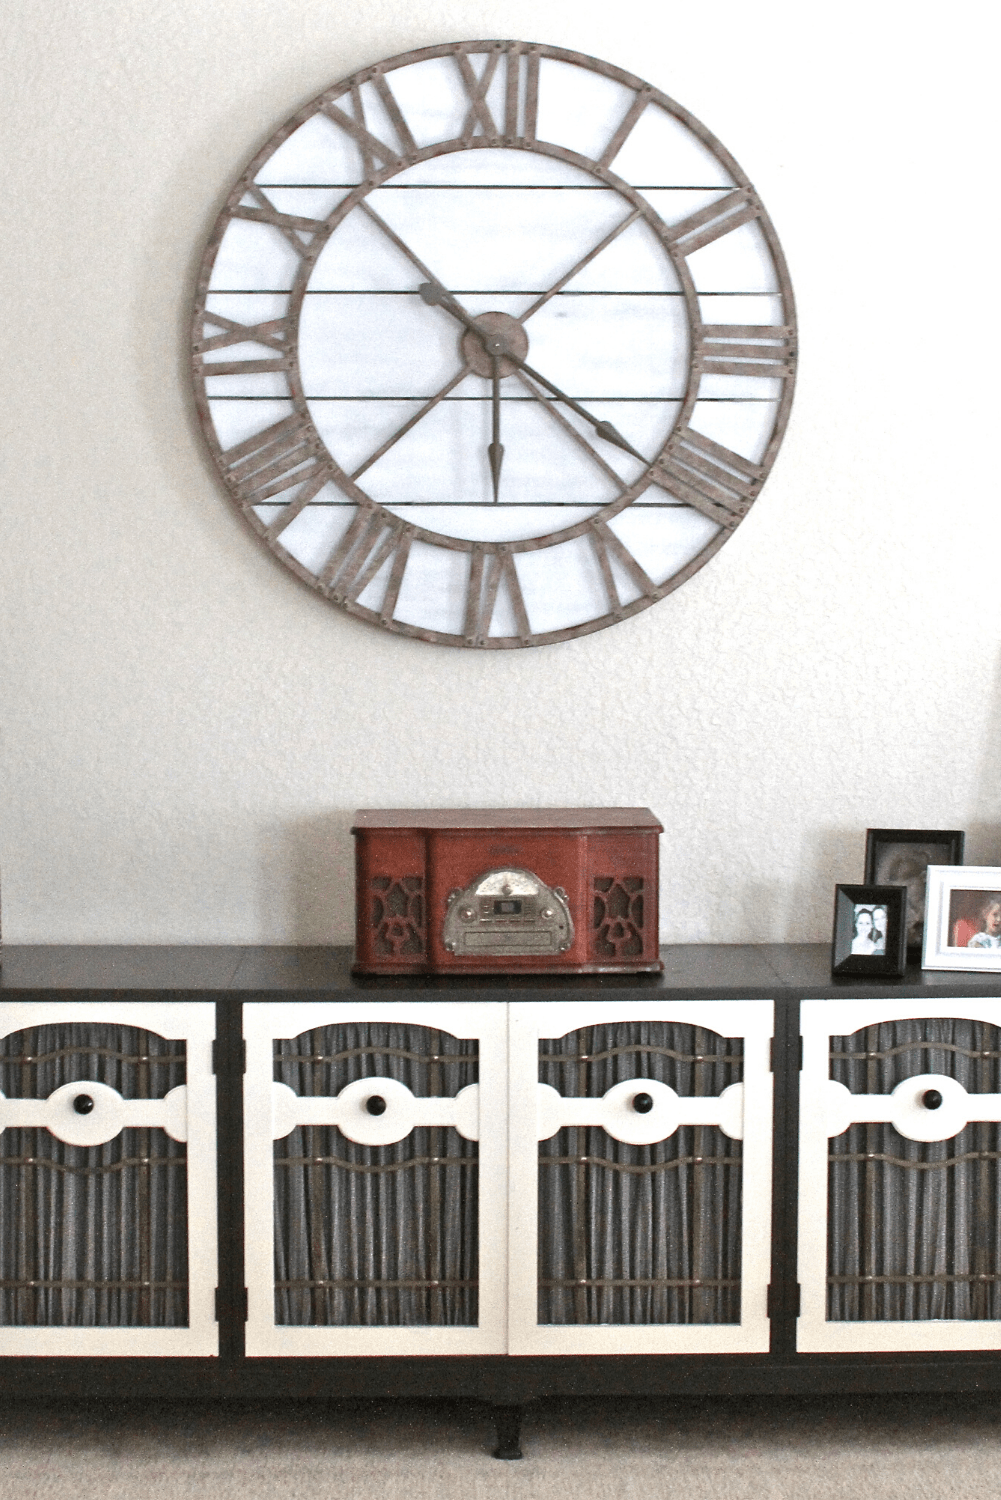
This DIY Upcycled wall clock project was so simple to do, it hardly took any time at all. This wall clock went from green, dark, and drab to white, bright, and beautiful.
My hubs and I went to PIER ONE to pick up some of my favorite candles but left with a wall clock. 🙂 We got it on sale 50% off! What a steal!
Although we bought an amazing clock for a steal of a price, however, I did forget to get my candles. I always get so distracted when I shop there. There are so many pretty things to look at.
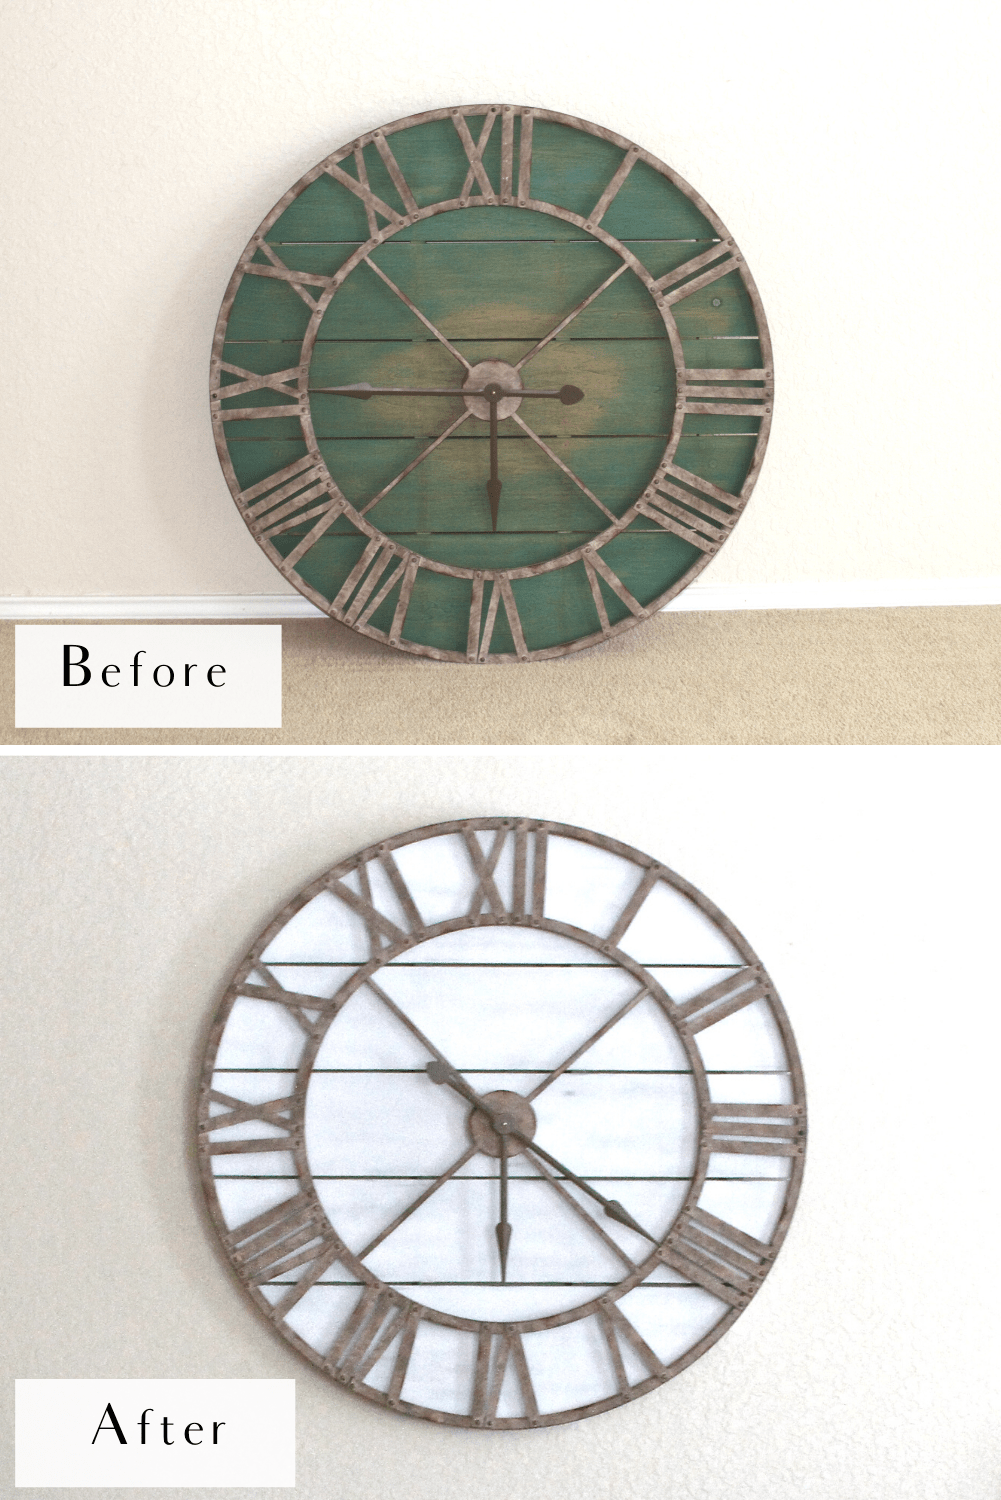
We both wanted the clock and thought it would be perfect to place it above our DIY Kitchen Buffet we upcycled, not too long ago. The only issue I had with the clock was the color. I like green, but green doesn’t match our current style, and it really wasn’t the look I was going for.
I knew right away when we bought this wall clock that there was going to be an upcycle project around the corner. This by far is one of my easiest projects. We were done in no time at all!
This is what we did…
Always remember to use common sense before starting any project, Safety First! Use safety glasses, gloves, and/or a mask when necessary.
SUPPLIES
- Wall Clock
- RUST-OLEUM Painters Touch Ultra Cover Paint & Primer in Satin Heirloom White
- RUST-OLEUM Painters Touch Ultra Cover Paint & Primer in Satin Dark Walnut
- Face Mask
- Soft Cloth
- Flat Screwdriver
- Small piece of sandpaper
STEPS 1-4 DIY Upcycled Wall Clock
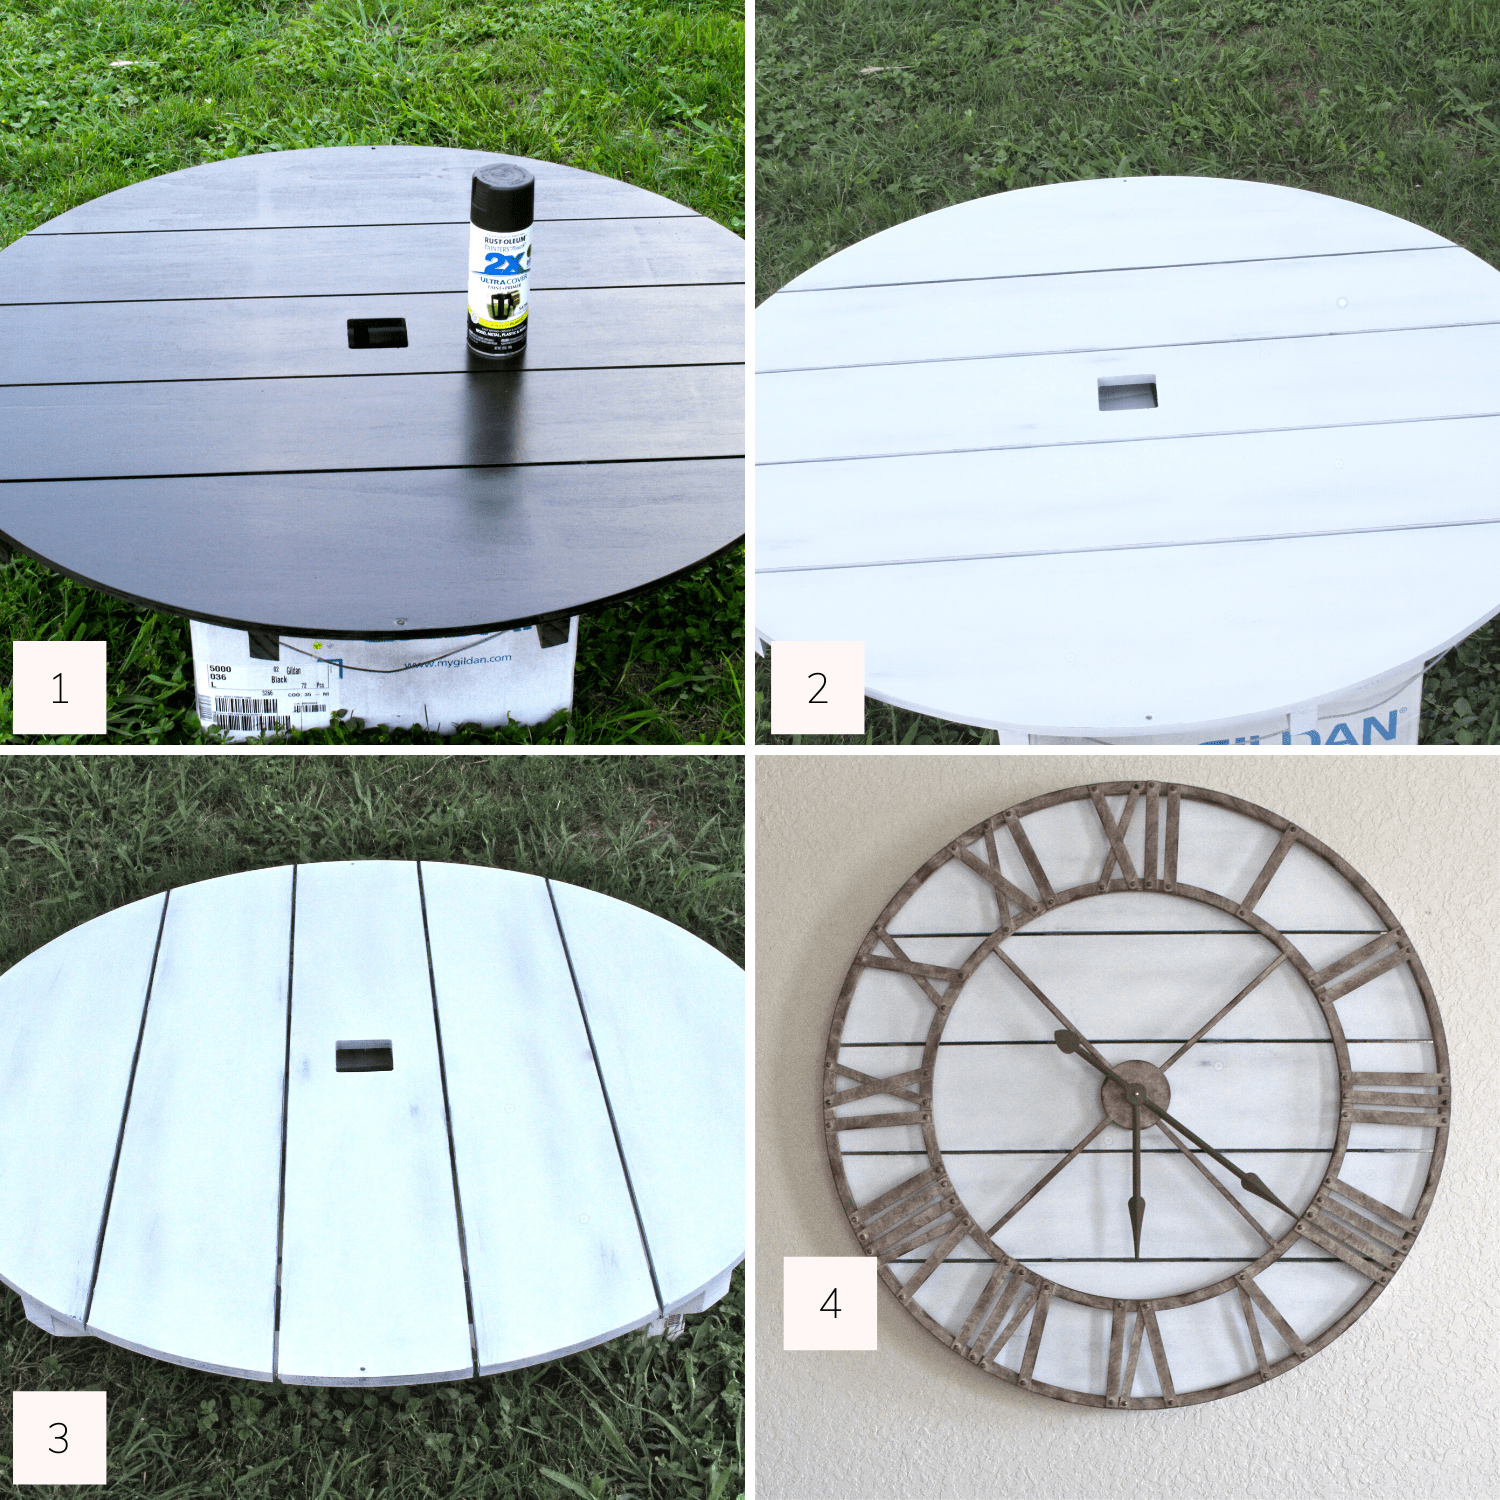
1:
- Gather all of the necessary supplies, and prep your work area.
- Remove the hardware from the shiplap base using a flat screwdriver.
- With a damp soft cloth, wipe clean any dust on the shiplap base.
- Spray on 1 layer of RUST-OLEUM Painters Touch Ultra Cover Paint & Primer in Satin Dark Walnut, and let dry for 20 minutes.
2:
Spray on 1 layer of RUST-OLEUM Painters Touch Ultra Cover Paint & Primer in Satin Heirloom White, and let dry for 20 minutes.
3:
To get the aged look, distress the paint by using your small piece of sandpaper, and wipe with up and down motions in random areas of the base.
4:
- Wipe down the base once again to remove any paint dust from the distressing.
- Replace the clock hardware.
- You’re done!
Keep a lookout for more upcycles in the near future. If you haven’t signed up to receive M&M updates, be sure to do so. That way you can be notified of future upcycle projects I post here on my blog. Sign up here, so you won’t miss a thing! Or simply fill out the form below.
TAKEAWAY
Originally we started out with a dark green wall clock that was nice, but it definitely needed an upcycle to match our style a bit more.
Changing the green to heirloom white really brightened up the clock, and made the hardware pop a bit more. We really love the new look. My hubs and I were kind of hesitant at first about changing the color, but we’re happy with the results.
This project was very easy to do and the supplies for this upcycle cost just under $10 bucks!
What are your thoughts on this upcycle? Would you have changed the color? Let me know in the comments below. Also, I’d love it if you shared this project so someone can benefit from this. Thank you so much!
