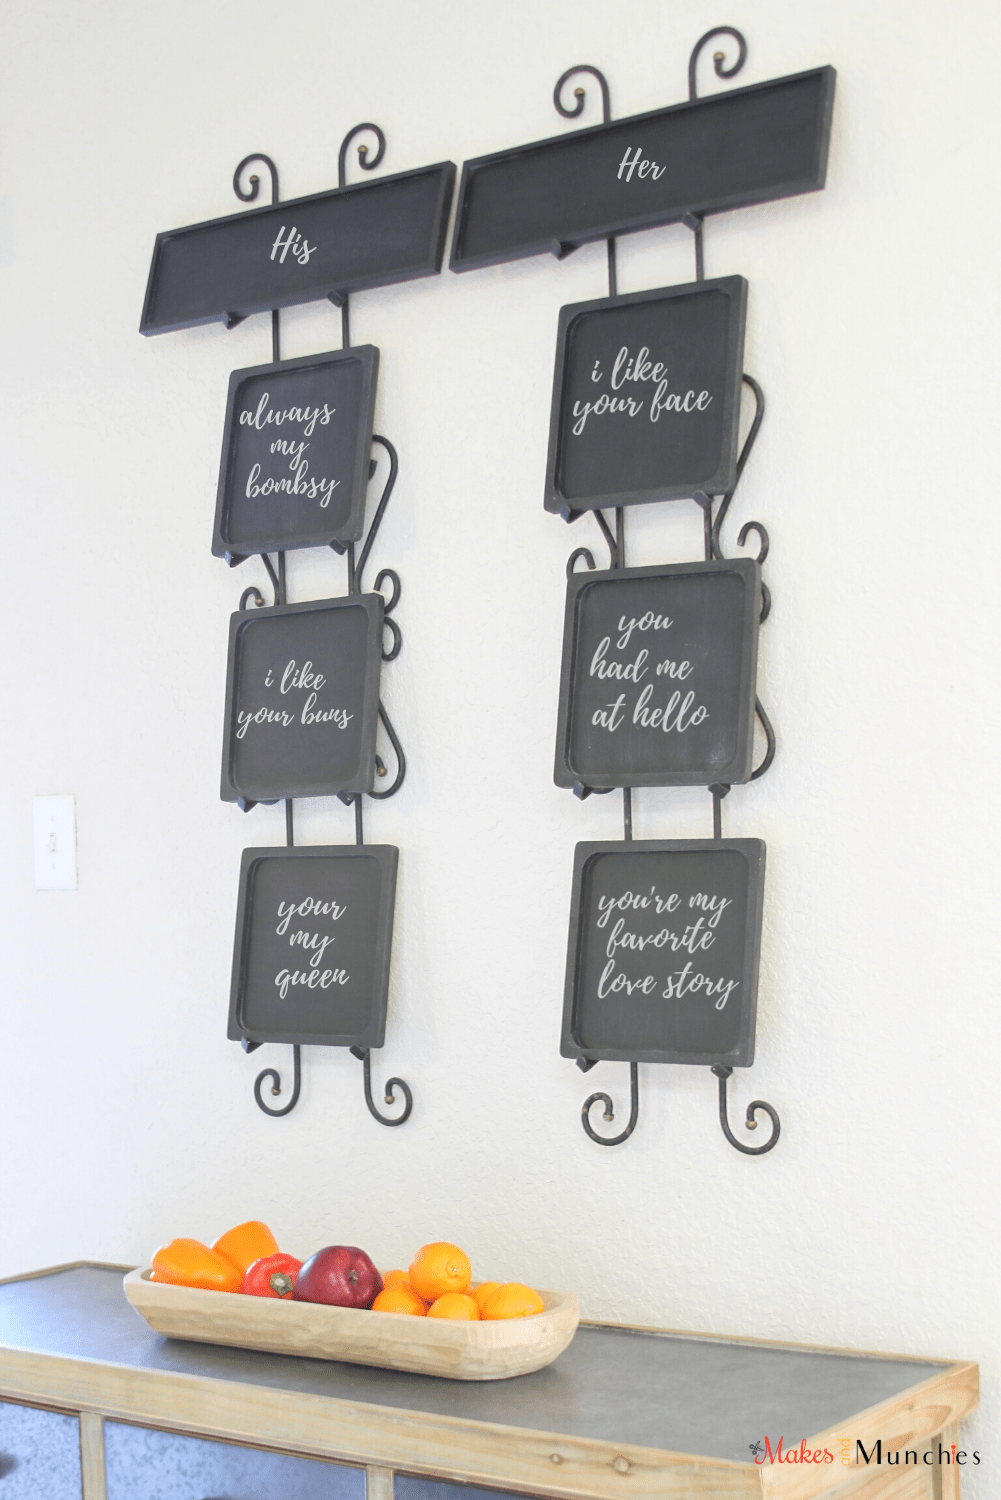
My thoughtful husband has inspired me to make a DIY His and Her Chalkboard for Love Notes because he often writes me love-notes and sweet nothings.
I think it’s so sweet!
He often writes me a note, then he’ll set it on the kitchen countertop for me to find in the morning.
Honestly, I will never get tired of that!
Therefore, I thought it would be fun to make DIY chalkboards, so we can write love notes to each other.
We decided that we will hang our love note project in the kitchen since we spend most of our time there.
I love the idea of expressing our thoughts, whether it is good or not so good. 🙂
Hopefully, we won’t have too many of the not so good ones! Yikes, but it happens to everyone.
Making chalkboard love-notes would be perfect for Valentine’s Day, as well. Why not make every day Valentine’s Day?
Besides Love-Notes, you can write daily inspirational quotes and helpful reminders.
Or, if you have young children, they can scribble art for you to showcase while you’re having family time in the kitchen.
Consequently, due to the fact my husband and I write love-notes to each other, I decided to make a set for him and a set for me. We named it “HIS and HER” Love-Notes.
You can buy mini-chalkboards for this project, or you can customize your own. We chose to customize our own.
So, we made four DIY chalkboards each.
To make this project fun, together, we wrote on a separate piece of paper, three things we love about each other.
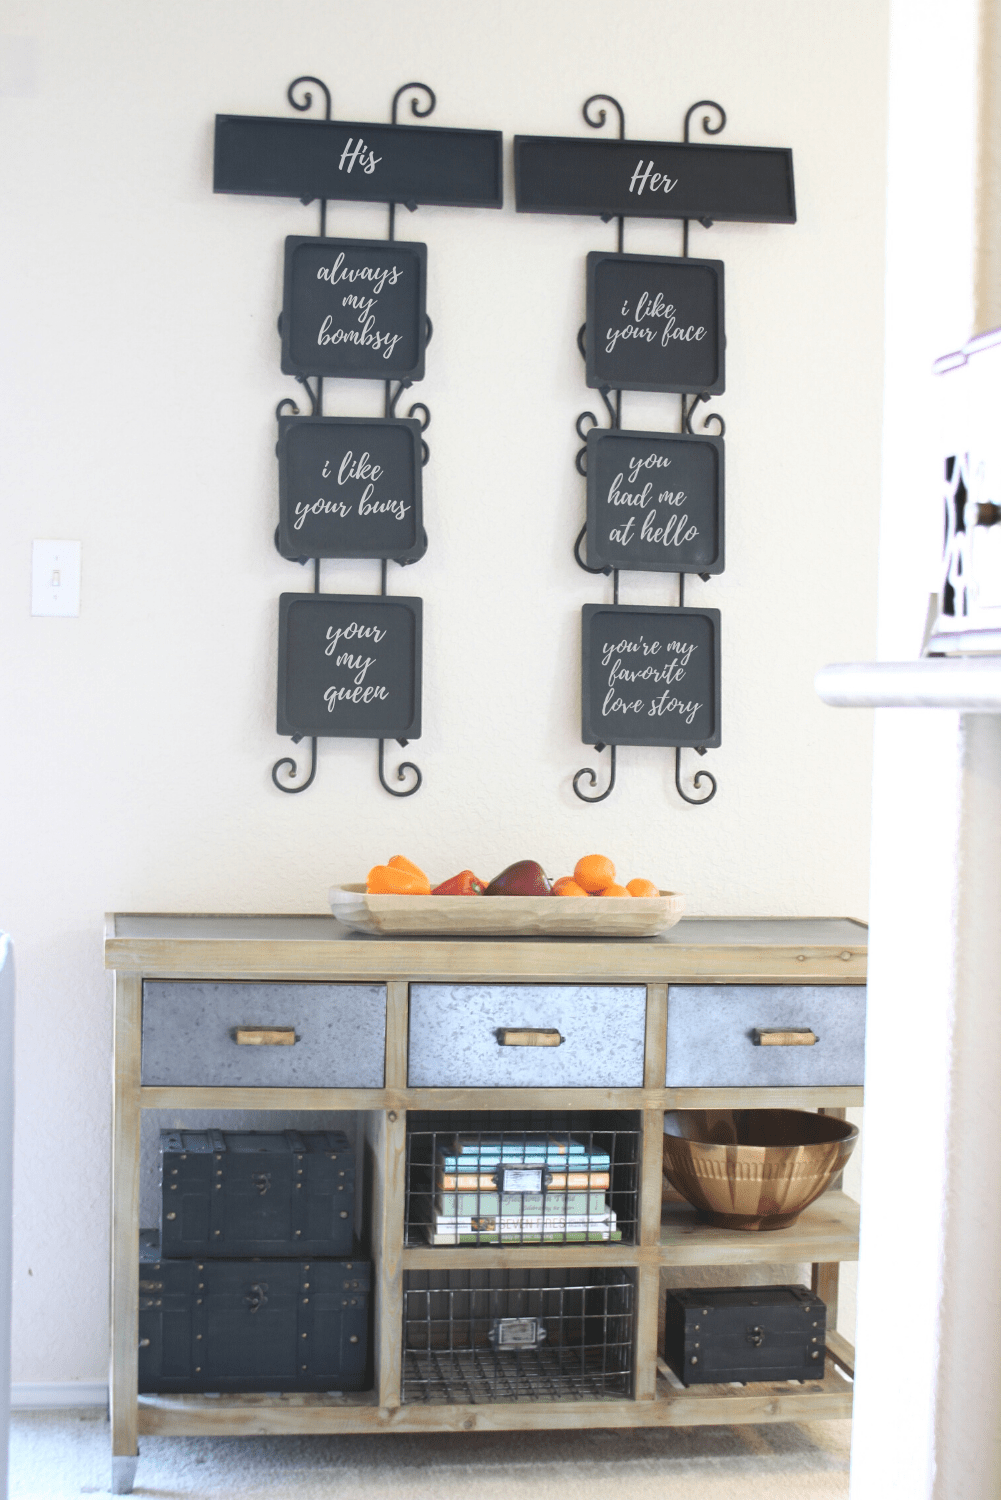
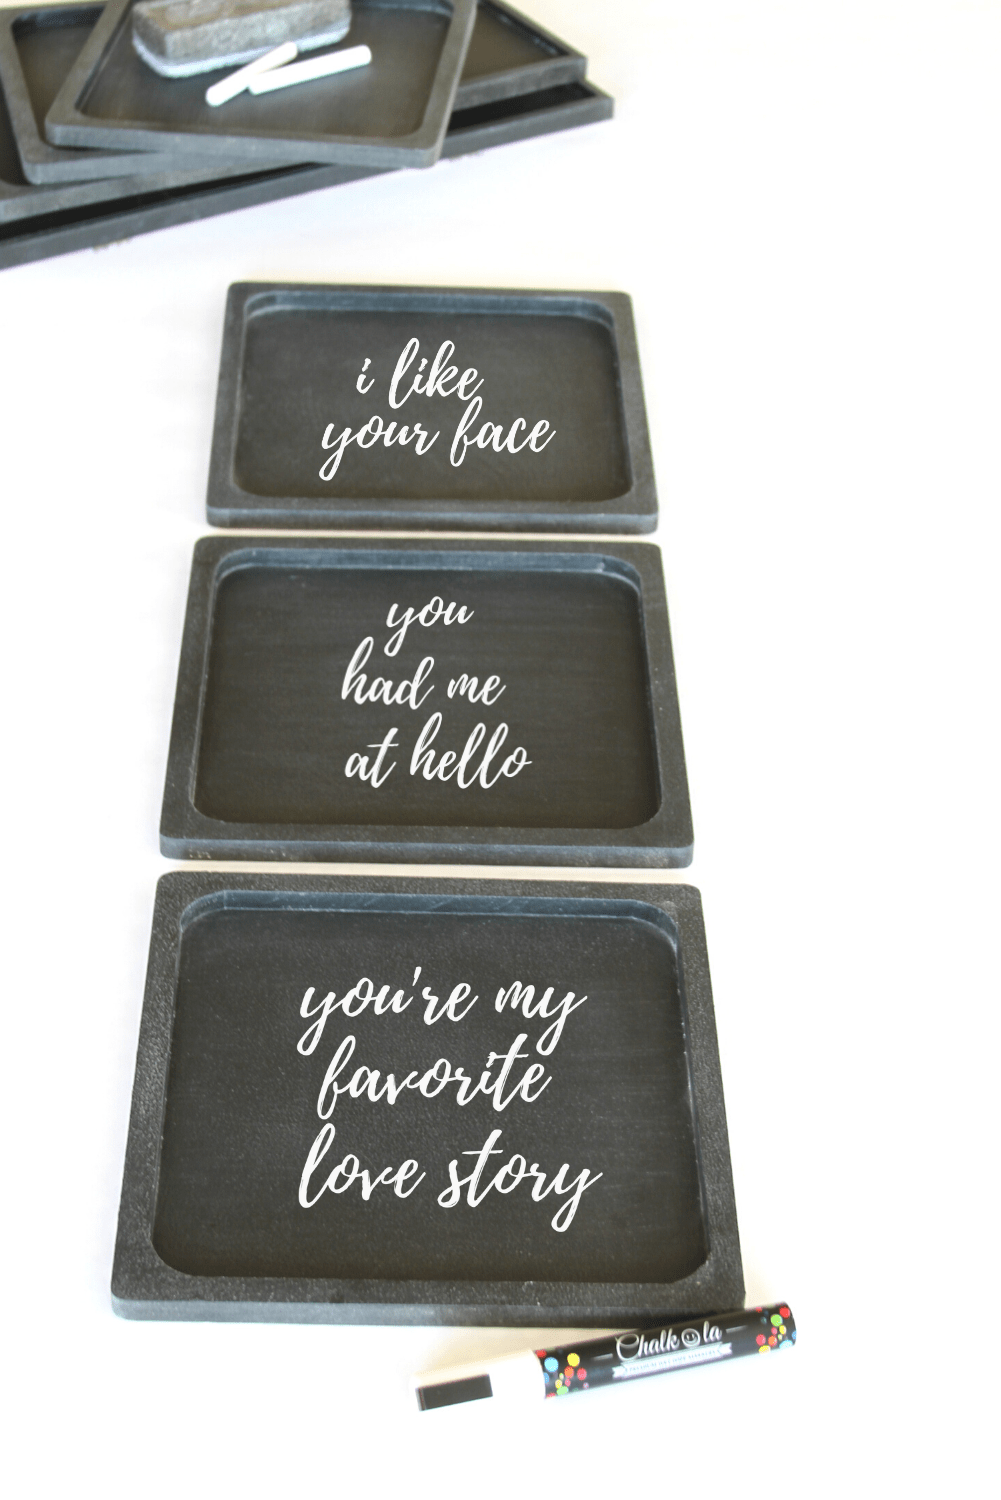
The love notes I chose for him:
- “i like your face”
- “you had me at hello”
- “you’re my favorite love story”.
The love notes he chose for me:
- “always my bombsy”
- “i like your buns” LOL
- “you’re my queen”
If you were wondering what Bombsy is, it’s a nickname he created for me. He calls me his Bombsy every day. When he calls me by my real name, that’s when I know he’s upset with me. LOL 🙂
Anyhow, we wanted the chalkboards to be in the kitchen but we didn’t have anything to hang them on. Therefore, it was time for a flea market trip to see what we could find.
We came across this wall plate holder shown down below, it’s made of iron. Yes, they look like grandma’s dish holders, I know. 😛 Eventually, I’ll upcycle it soon and will post it on my blog.
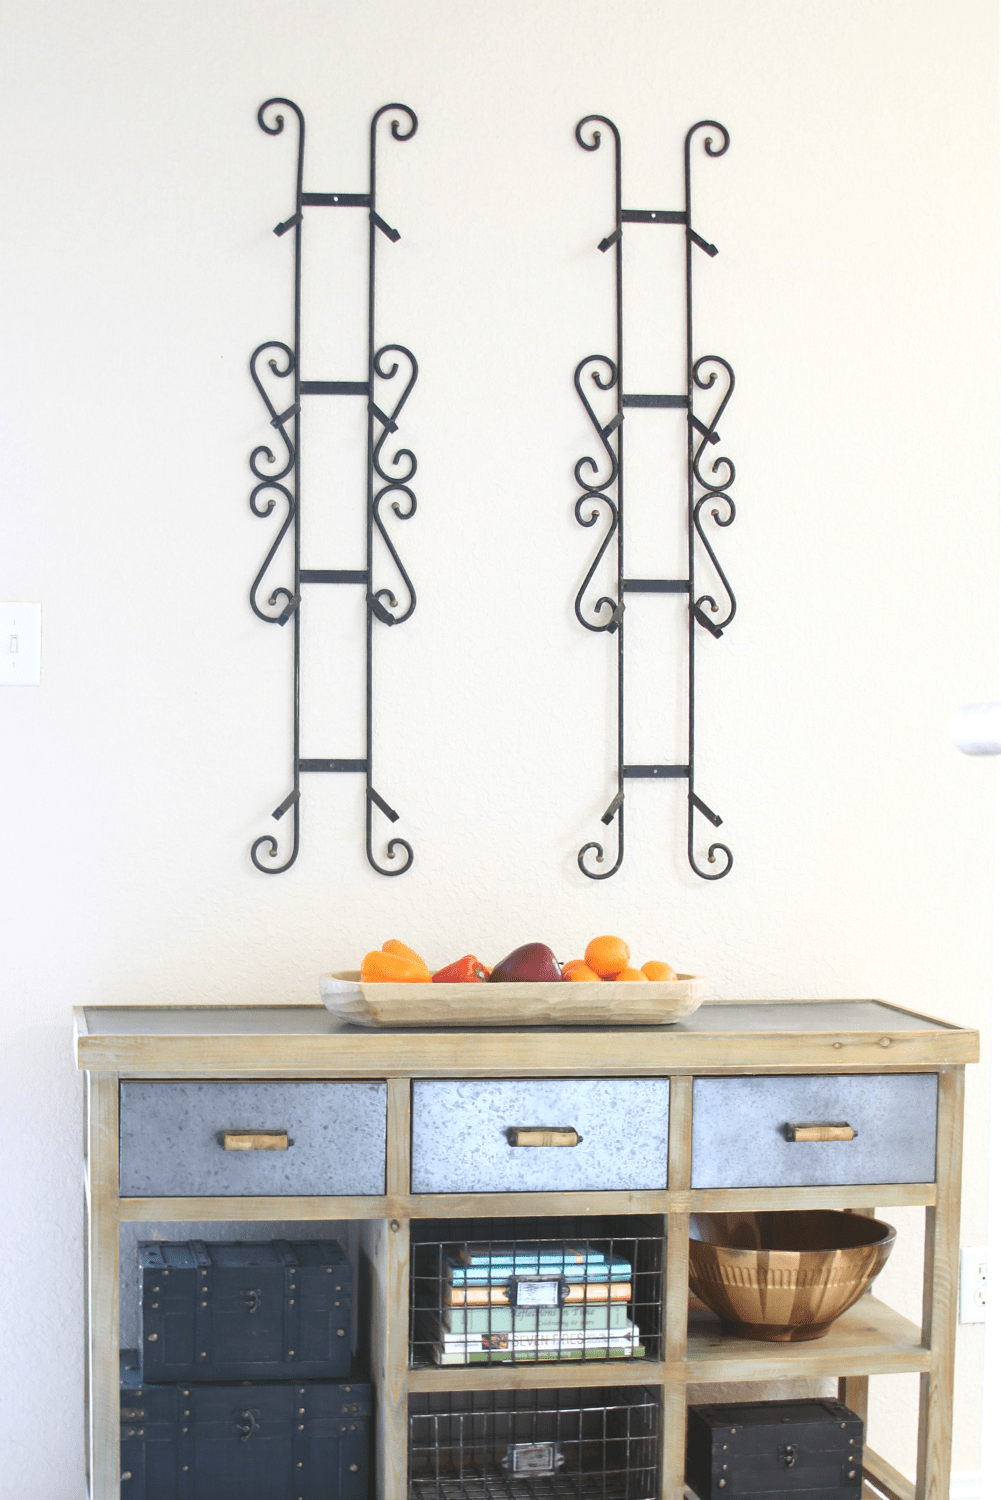
Ultimately, they worked fabulously for this project! Each wall plate hanger had four placements for each chalkboard.
If you’re digging the chalkboard idea and want to give it go, there’s really nothing to it. I’ll show you how we made our DIY HIS and HER Chalkboard Love-Notes, step by step!
Without further ado, let’s get started!
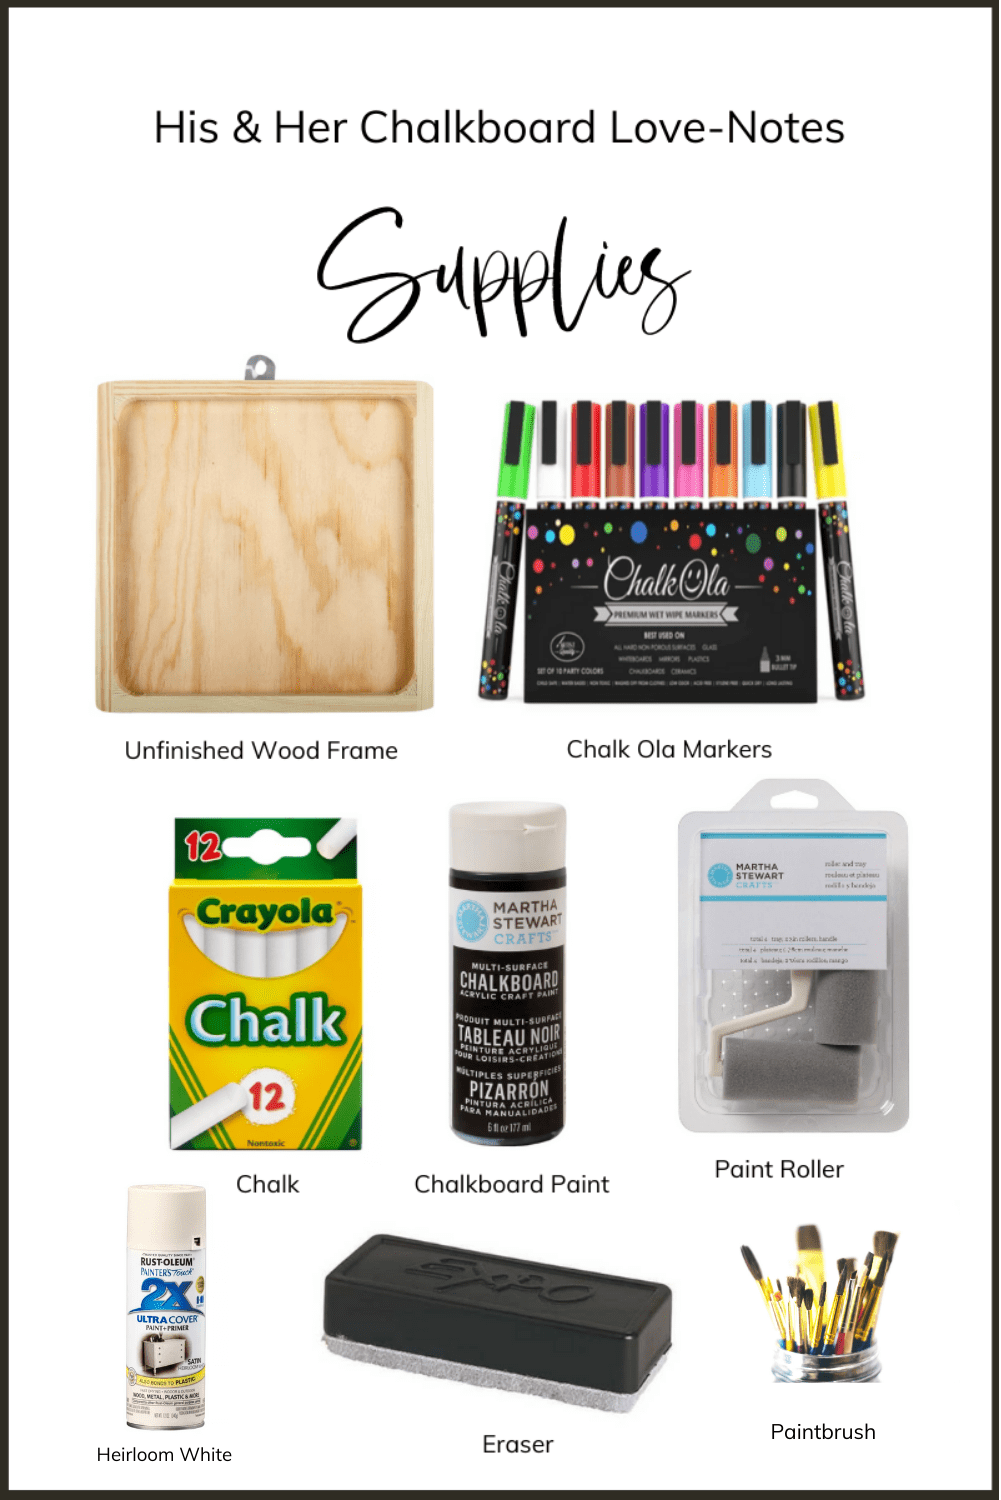
The supplies listed below are what I used for this entire project.
SUPPLIES
- I used 6 oz. Martha Stewarts Craft Chalkboard Paint in black.
- Martha Stewart Sponge Roller & Tray
- Chalk-Ola Premium Wet Wipe Markers in White
- RUST-OLEUM Paint and Primer in Satin Heirloom White
- Foam Brush
- Dry Chalk [any brand]
- 6 9X9 Wood Plaques by Artminds
- 2 5X18 Wood Plaques by Artminds
- * Optional: Alphabet Stencils [if you have bad handwriting like me]
STEP 1
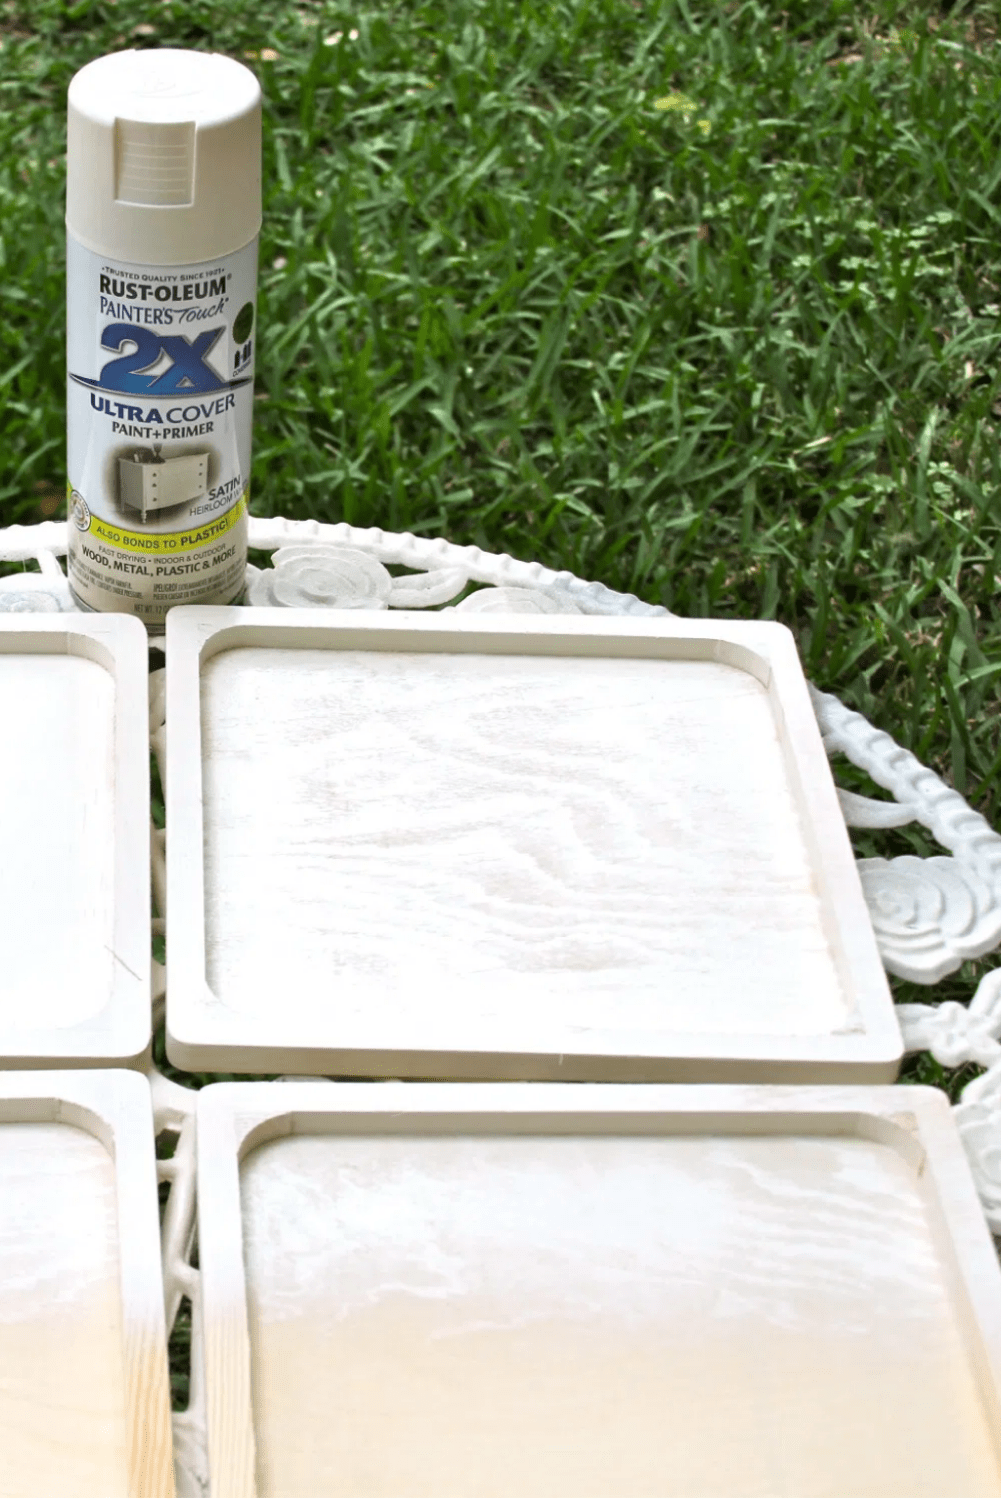
In the first step, I removed the hardware on the plaque, then I applied two layers of Paint & Primer spray paint on the wood plaques.
Since the wood plaques are porous, priming them will help prevent the chalkboard paint from soaking into the wood plaques.
In other words, it keeps you from using more paint than necessary, as well as giving you a smooth finish.
STEP 2
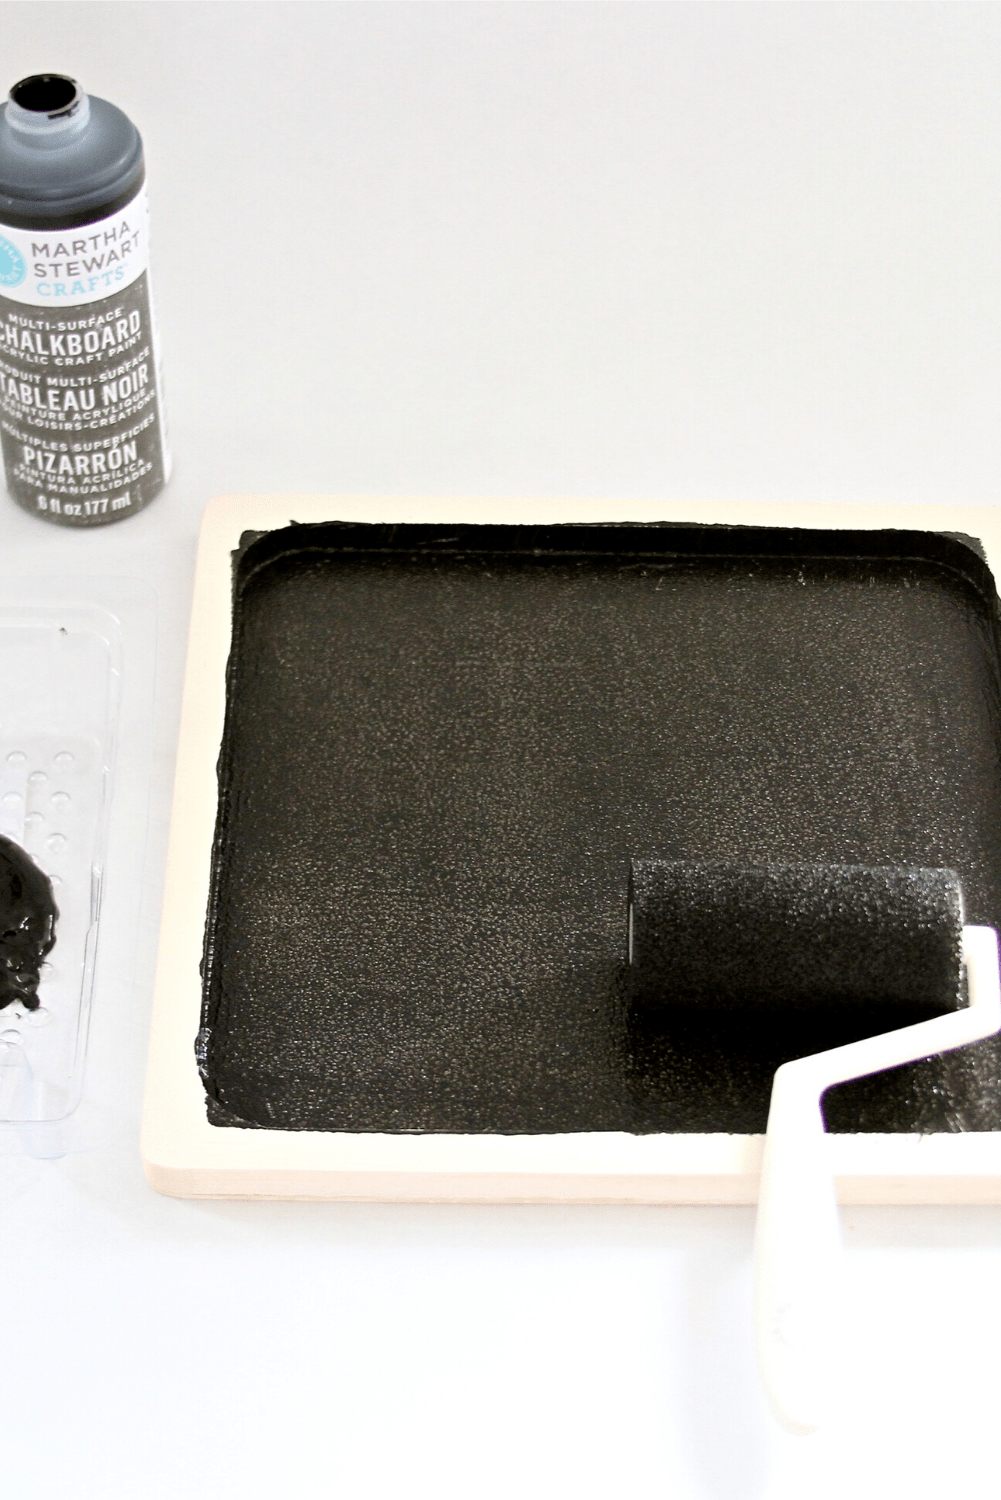
Next, pour about a tablespoon of the black chalkboard paint into the paint tray. Dip the paint roller into the paint and begin to roll it onto the inside and rim of the wood plaque. Set aside to dry.
The paint bottle suggests letting the paint dry for 24 hours.
However, the chalkboard paint dried fairly quickly, it was completely dry in one hour.
After painting all eight chalkboards, I barely used half of the bottle of chalkboard paint. It really went a long way!
There are many chalkboard paint colors and several brands to choose from.
However, for this project, I decided to use Martha Stewarts Craft Chalkboard Paint in black.
Noticeably, this paint is thicker than other paints that I’ve tried, it made painting very easy and quick.
I love that!
The Martha Stewart Sponge Roller helped to paint evenly onto the wood planks, as well.
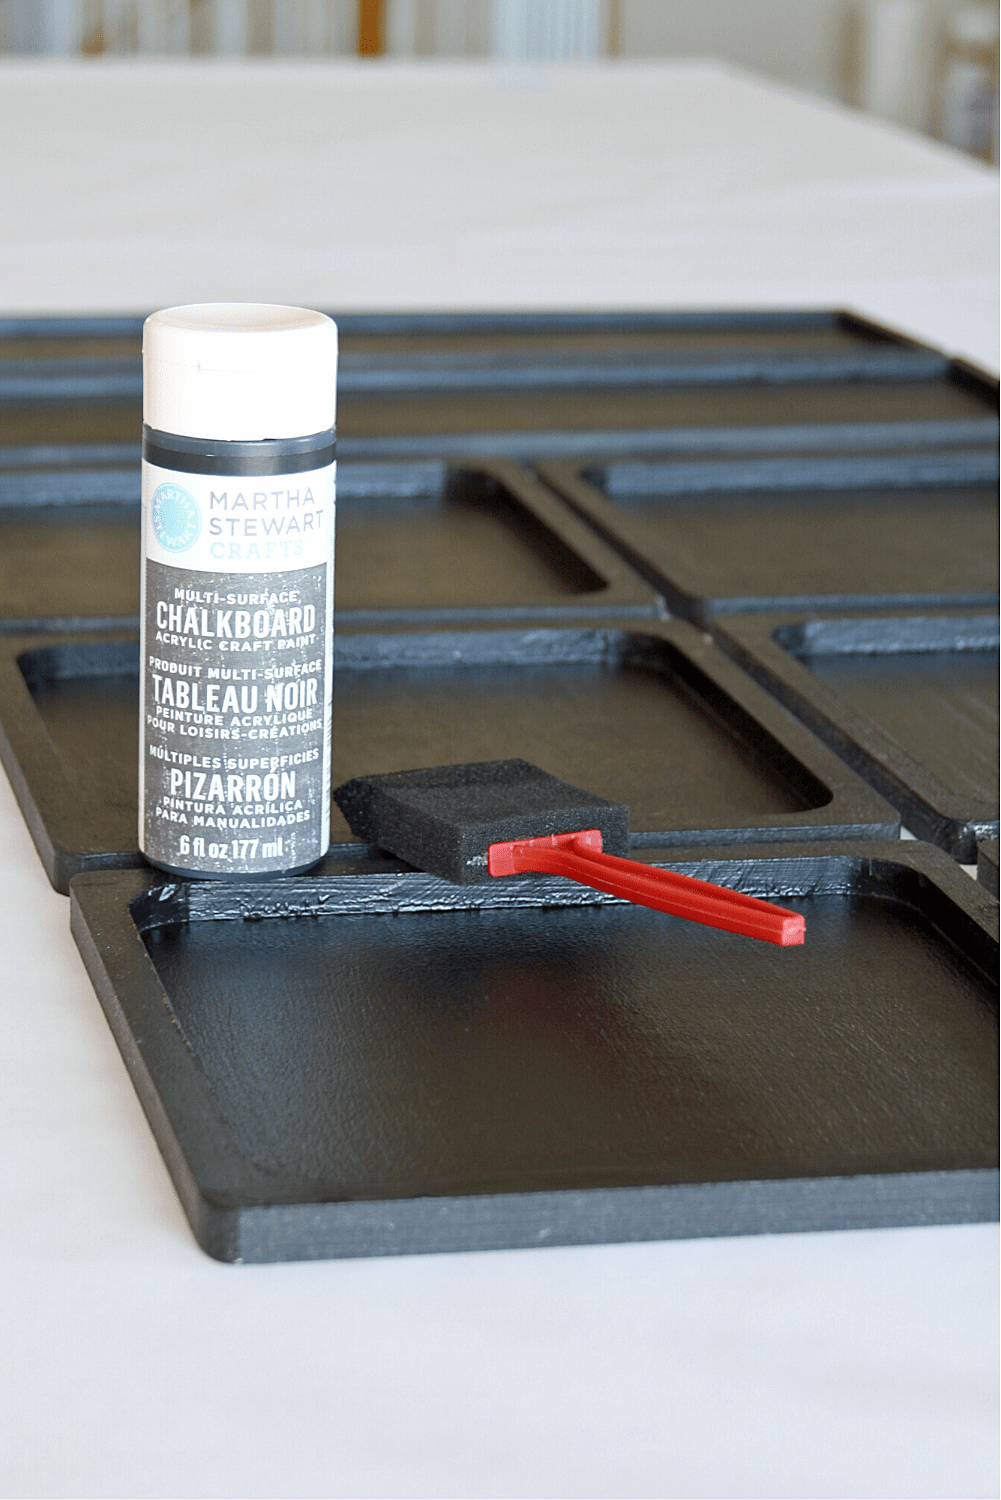
For touch-ups or if you have some hard to reach areas, the foam brush is helpful for that.
STEP 3
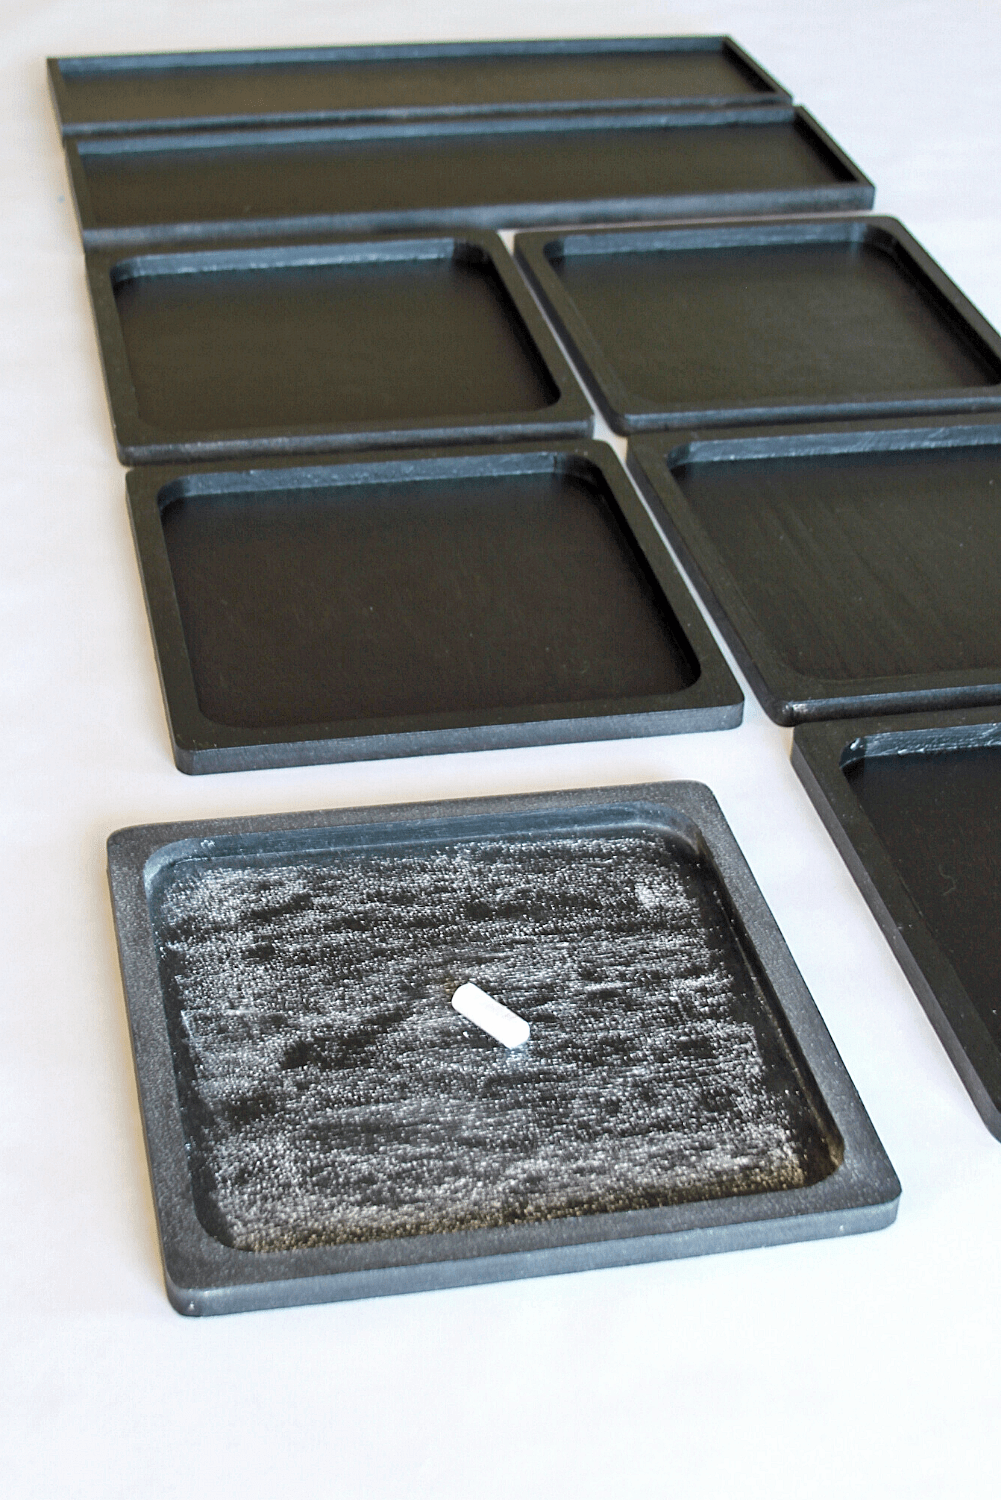
Now that the paint is applied, we will need to condition the chalkboard paint. This step is a bit messy. The chalk can get pretty dusty, I recommend wearing a mask and doing this outdoors.
Using a piece of chalk, you’ll want to lightly rub the side of the chalk onto the rim, sides, and the inside of the wood plaque.
STEP 5
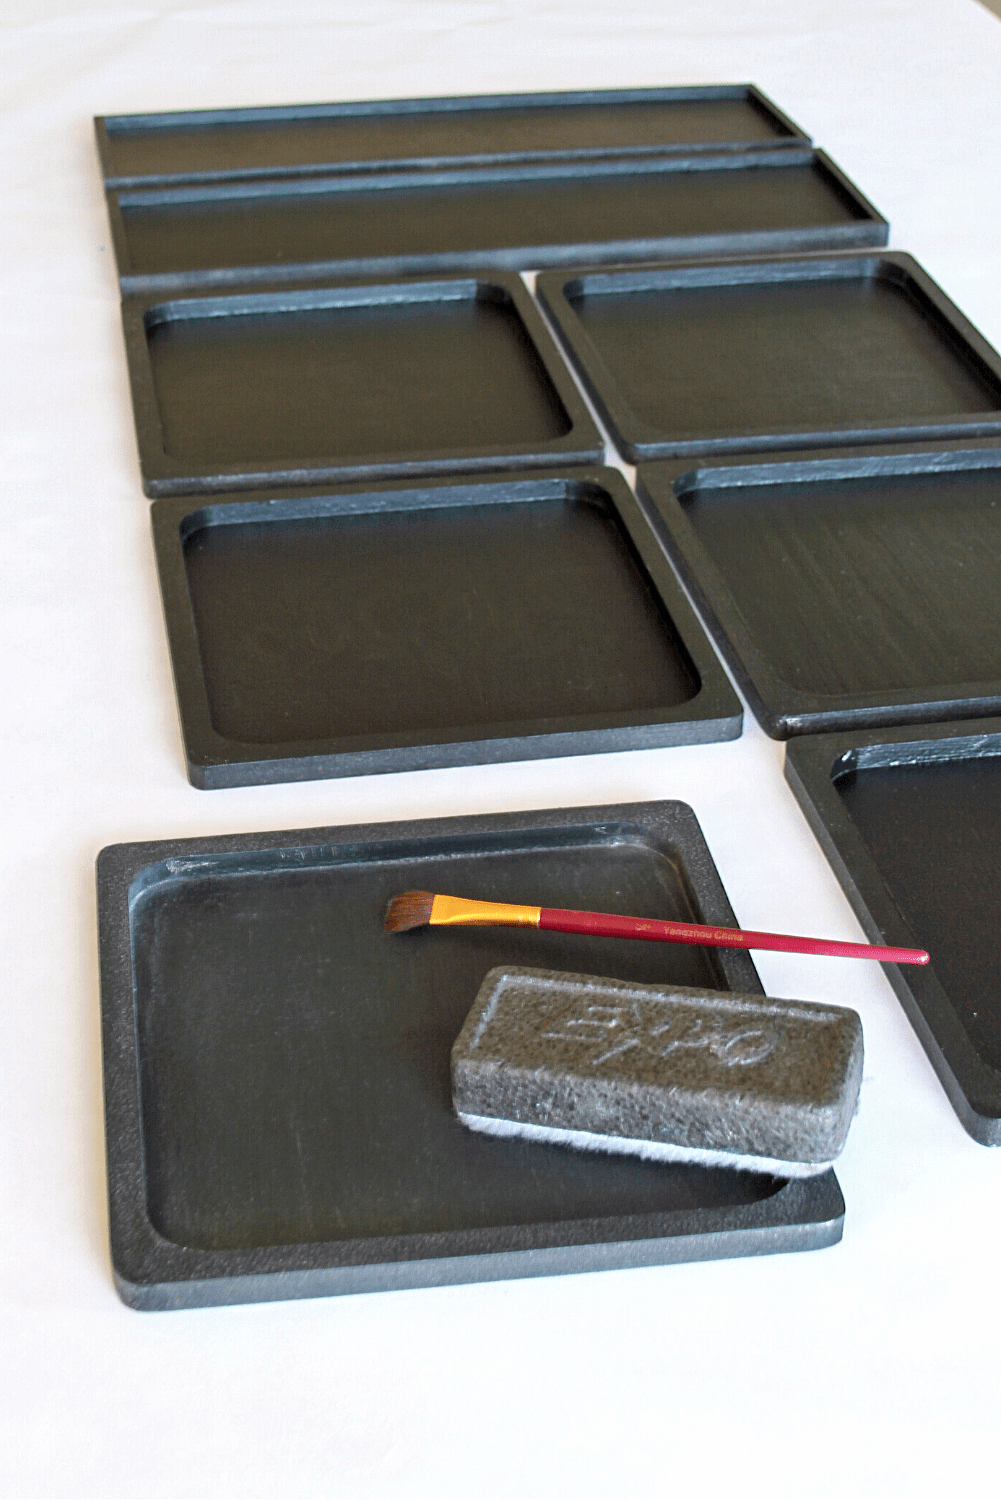
Use your paintbrush to sweep and smooth out the chalk.
By now, you’ve figured out how dusty it is to do this step. 😛
Now, start erasing the rim, sides, and inside of the wood plaques with the eraser. As the chalk breaks up, blowing onto the chalkboard will remove the loose dust.
Keep erasing until you get the look you want.
TIP* If you don’t have a paintbrush, using an old makeup blusher brush will work great for smoothing out the chalk as well.
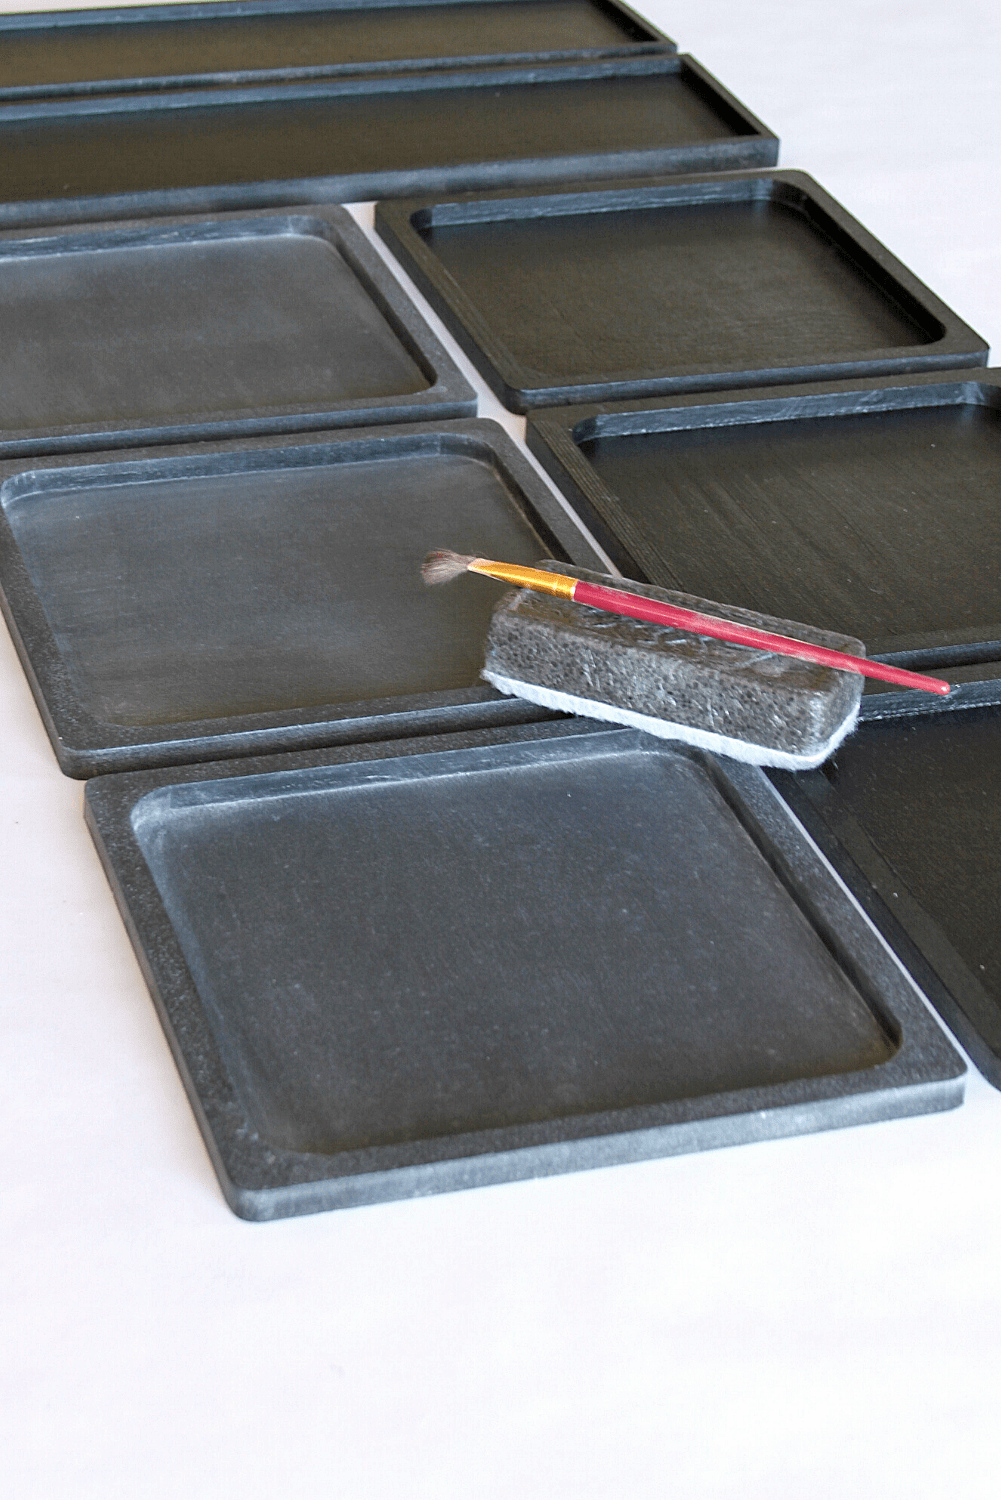
This is what it will look like after conditioning the chalkboard paint. I left mine a little thick, as it kind of gives it an aged appearance, which I like.
STEP 6
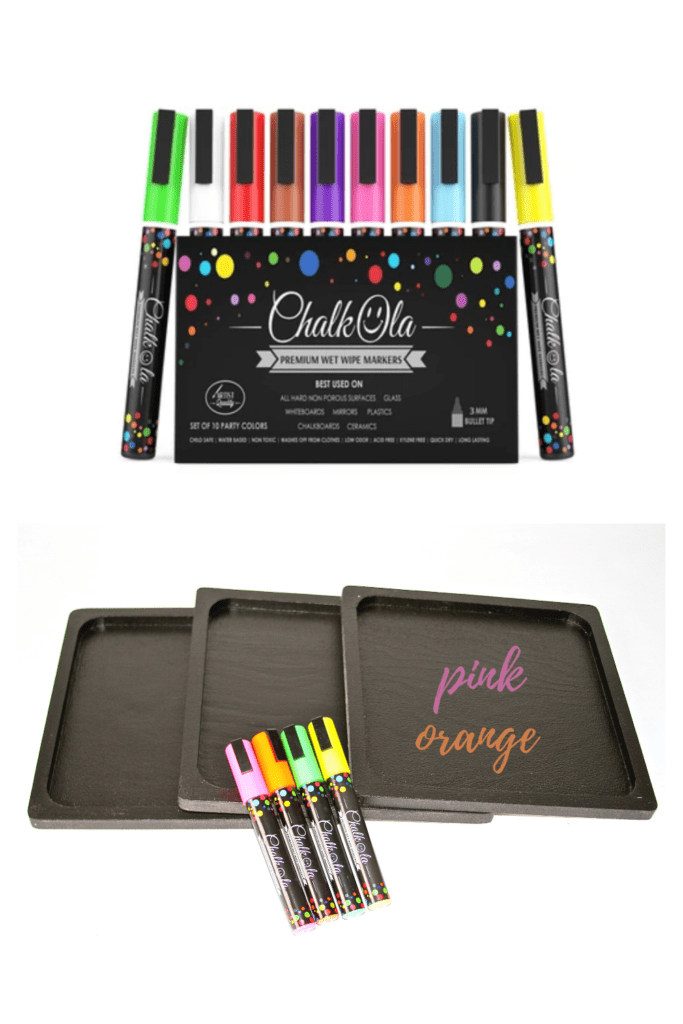
For the chalk, I chose Chalk Ola Premium wet wipe Markers. Chalk Ola had a variety of vibrant, colorful choices. See the photo above!
For this project, we kept it simple and used the white Chalk-Ola marker.
Now it’s time to bring our chalkboards to life and start writing sweet nothings on our DIY His and Her Chalkboard Love-Notes! That’s it, you’re done!
See it really was pretty simple, wouldn’t you say?
TAKEAWAY
I have to say, this post was so enjoyable for me. I do hope you like it as much as we do.
It’s so much fun to check to see if we have new love notes waiting for us in the mornings.
This project would also be perfect for Valentine’s Day. Why not make it Valentine’s every day, right?
The chalkboards are simple to make. I finished this project in 2 hours. That includes the drying time for the chalkboard paint, conditioning, and writing the love notes.
Like this project? Subscribe right here to M&M to get new projects, and a newsletter delivered straight to your inbox!
If you try this project, let me know your thoughts in the comments below. And if you try this project, don’t forget to tag a picture #makesandmunchies on Instagram. I’d love to see the results!
