Hi, friends! Today, I’m excited to show you how I made these stunning DIY decorated orbs. They were a piece of cake and fun to make. From beginning to end, I finished one orb in fifteen minutes!
The kicker is, they were made with embroidery hoops!
These orbs go perfectly on my dining room buffet. My husband says, they look industrial with a touch of farmhouse. He’s so smart! That was the look I was going for. Ha!
He’s a bit industrial and I’m a bit farmhouse.
Whenever I design or make anything for our home, I keep his likes in mind as well. Win, win!
STYLE IT YOUR WAY
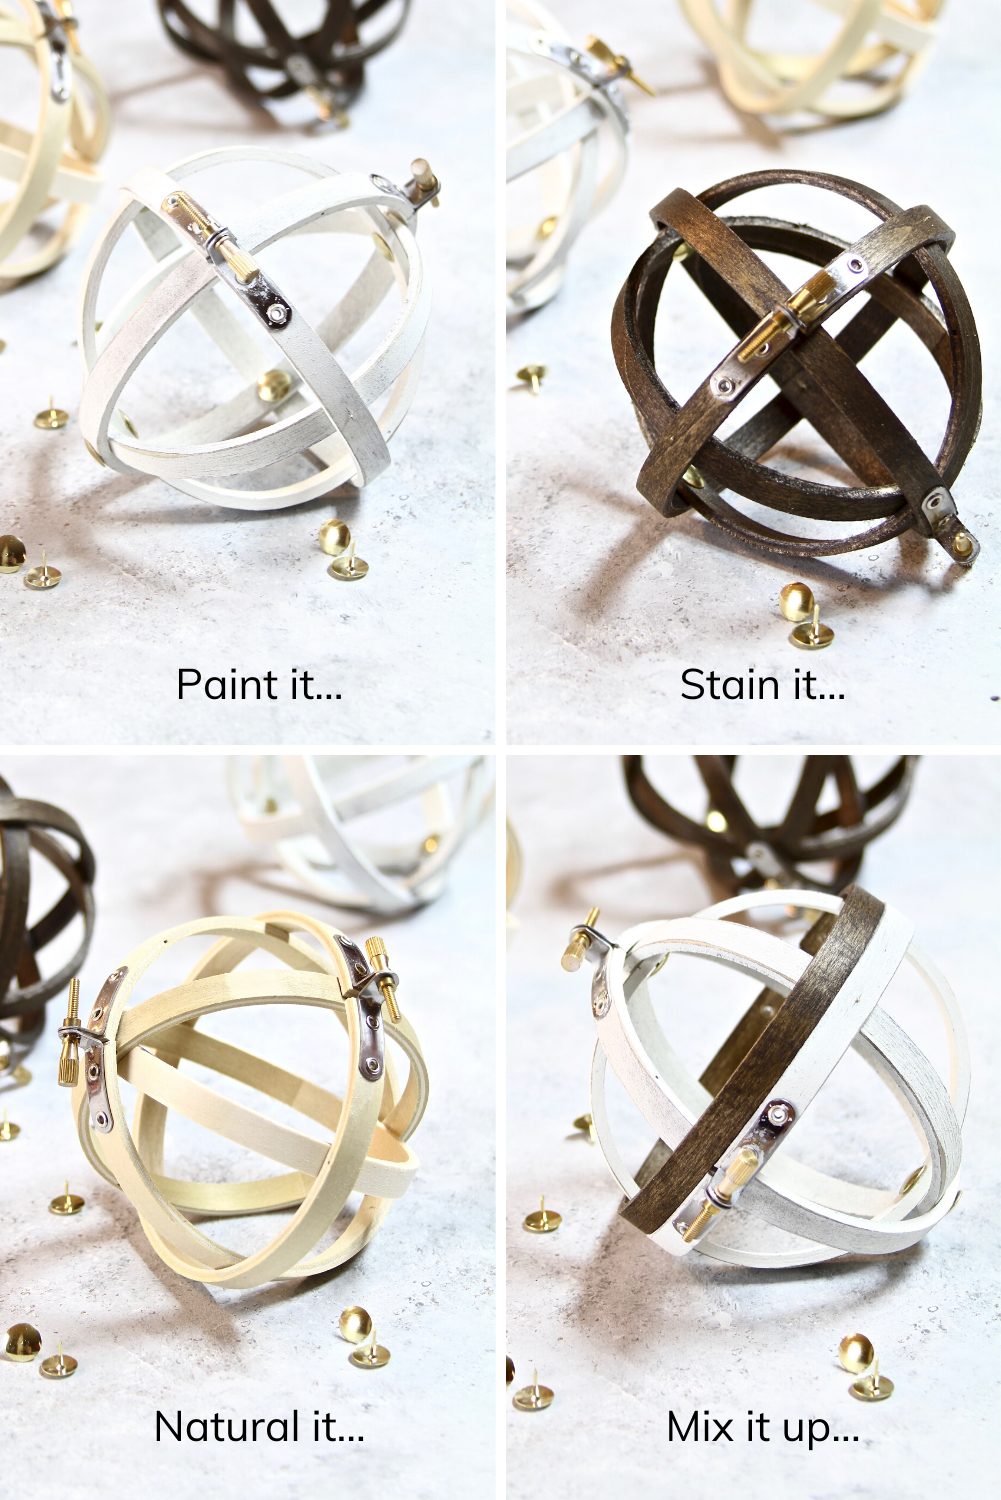
Make your DIY decorated orb to any style you wish! Either way you style it, it will be stunning!
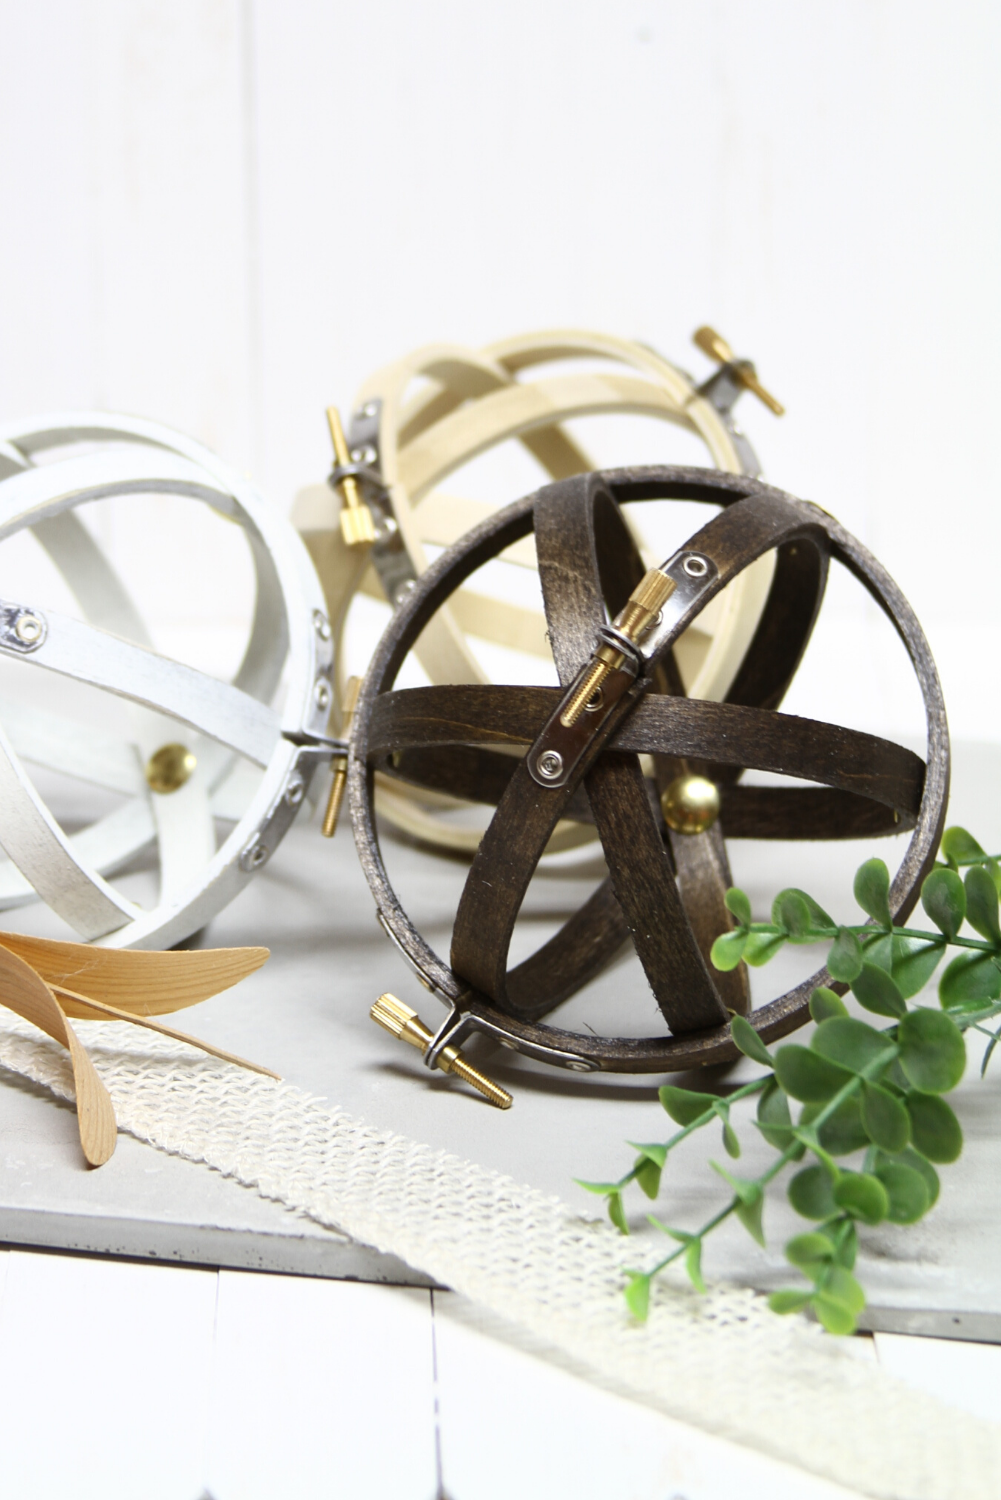
You can paint it, stain it, keep it all-natural, or mix it up by mixing painted hoops with stained hoops. Mix natural hoops with stained, or painted hoops. You get the picture, the possibilities are endless!
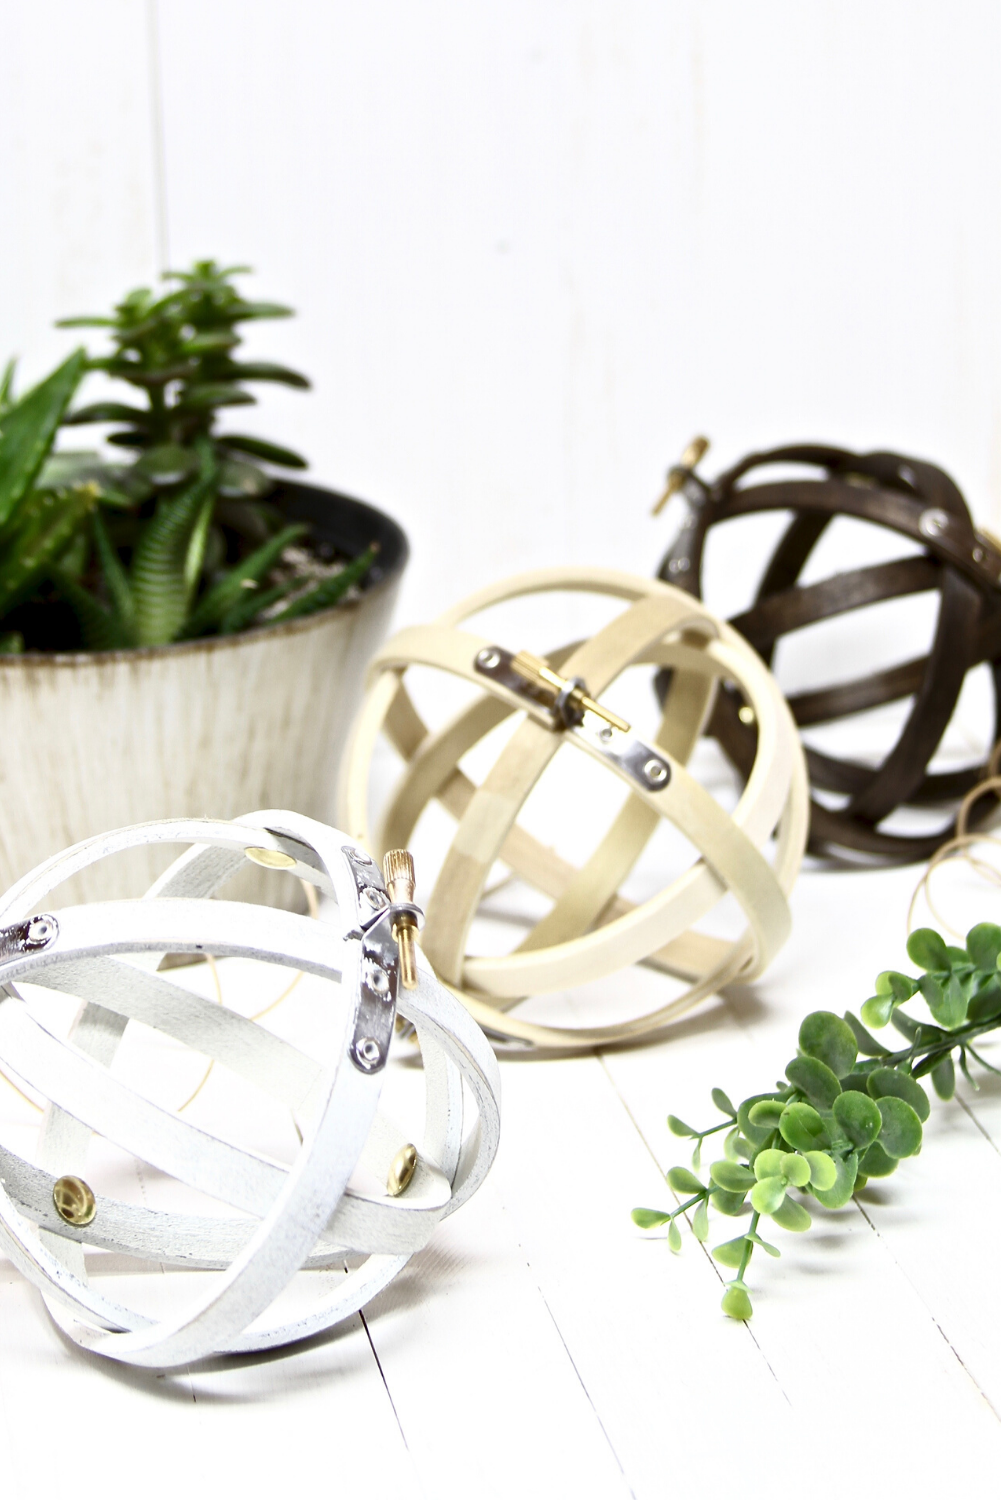
Without further ado, are you ready to learn how to make DIY Decorated Orbs? Let’s Go!
SUPPLIES
The supplies below are for one white orb featured in this post.
- 2 Embroidery Hoops
- White Spraypaint
- *Black Spraypaint optional
- Small piece of sandpaper, any grit.
- Thumbtacks
- Painters Tape
STEP 1-4
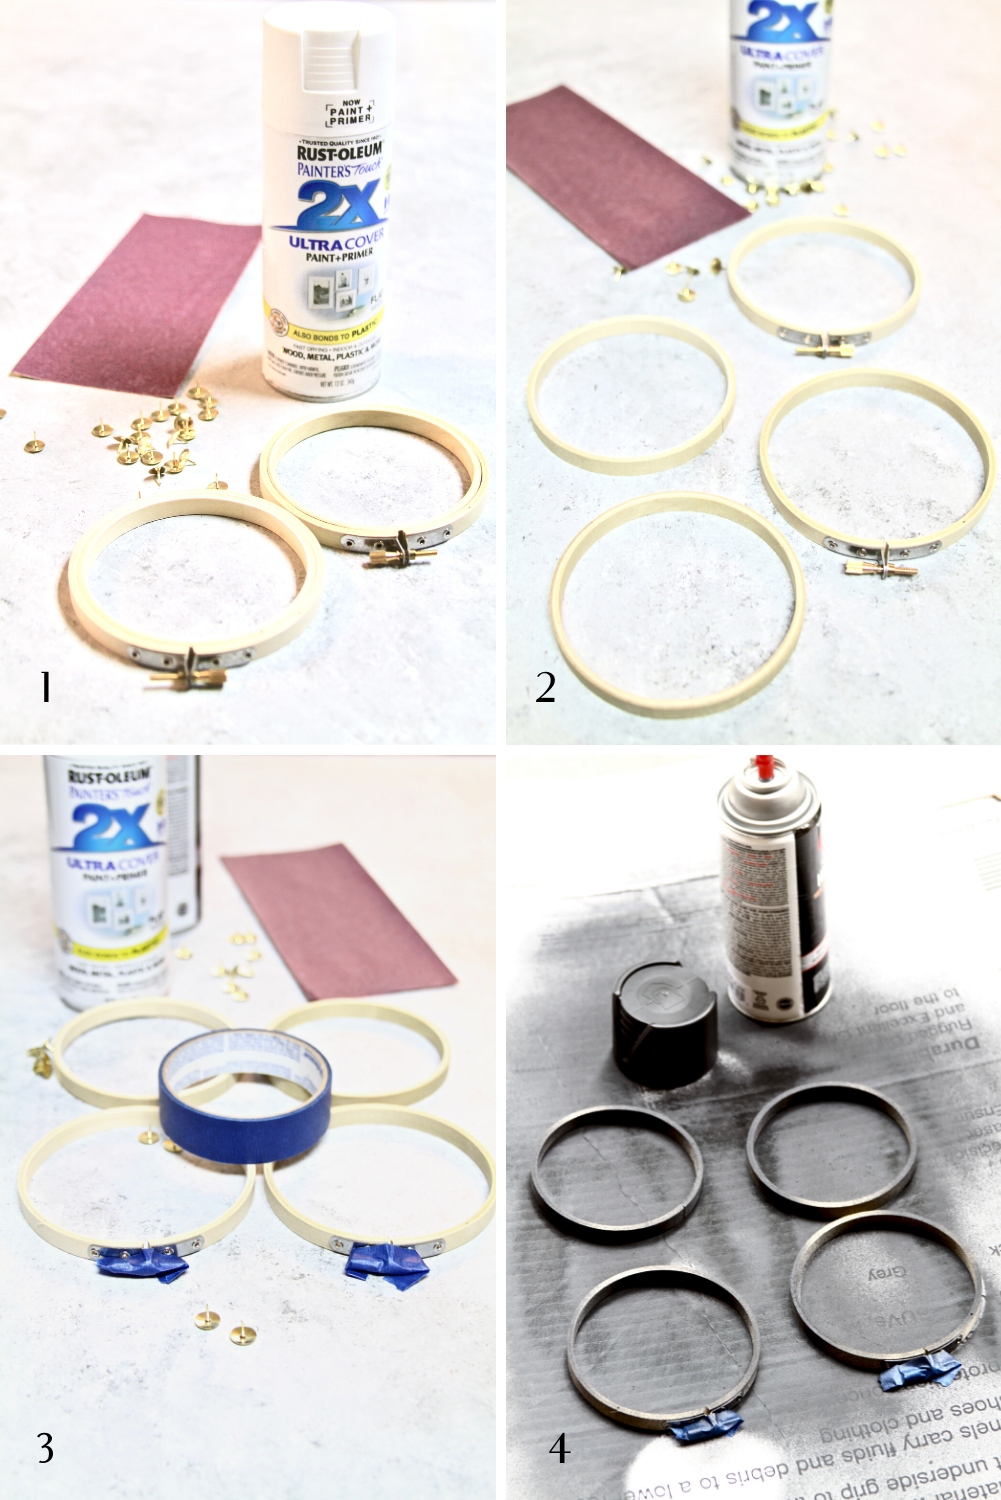
STEP 1: Gather and prep all of the supplies.
- 2 Embroidery Hoops any size. I used 6-inch hoops.
- White Spray Paint
- *Black Spray Paint optional
- Small piece of sandpaper, any grit.
- Thumbtacks
- Painters Tape
STEP 2: Separate each embroidery hoop by removing the inner hoop. After separating, you’ll have two inner hoops and two outer hoops with the clasps.
STEP 3: Secure the metal clasps with painters tape.
STEP 4: *Spray paint all 4 hoops black, set aside to let it dry.
This step is optional. I usually paint an undercoat of black because it adds dimension to the texture after distressing the white paint. see image #7 for an example.
STEP 5-7
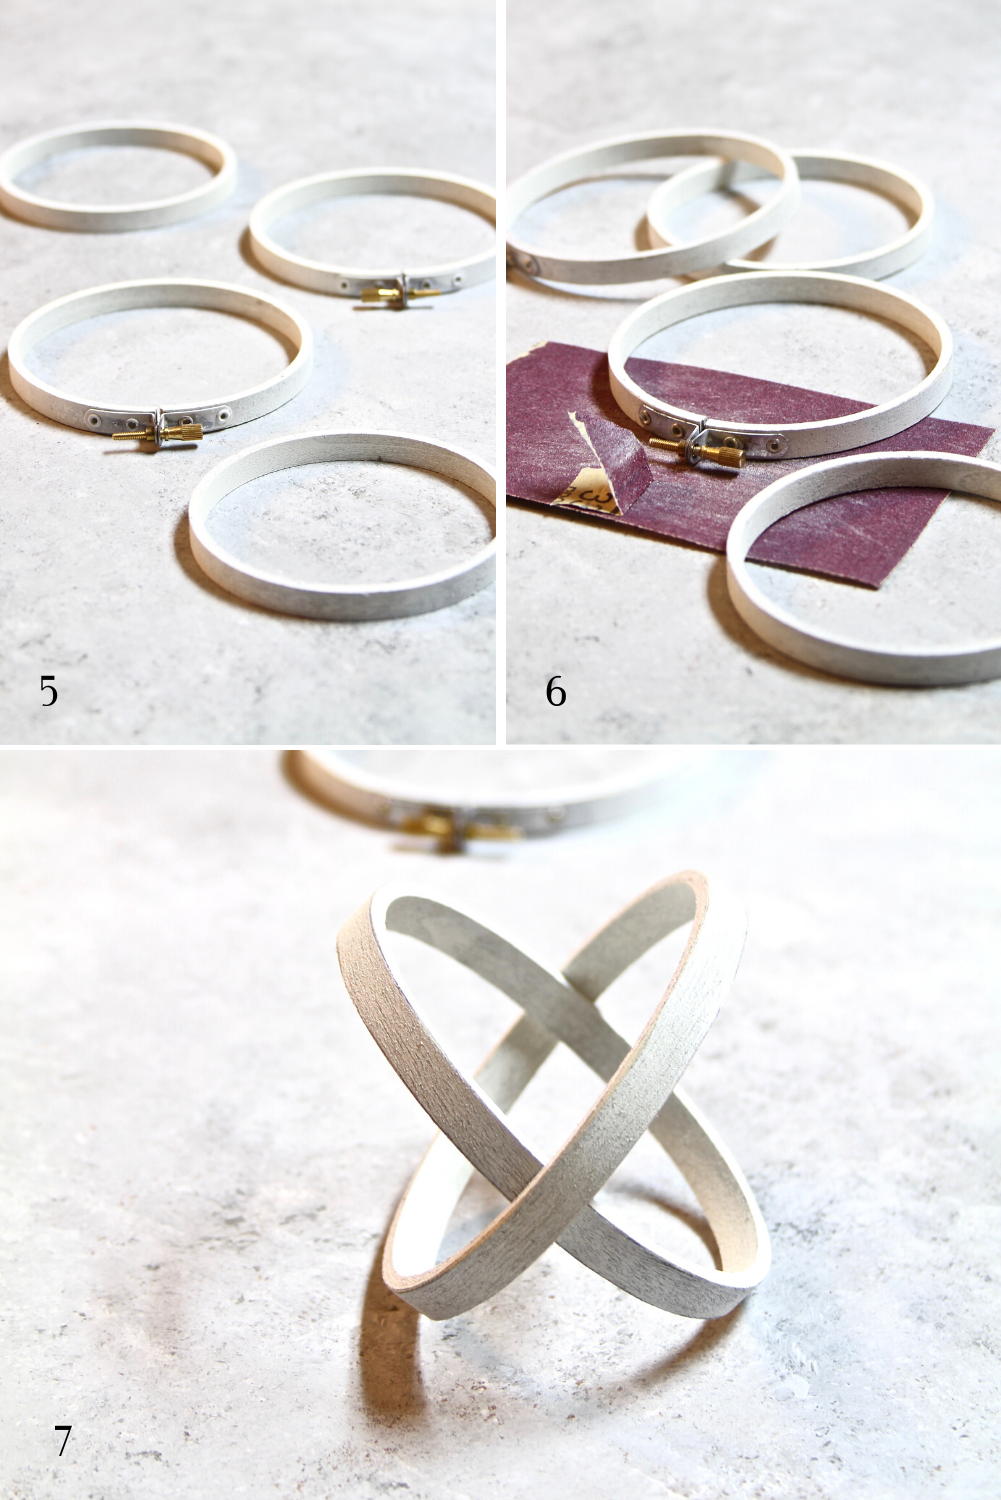
STEP 5: Now spray paint the hoops white. Set aside to let it dry.
STEP 6: Once the hoops are dry, distress the paint with a small piece of sandpaper. I carefully sanded the rim, sides, inside, and outside of the hoops. Then sand off any paint accumulated on the hardware below the clasps.
As you are lightly sanding the hoops you’ll start to see the black undercoat peak through the outer coat. See it close up in the #7 image above.
This is my favorite part! 🙂
Now let’s assemble the orb step by step!
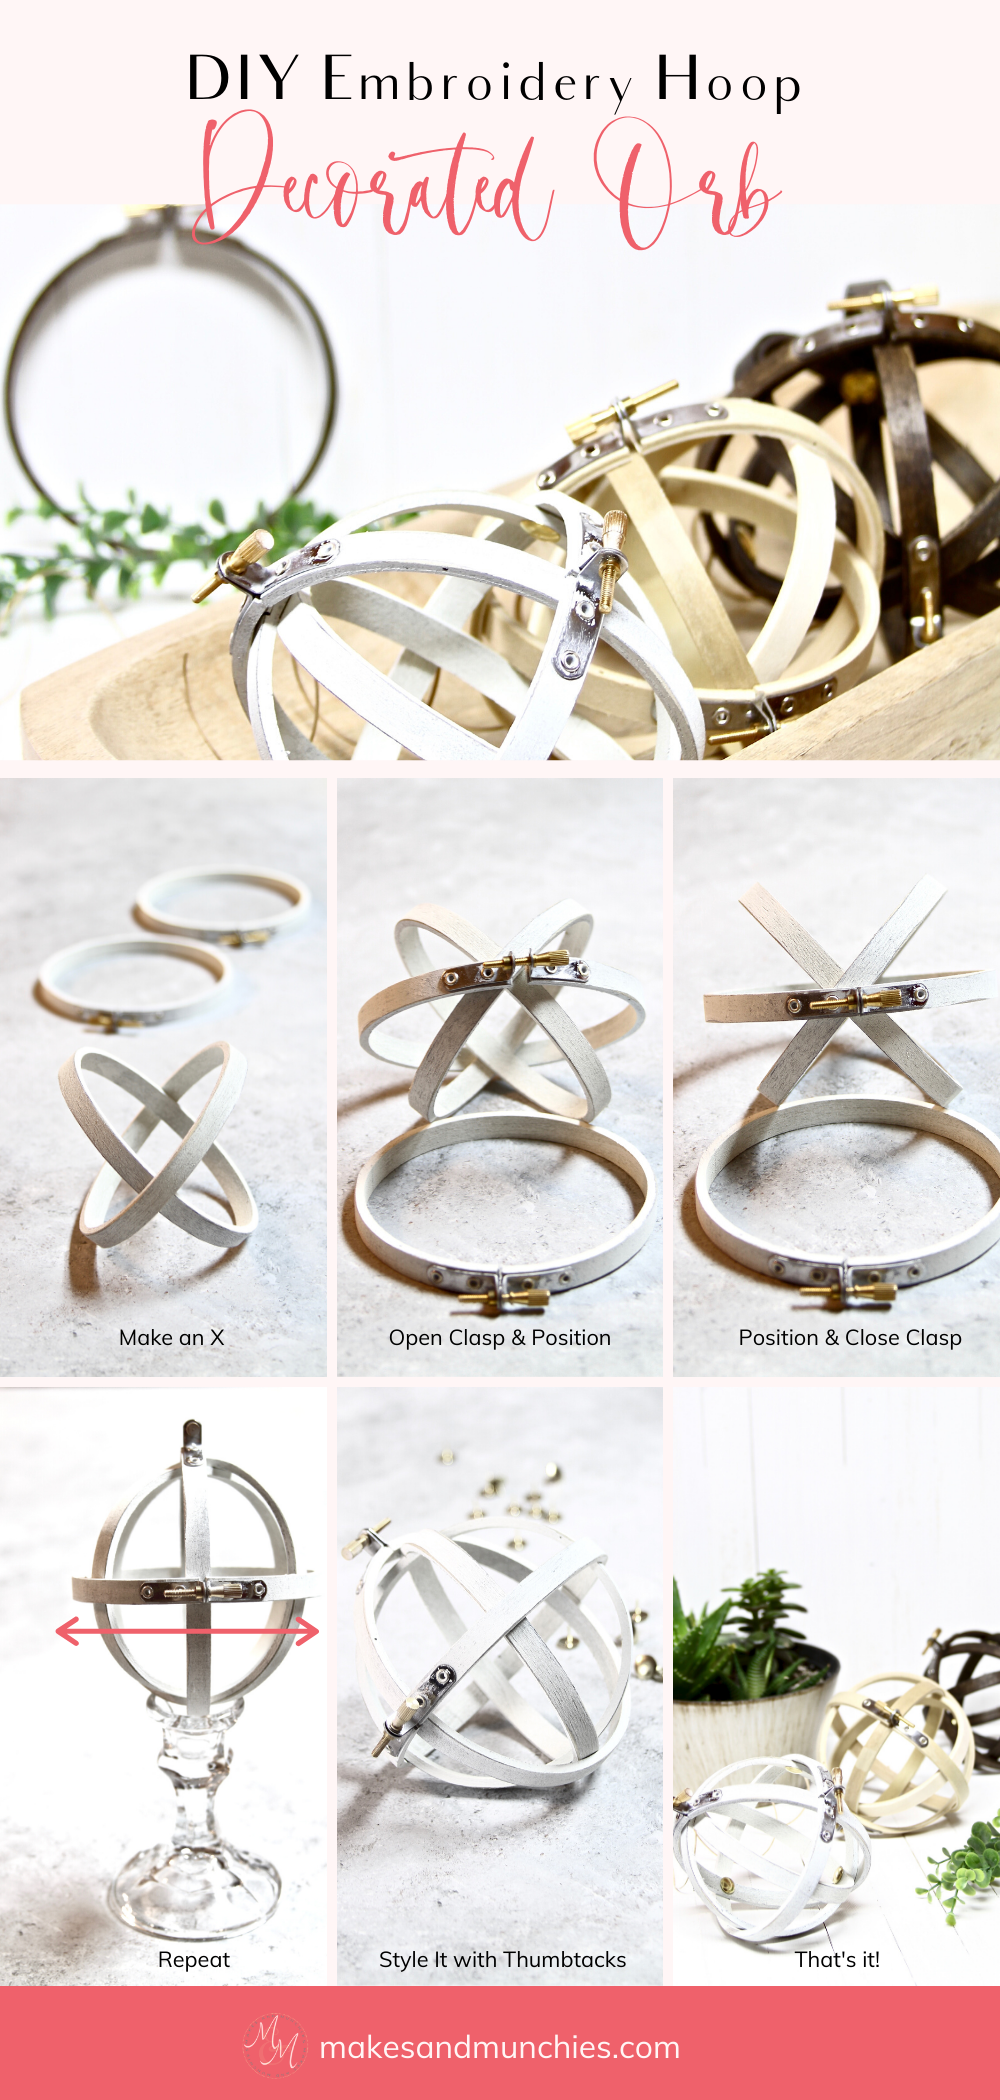
STEP 7: Make an X with the two inner hoops, shown in image #7 above.
STEP 8
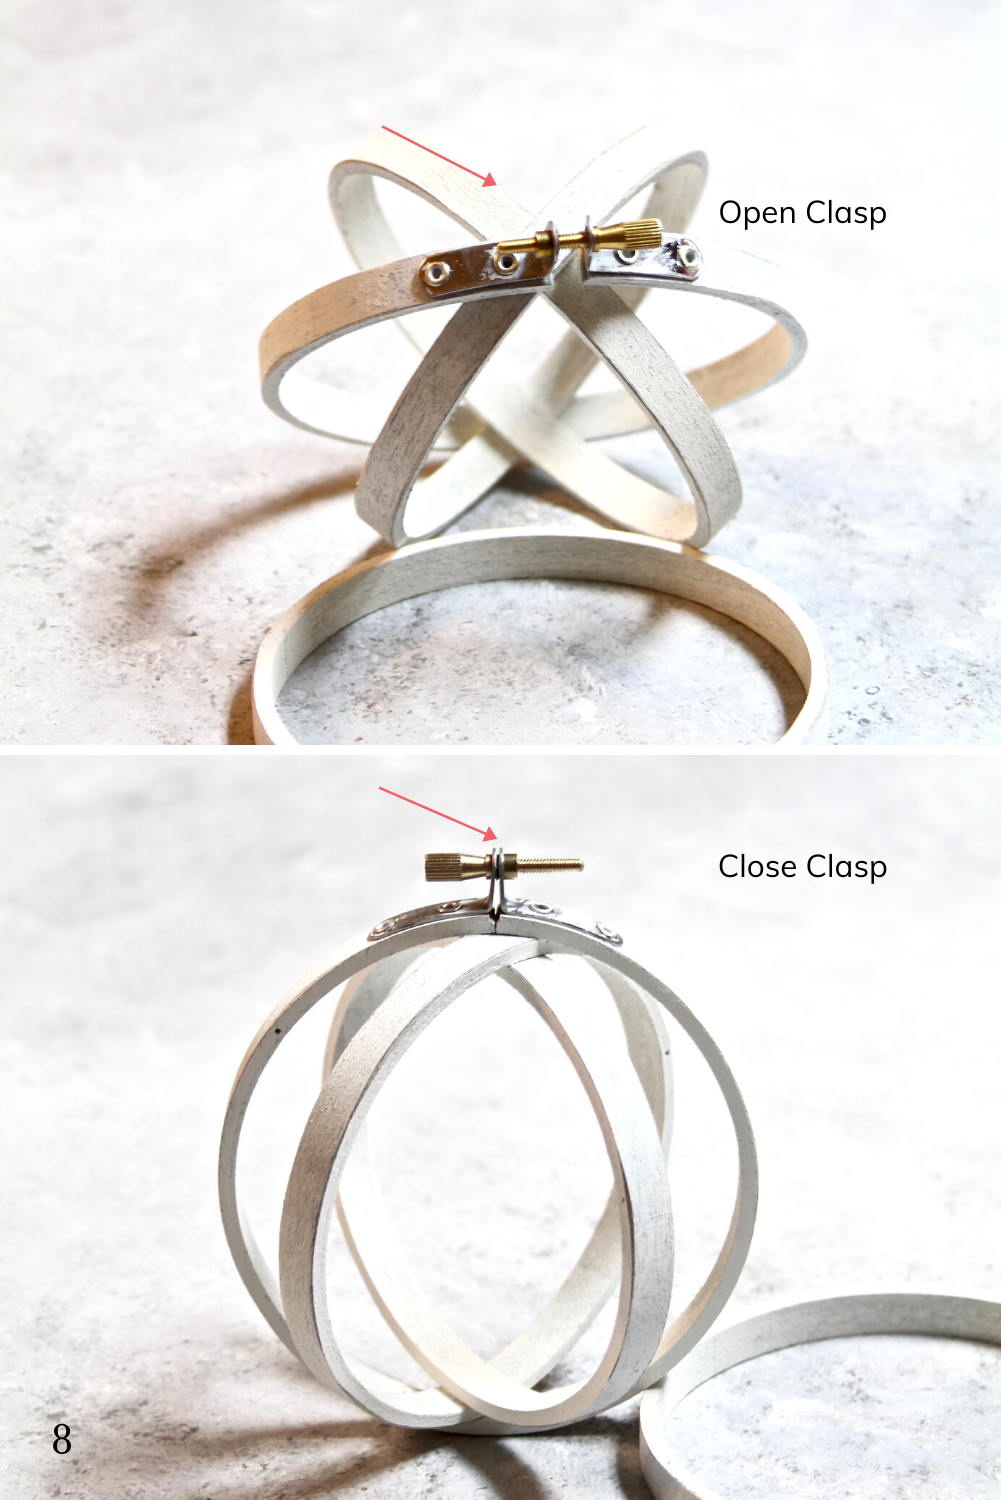
STEP 8: Open the clasp to one of the outer hoops. Position and center the hoop with the clasp over the center of the inner hoop, shown in the top image for #8.
Now, once the hoop is centered and positioned to your desire, tighten the clasp to close.
In case you are wondering why I didn’t glue the hoops together. I chose not to glue the hoop’s because I plan on mixing the different loops together to change things up from time to time.
STEP 9-10
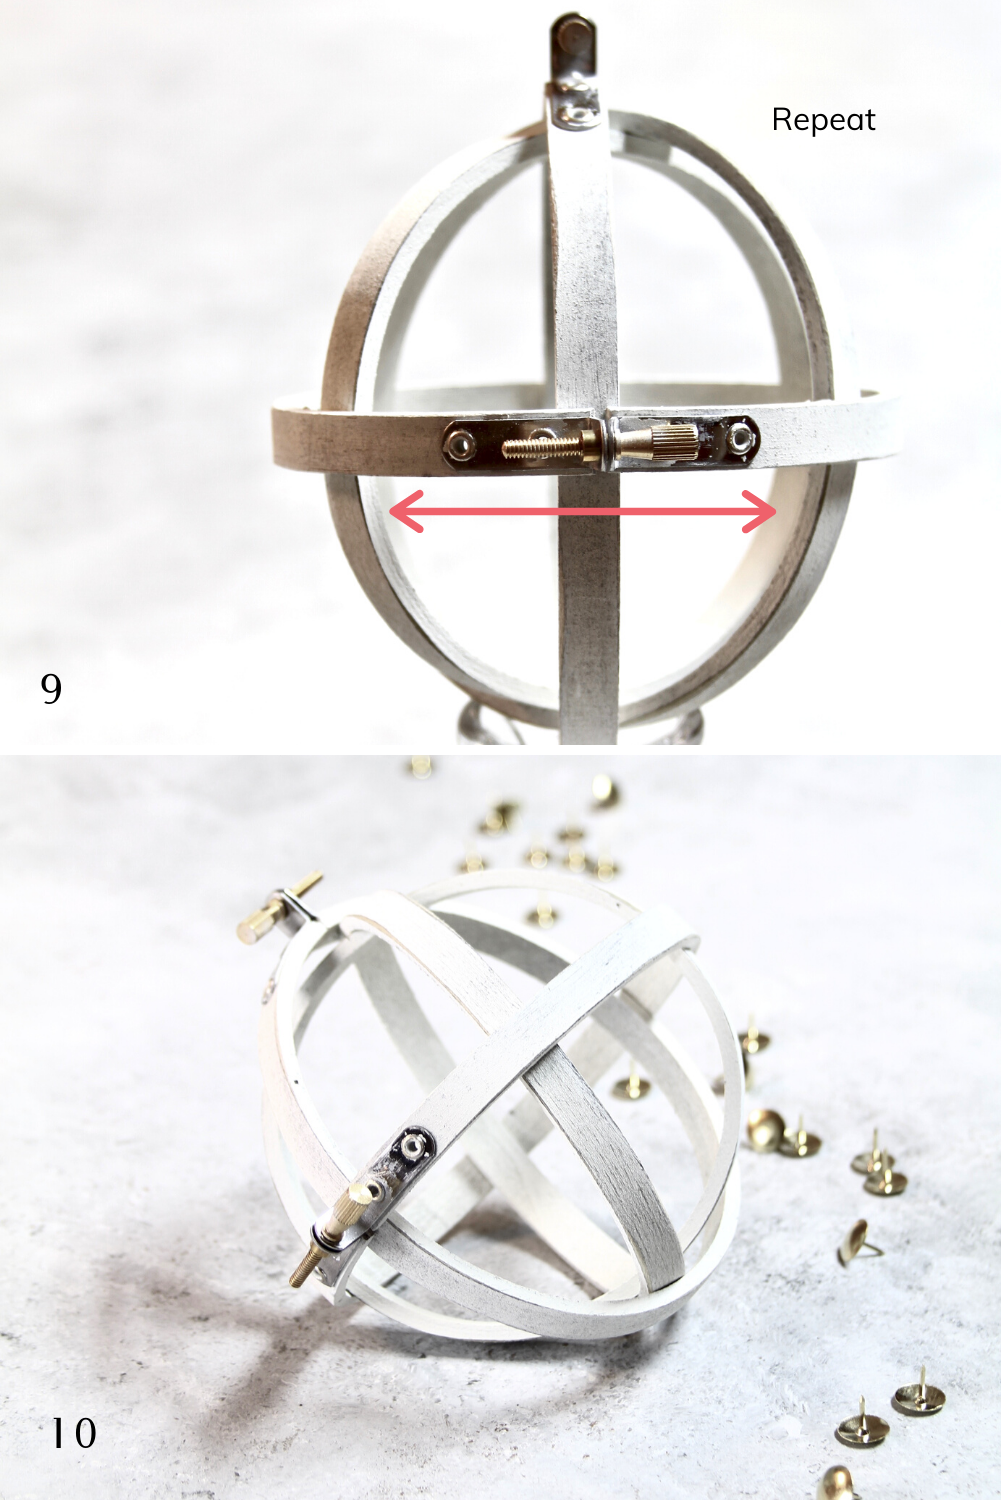
STEP 9: We are going to repeat step 8 with the remaining hoop. This time center and position the hoop horizontally to complete the orb. Ensure the clasp is tightened and closed.
STEP 10: Decorate the orb with thumbtacks. Place them anywhere you like. Place them on the inside, outside, or both sides of the orb, and you’re done!
TAKEAWAY
To sum it up, styling these decorated orbs using embroidery hoops was a blast! Especially, because it took about 15 minutes to make one orb from beginning to end!
You have the option to style your orb by painting it, staining it, leaving it bare, or mixing it up!
In the end you’ll have beautiful DIY orbs to decorate your home.
What do you think? Which is your favorite?
I’d love to hear your thoughts! Leave a comment, share it, pin it, and don’t forget to tag an image to #makesandmunchies on Instagram if you try it. I’d love to see your results!
