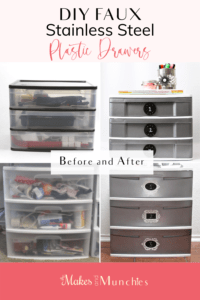
Hi Friends! I have a DIY FAUX Stainless Steel Plastic Drawer project that’s easy and inexpensive.
I bought these clear plastic drawers to store my craft and sewing supplies. They were inexpensive and serve their purpose. Although they are a great solution for tidying up, they weren’t that great for concealing my junk.
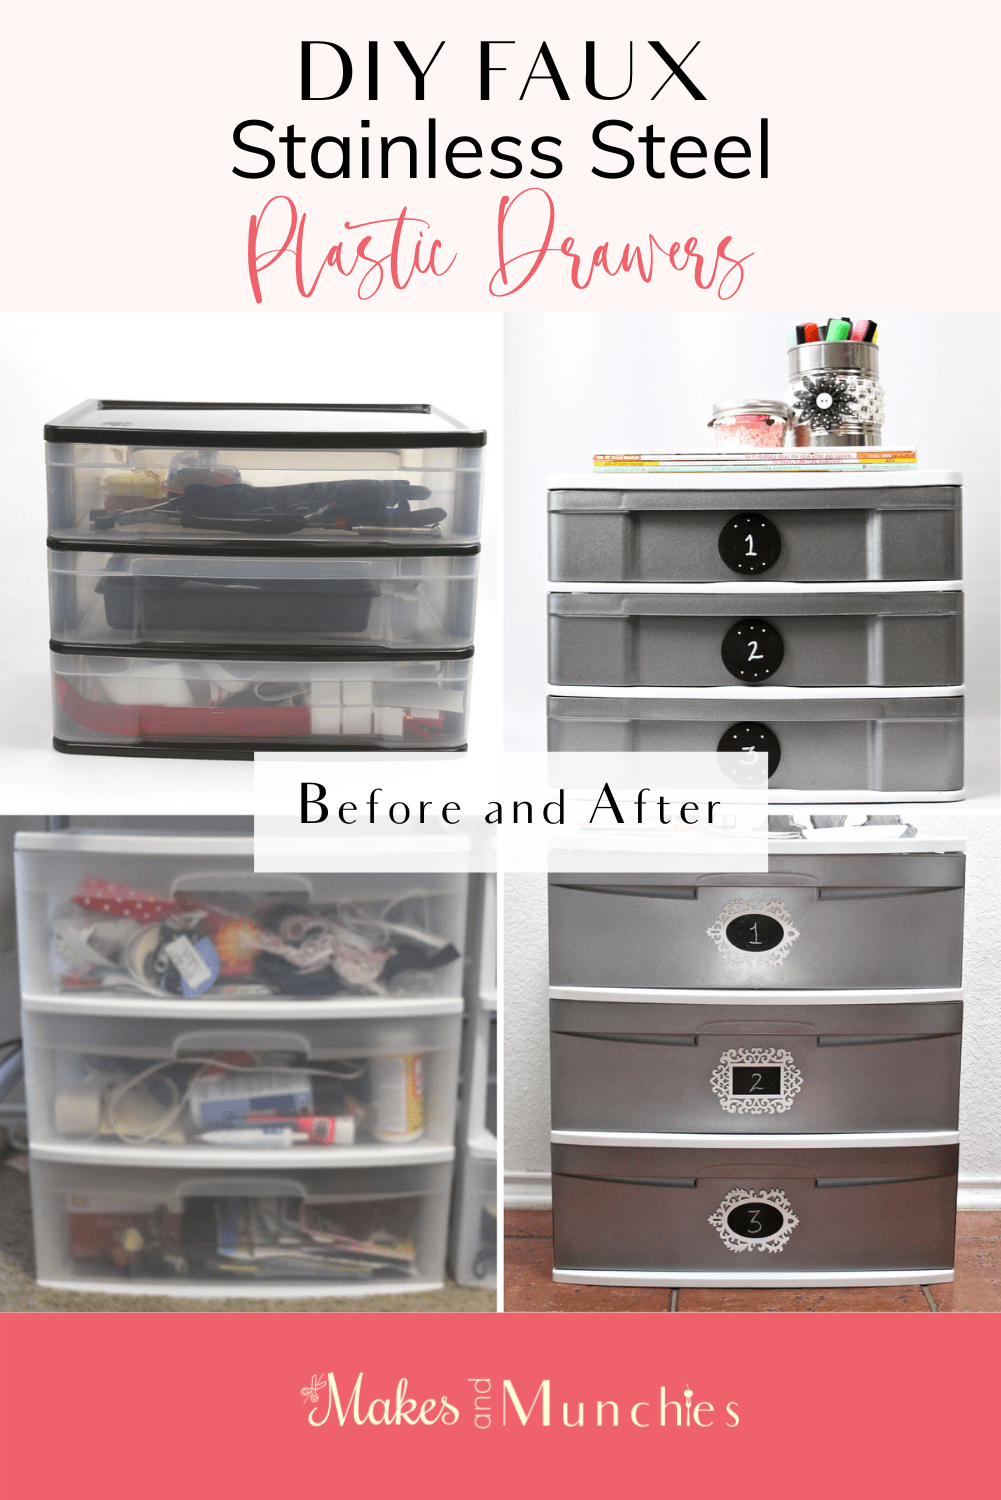
So, I decided to paint them up! I went for the faux stainless steel look. Comparing the before and after photo above, honestly, I must say I really dig the new look! Do you agree?
I’m telling you, there was nothing to it! The transformation took a few hours from start to finish. I’ll show you how I gave my plastic drawers a makeover, step by step.
So, let’s get to it!
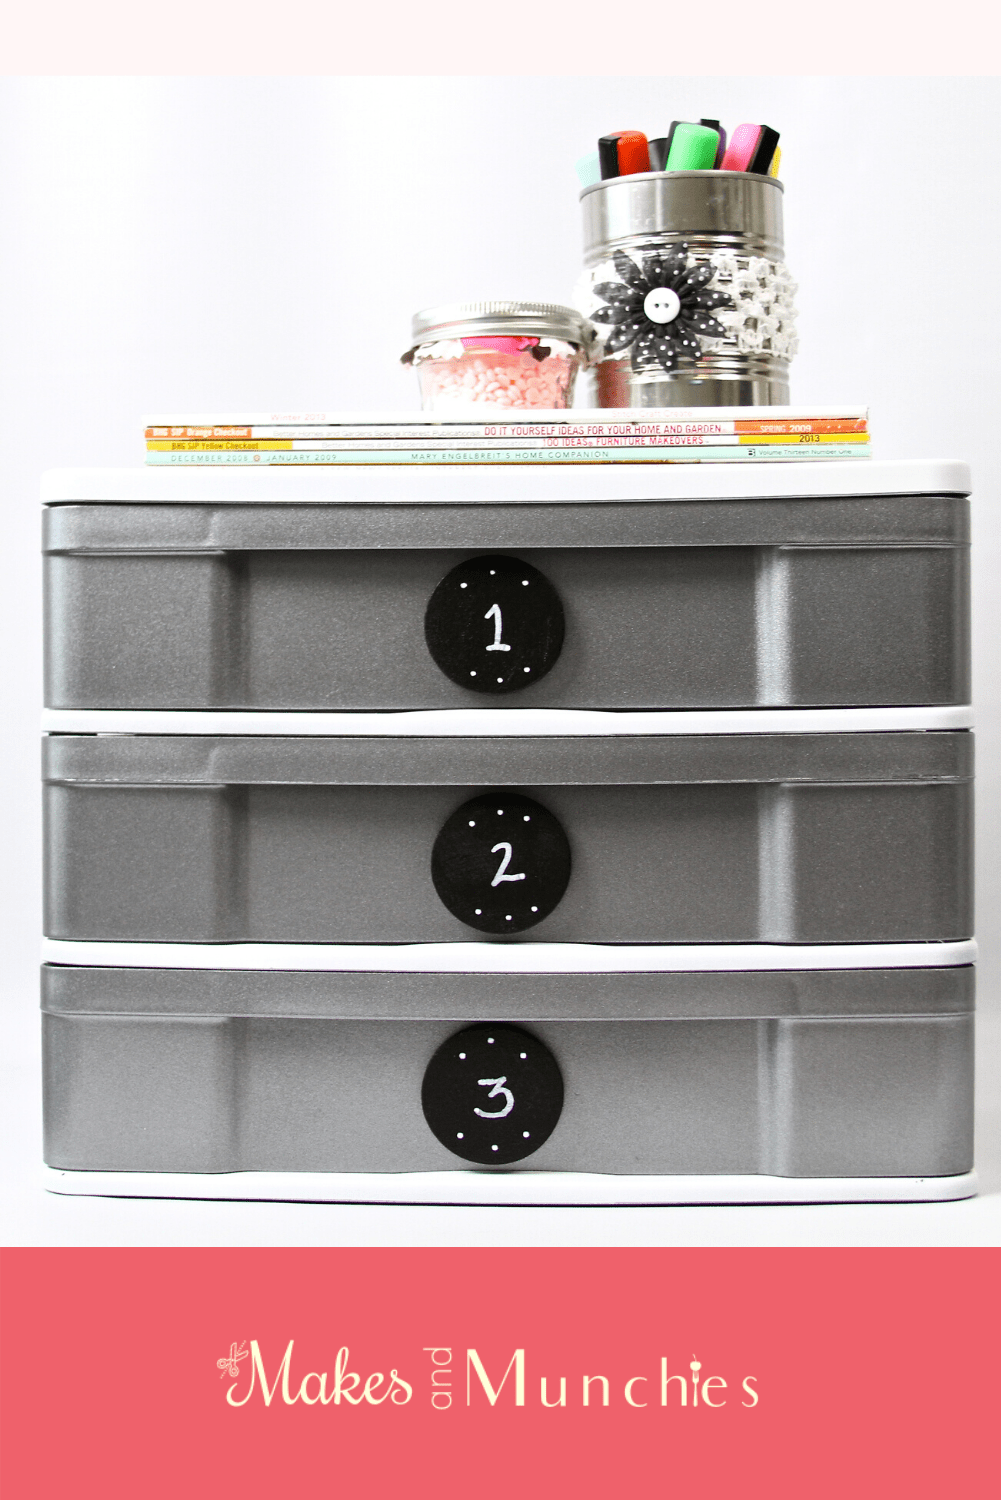
SUPPLIES
- Plastic Drawer Set
- 2 12 oz. can RUST-OLEUM UNIVERSAL Metallic Paint & Primer in Dark Steel
- 1 12oz. can RUST-OLEUM Painters Touch Paint & Primer in Flat White
- Martha Stewart Chalkboard Paint
- Small bowl for paint
- Wood Craft Frames [label]
- Wood Craft Rounds [label]
- Sharpie or Pencil
- Chalk-Ola Wet Wipe Markers or Regular Chalk
- Small Foam Brush
- Glue-gun & Sticks
STEP 1-4 DIY FAUX Stainless Steel Plastic Drawers
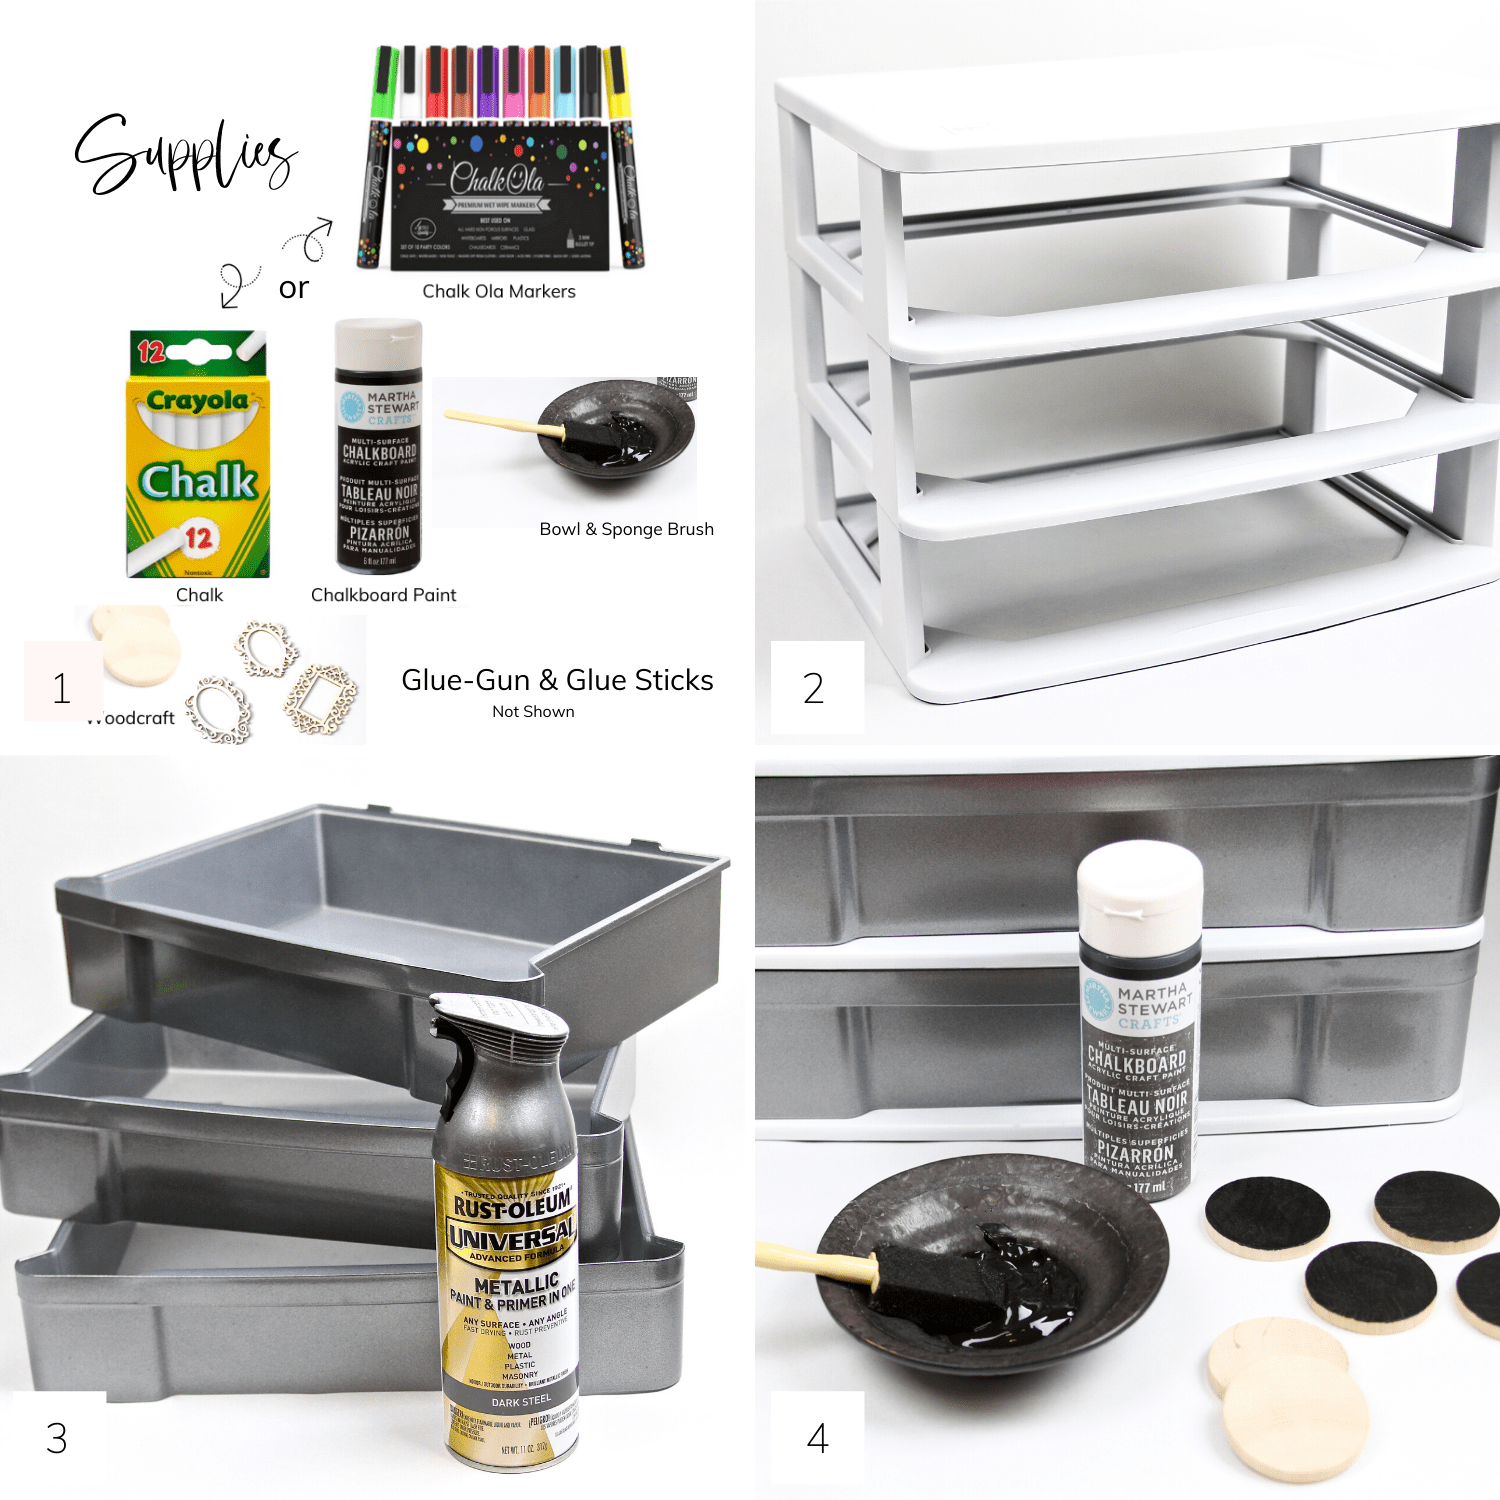
STEP 1: Gather all of the supplies and prep your work area.
STEP2: Wipe the base and drawers clean. Paint the base with RUST-OLEUM Painters touch in Flat White and let dry.
STEP 3: Paint the drawers with RUST-OLEUM UNIVERSAL Metallic Paint & Primer in Dark Steel and let dry.
The Dark Steel paint is thicker than the Flat white because the Dark Steel is metallic. It’s actually very pretty. You can’t see it in the photos, but the metallic has a glittery touch to it, which I like.
STEP 4: If you are making the wood craft round labels, keep reading. If you are making the frame labels, skip to step #7.
- To make the round circular drawer labels [#4 photo], I used woodcraft rounds. I painted the rounds with Martha Stewart Chalkboard Paint and used a foam brush. Set them aside to dry.
STEP 5-8 DIY FAUX Stainless Steel Plastic Drawers
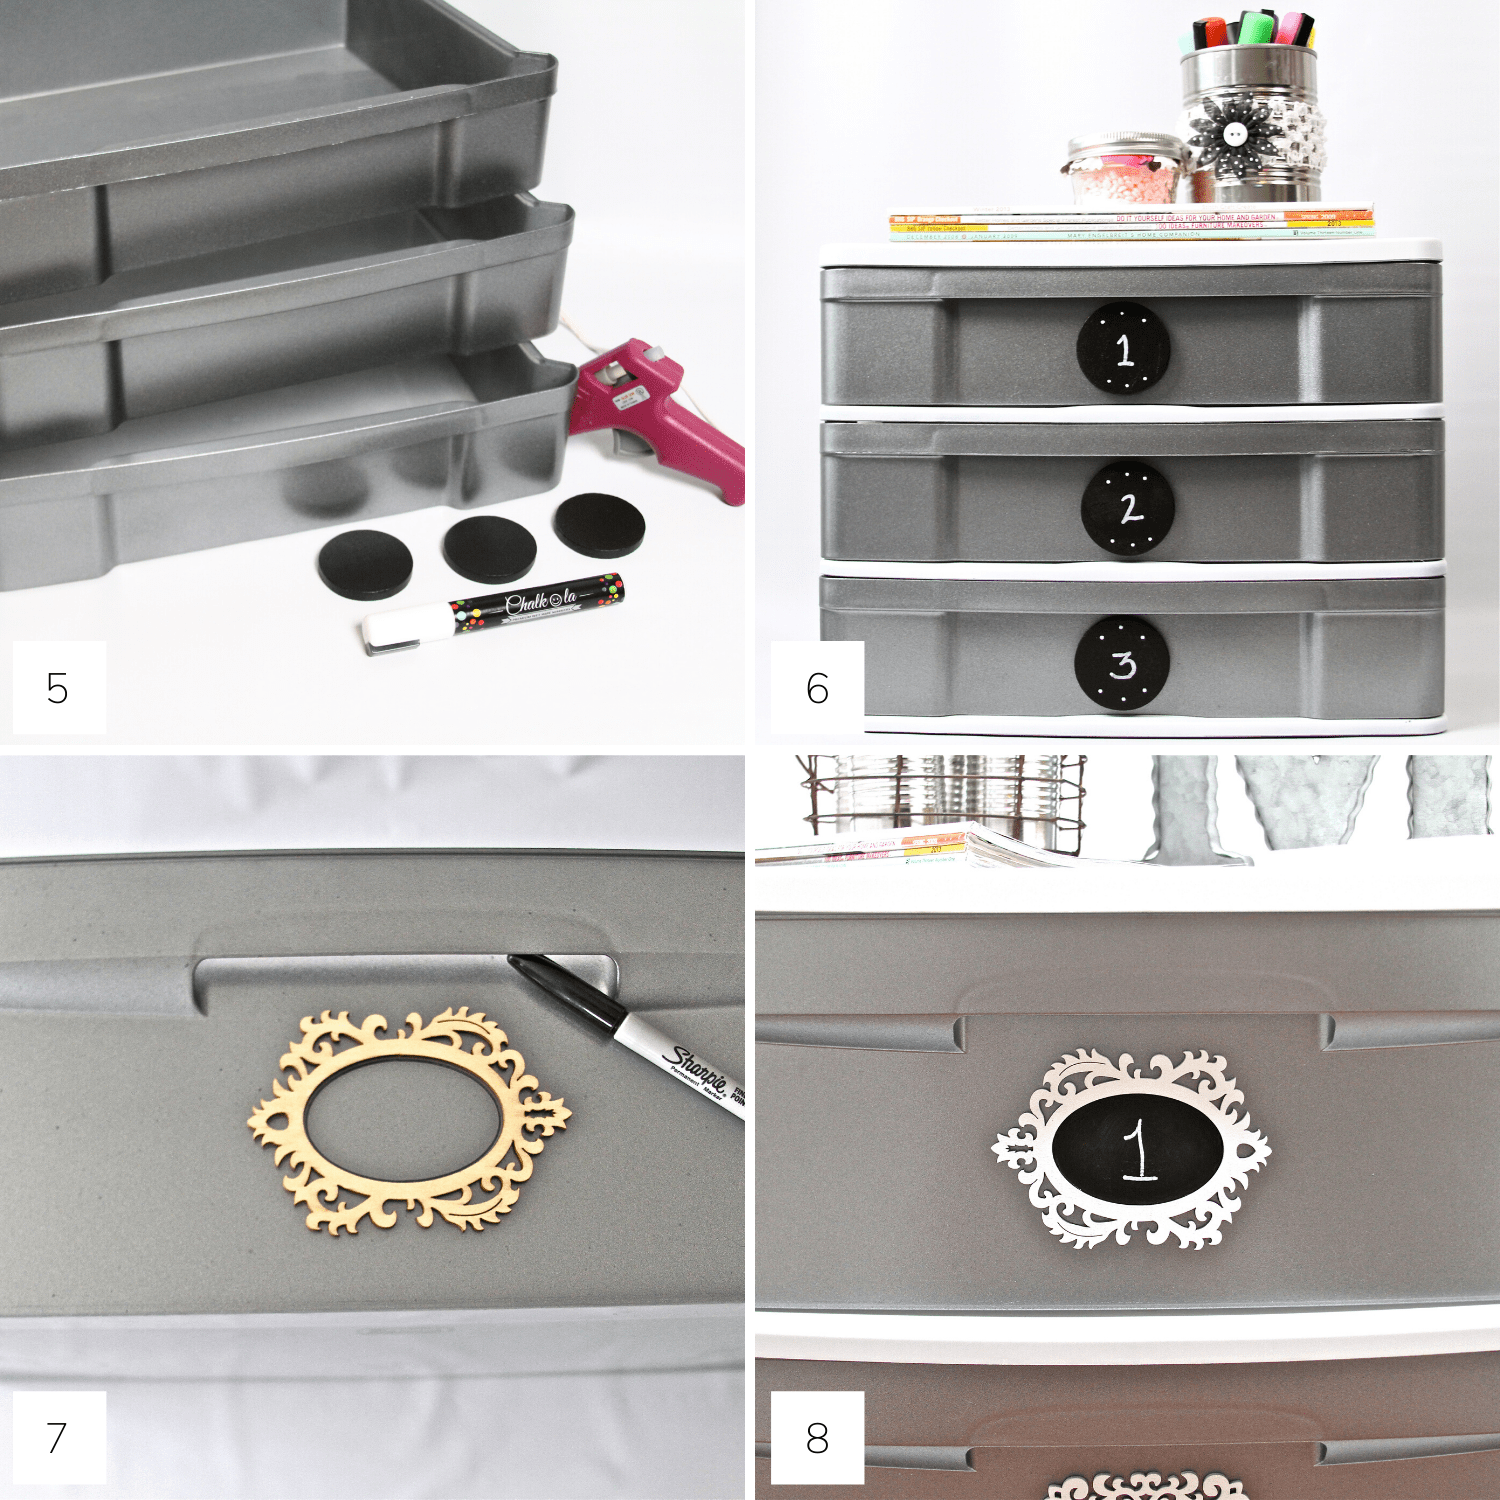
STEP 5: Hot glue the painted woodcraft rounds to the center of each drawer front.
STEP 6: Number your drawer labels with Chalk-Ola Wet Wipe Markers or Regular Chalk. You’re done! *If you are using the woodcraft frames, go to Step 7.
*STEP 7: For the woodcraft frames [#8 photo], I positioned the frame on the front side of the drawer, then I traced the inside with a sharpie to form the outline for step #8.
STEP 8:
- Paint inside the drawn outline with Martha Stewart Chalkboard Paint.
- Paint the Woodcraft Frames with RUST-OLEUM Painters Touch Paint & Primer in Flat White and set them aside to dry.
- Hot glue the frames to the center of each drawer.
- Number your label with Chalk-Ola Wet Wipe Markers or Regular Chalk.
- You’re done!
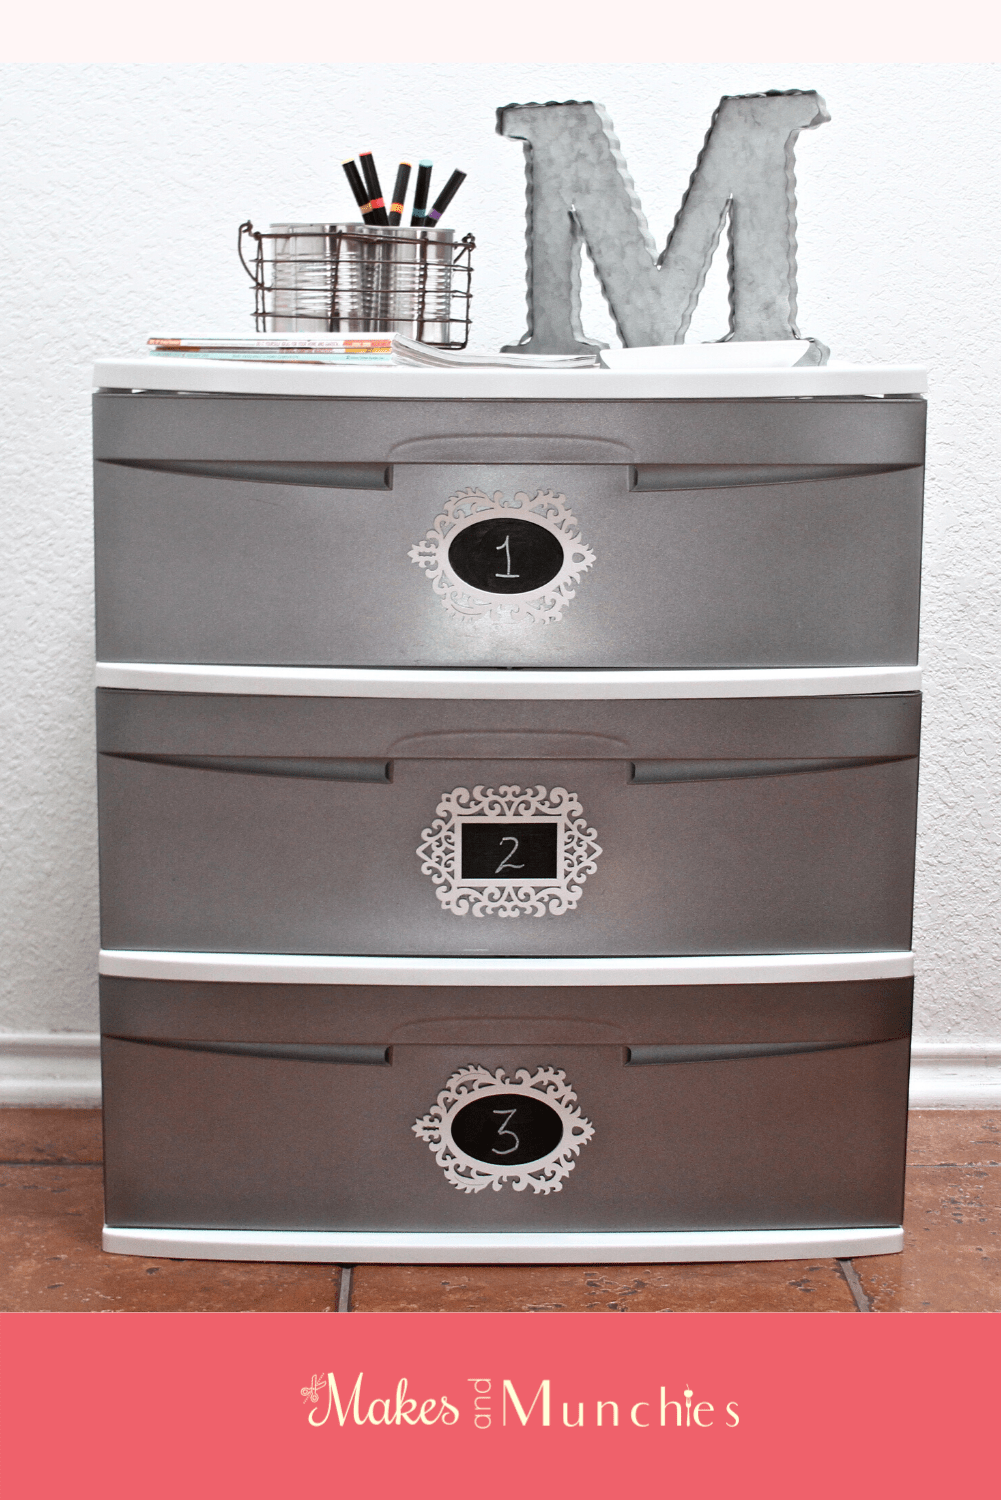
Are you in love with this idea for faux stainless steel plastic drawers? I knew you would be! 🙂 I love how they turned out. You can’t see the madness through the drawers anymore. I mean, who wants to see all that shizzle anyways?!
TAKEAWAY
This DIY FAUX Stainless Steel Plastic Drawer project was much needed. You can no longer see the twisted mess I had going on in the drawers anymore.
It was so easy and inexpensive, I spent about $25 bucks for all of the supplies.
There was nothing to it! It took a few hours from start to finish and was so worth it.
Are you going to take this project on to hide your twisted mess too?
Let me know your thoughts in the comments below, and be sure to share this with someone who may benefit from it.
Thank you so much!
