If a vanity mirror is on your wishlist, then this post is for you! Make your very own DIY vanity mirror with lights and save your pretty pennies, friends!
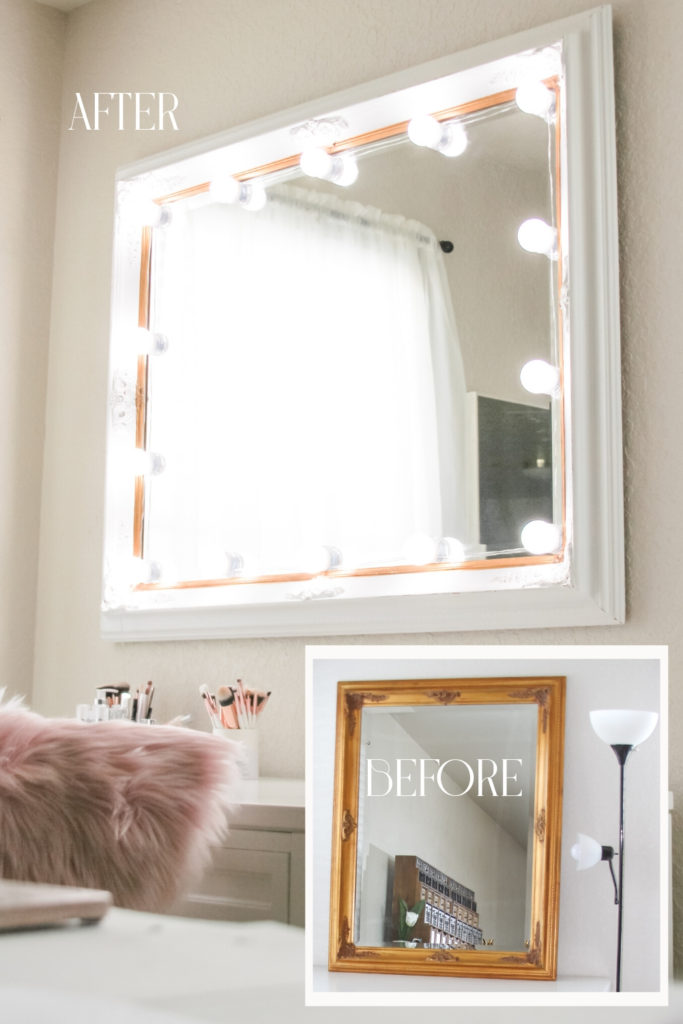
The whole point of having a vanity mirror is that you get good lighting when applying your makeup, and that’s important and worth it!
You work hard, and you play hard. You deserve to pamper yourself and make yourself as beautiful on the outside as you are on the inside.
Since I’m on a budget, I chose to DIY my vanity mirror because they are so expensive!
The timing couldn’t have been more perfect! I picked up this baby at a garage sale.
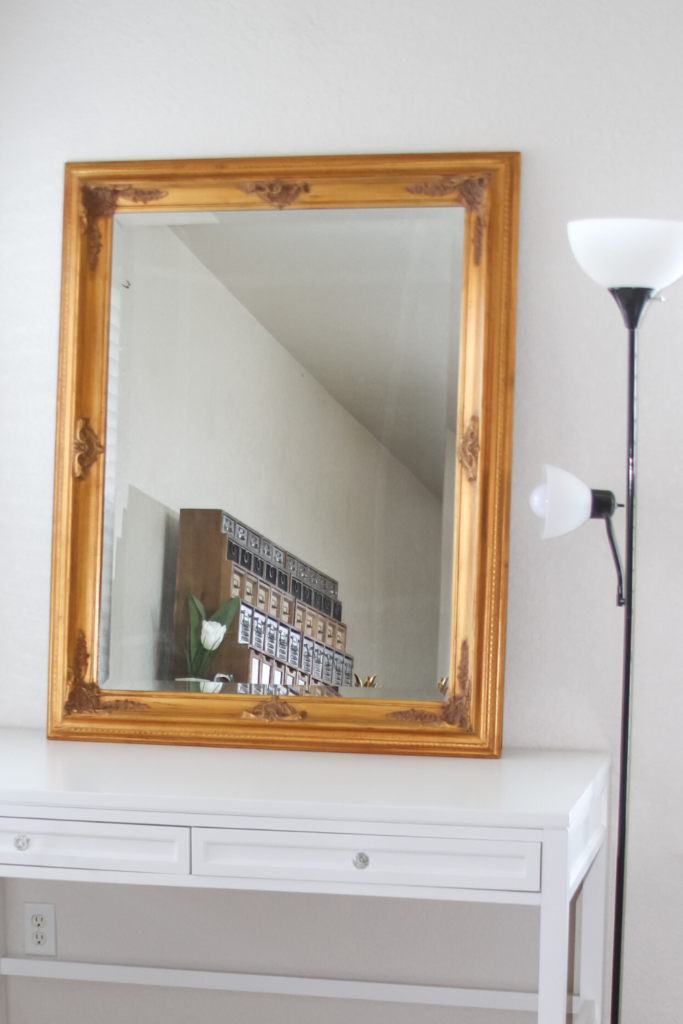
The measurements for this wood mirror is 48 inches by 38 inches, and what a steal it was!
Although it’s a large piece, you can customize your vanity mirror at any size.
I have been in a “Gold” decor phase lately, but this is too much gold for my taste!
Subsequently, I toned the gold down by painting the frame a flat white and leaving a small gold trim on the inside.
This project was so simple and took a couple of hours on the weekend to complete. And guess what? This entire project cost me under $50.00!
Without further ado, I’ll show you how I made my DIY vanity mirror with lights. Let’s Go!
SUPPLIES
- Mirror; any size
- LED Vanity lights
- White Interior Paint
- Small paint tray
- Paint Brush and Foam Brush
- Painters Tape
- Small piece of sandpaper – any grit. [I used fine grit]
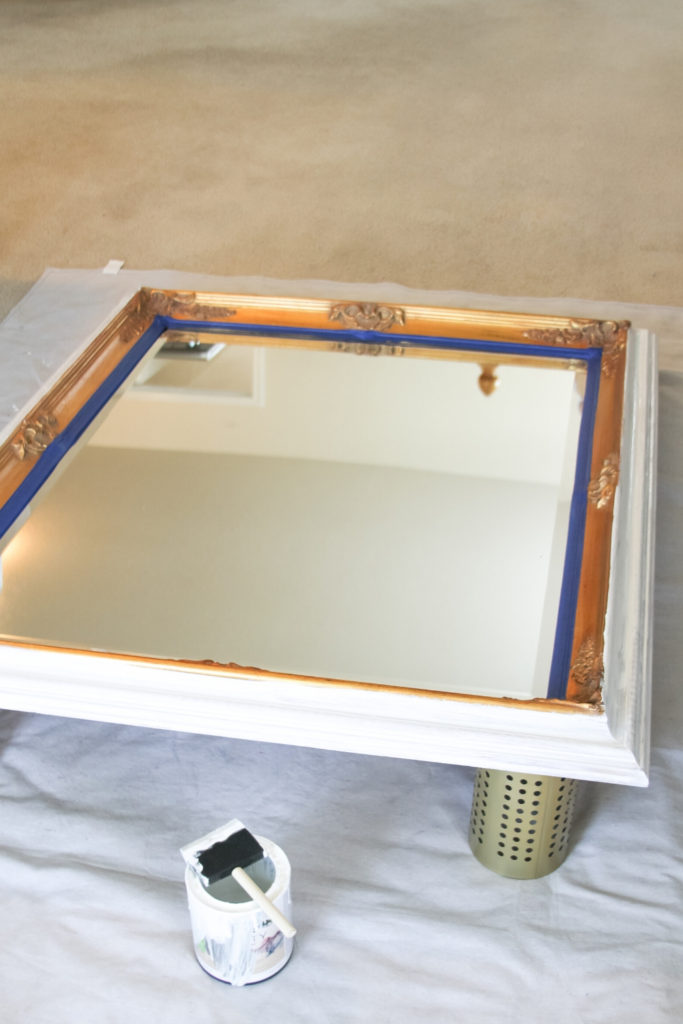
The first thing I did before getting started was to clean every nook and cranny. Then with painters tape, I covered a small trim of gold around the inside of the frame for a small pop of gold.
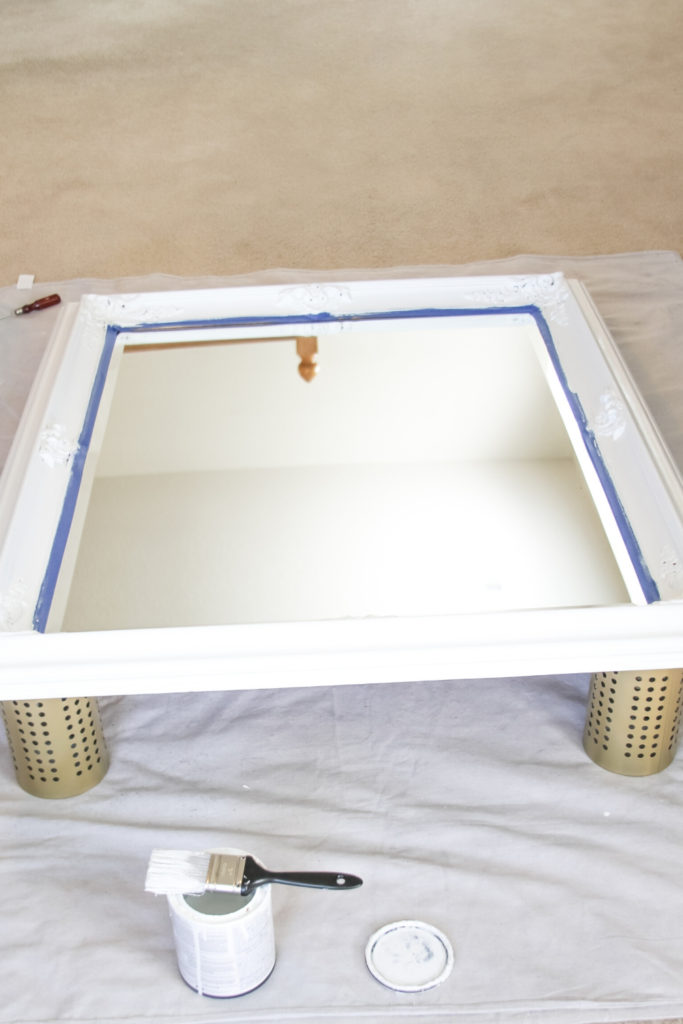
Then I painted the entire frame and textured decals with white flat interior paint with two layers with a paintbrush. Then, I went over the decals with a foam brush as the nook and crannies were pretty deep.
After the painting was complete I let it dry completely for about 30 minutes.
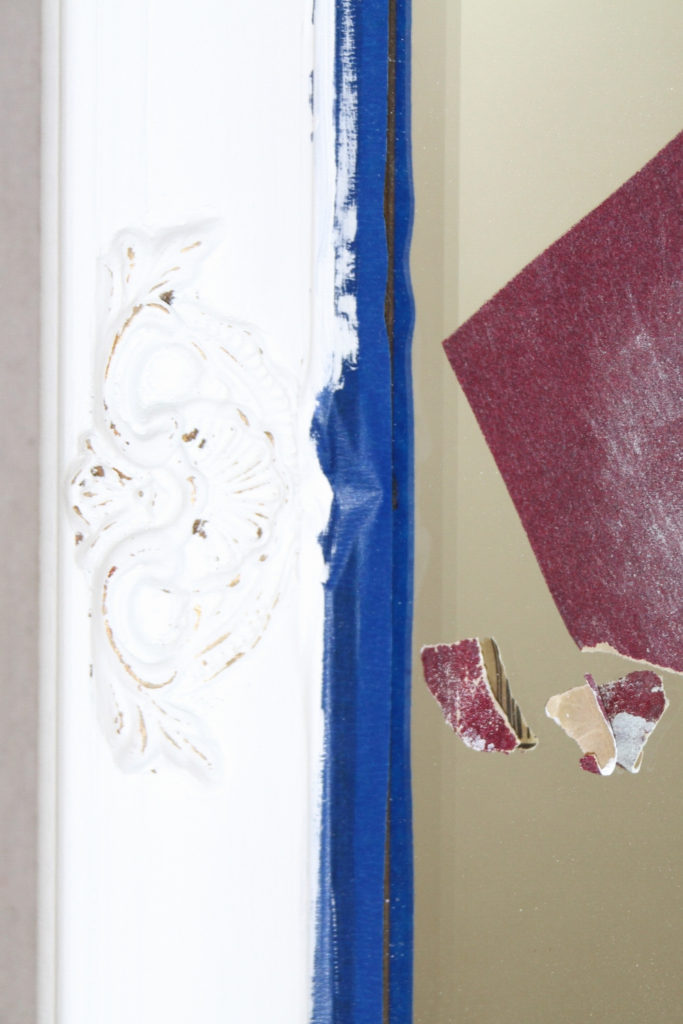
With the small piece of sandpaper, I wrapped a piece around my finger tip and gently distressed the paint off of the decals, and some of the edges of the frame to allow the gold to pop through.
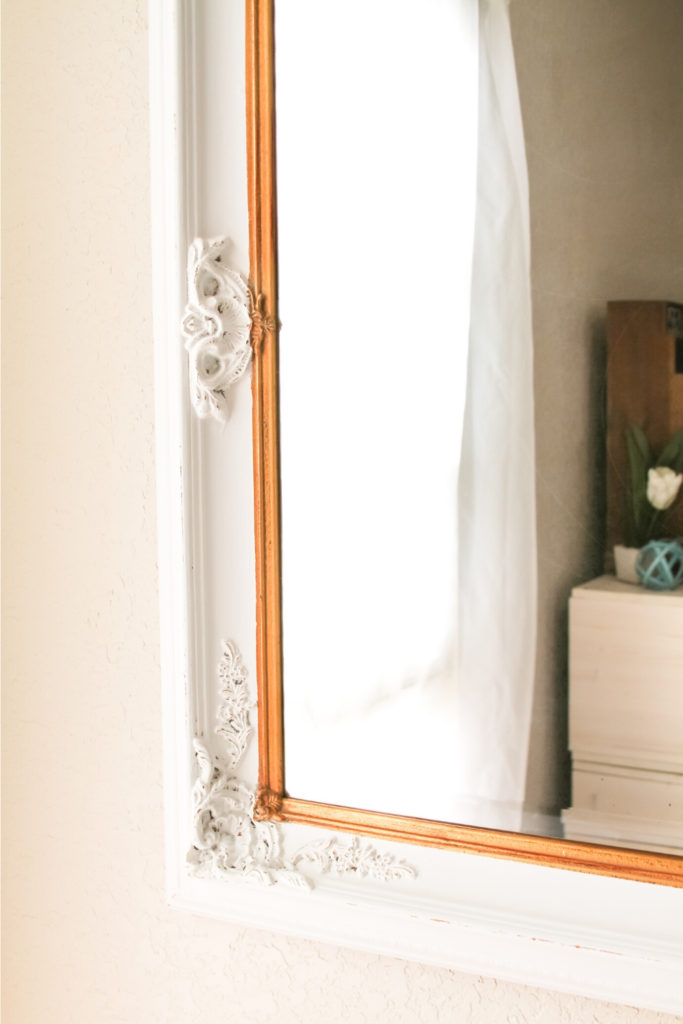
After distressing the chosen areas of the frame I wiped the mirror down once again and remove the painter’s tape to reveal the little bit of gold trim. I really love how it turned out, so far!
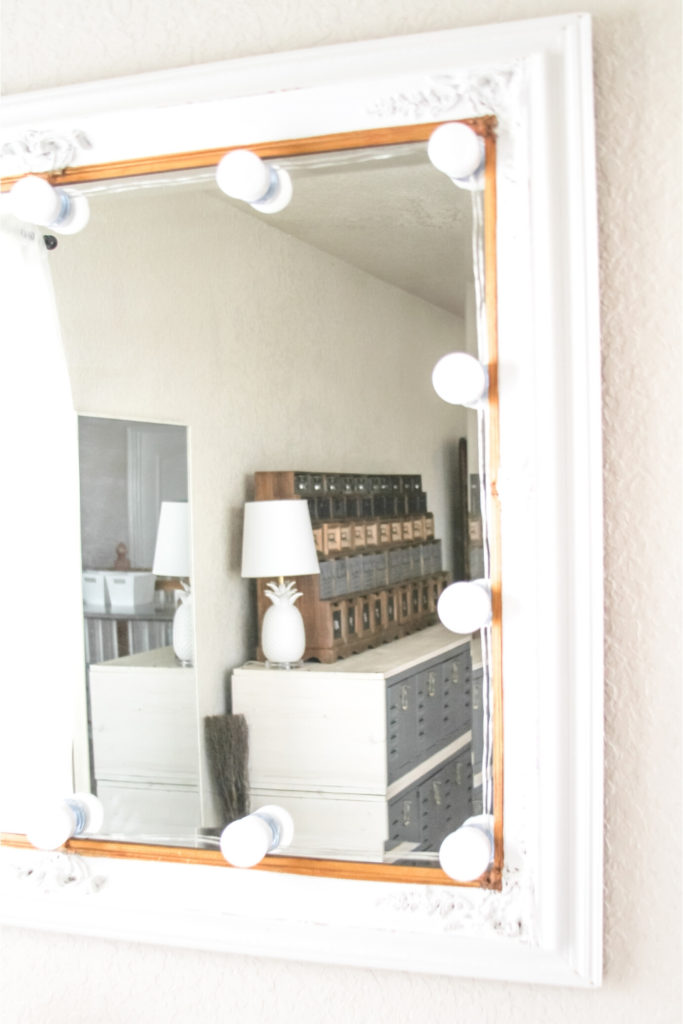
Last, but not least, I mounted the LED vanity lights to the mirror. The string of lights has 14 bulbs to fit nicely around my large mirror. If you have a smaller mirror, they have others to choose from, too!
If your mirror is as big as mine. I recommend that you assemble the LED vanity lights to the mirror before mounting to the wall or positioning on your table.
Assembling the lights was not difficult. They came assembled on a string light. The backing to each of the lights has a gel-like sticky pad that holds amazingly well. They were ready to be placed on the mirror after unpacking them from the box!
That’s it, you’re done! Easy Peasy!
Now all that’s left to do is to break out the powder puff and lipstick, and get your GLAM on!
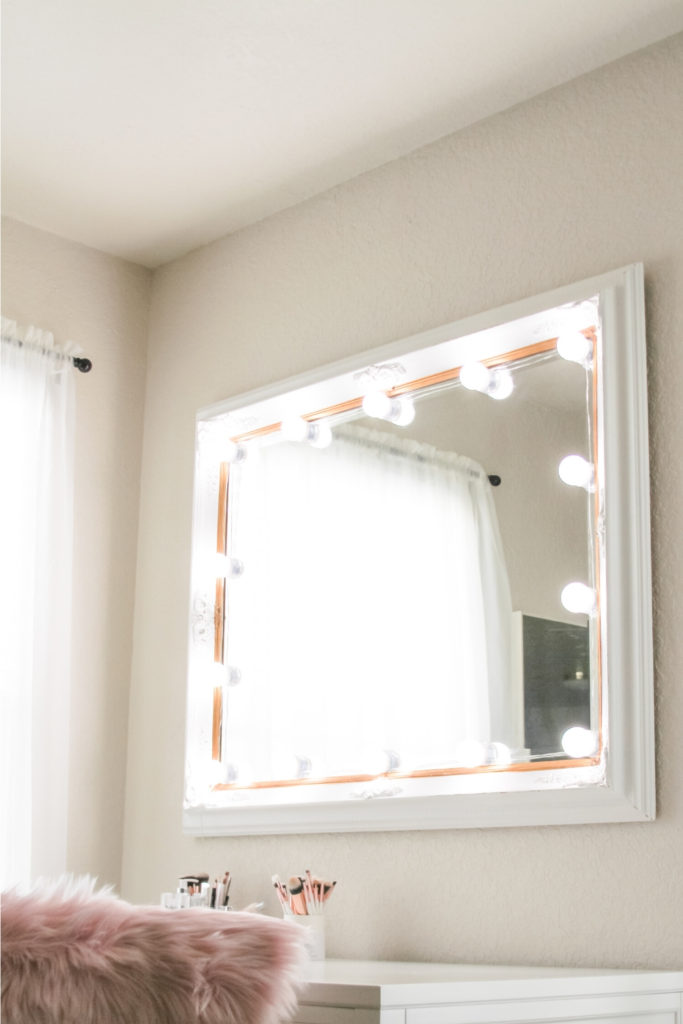
TAKEAWAY
If you’re in need or in want of a vanity mirror with lights, then this DIY vanity mirror project is for you! It is simple to make and so budget friendly! Have you seen how much these babies are if you bought one brand new?
Make and customize your own vanity mirror and save your pennies, friends! I completed this project just under $50.00! It was so worth it!
I love how it turned out! What do you think? What will you do, BUY or DIY?
Let me know your thoughts in the comments below. Don’t forget to share, PIN, and tag me a photo at #makesandmunchies on Instagram if you DIY your own vanity mirror with lights! I’d love to see your results!

[…] Click for more details […]