Have you been craving to make DIY concrete coasters that have been trending for years? Me too! I’ve seen many different ways to DIY concrete coasters, such as painting them, adding embellishments, and such.
So, I thought I’d finally give it a try myself.
Today, I’m going to show you how I made these simple concrete coasters in 30 minutes! Making these coasters was super quick. However, plan on a little extra time to allow them to dry and cure.
I have tons of other ideas on concrete projects I want to share with you. These concrete project ideas I have are fresh ideas that haven’t been seen on the internet, you won’t want to miss them!
So, if you’re not signed up with Makes and Munchies, do so now! Don’t miss out on the new concrete projects that are in the making! Fill out the form below!
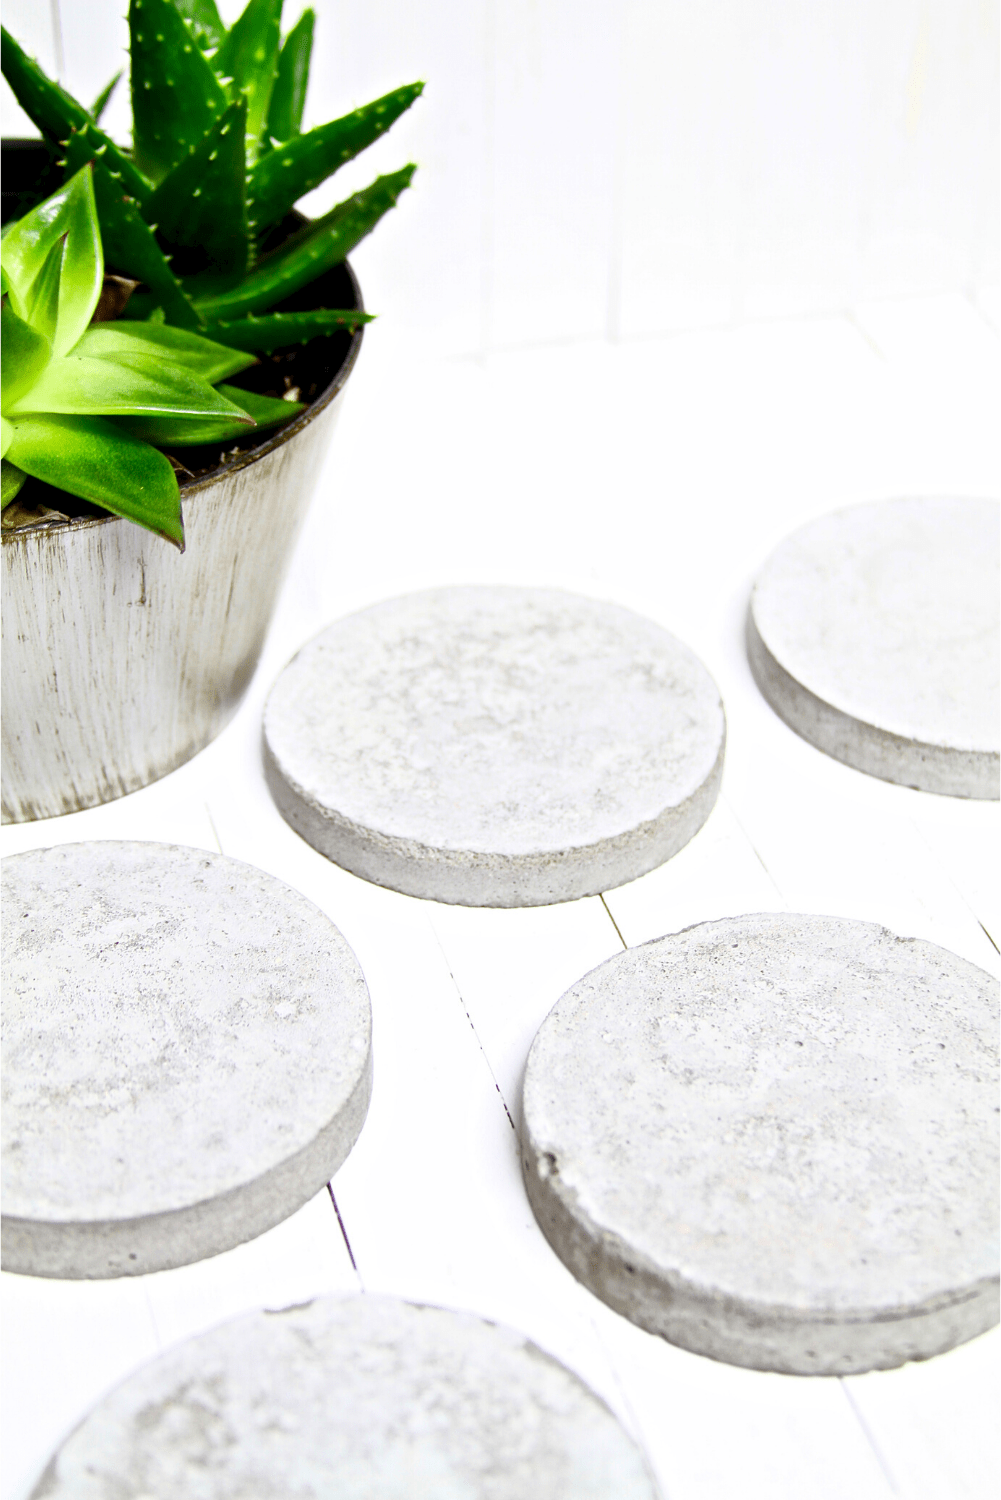
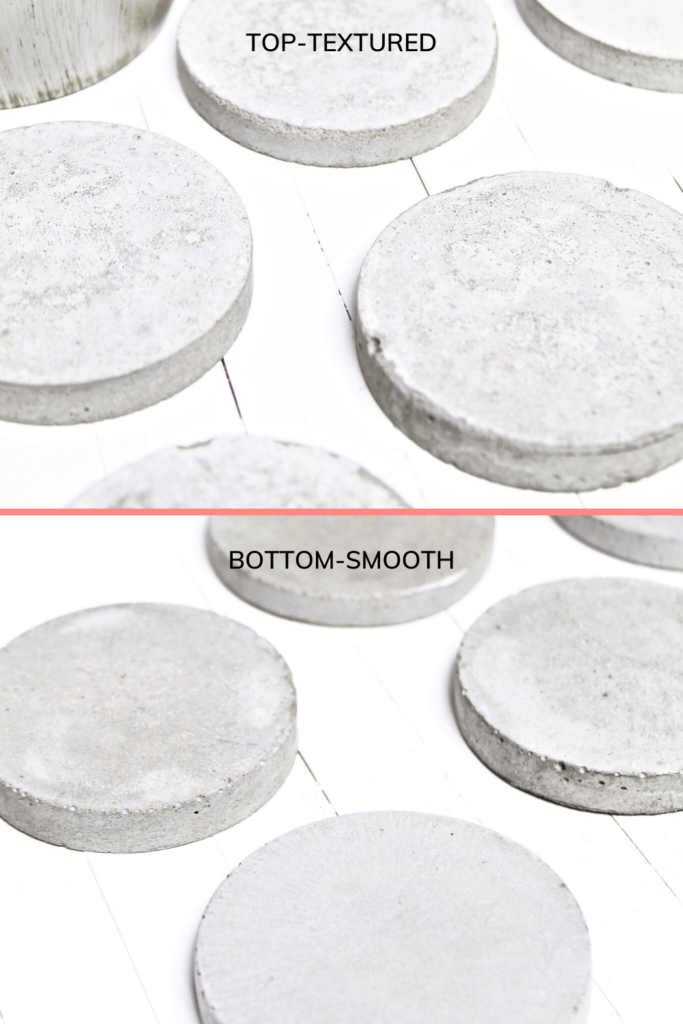
Below, is the top view of the coasters which I love! I love the raw natural texture.
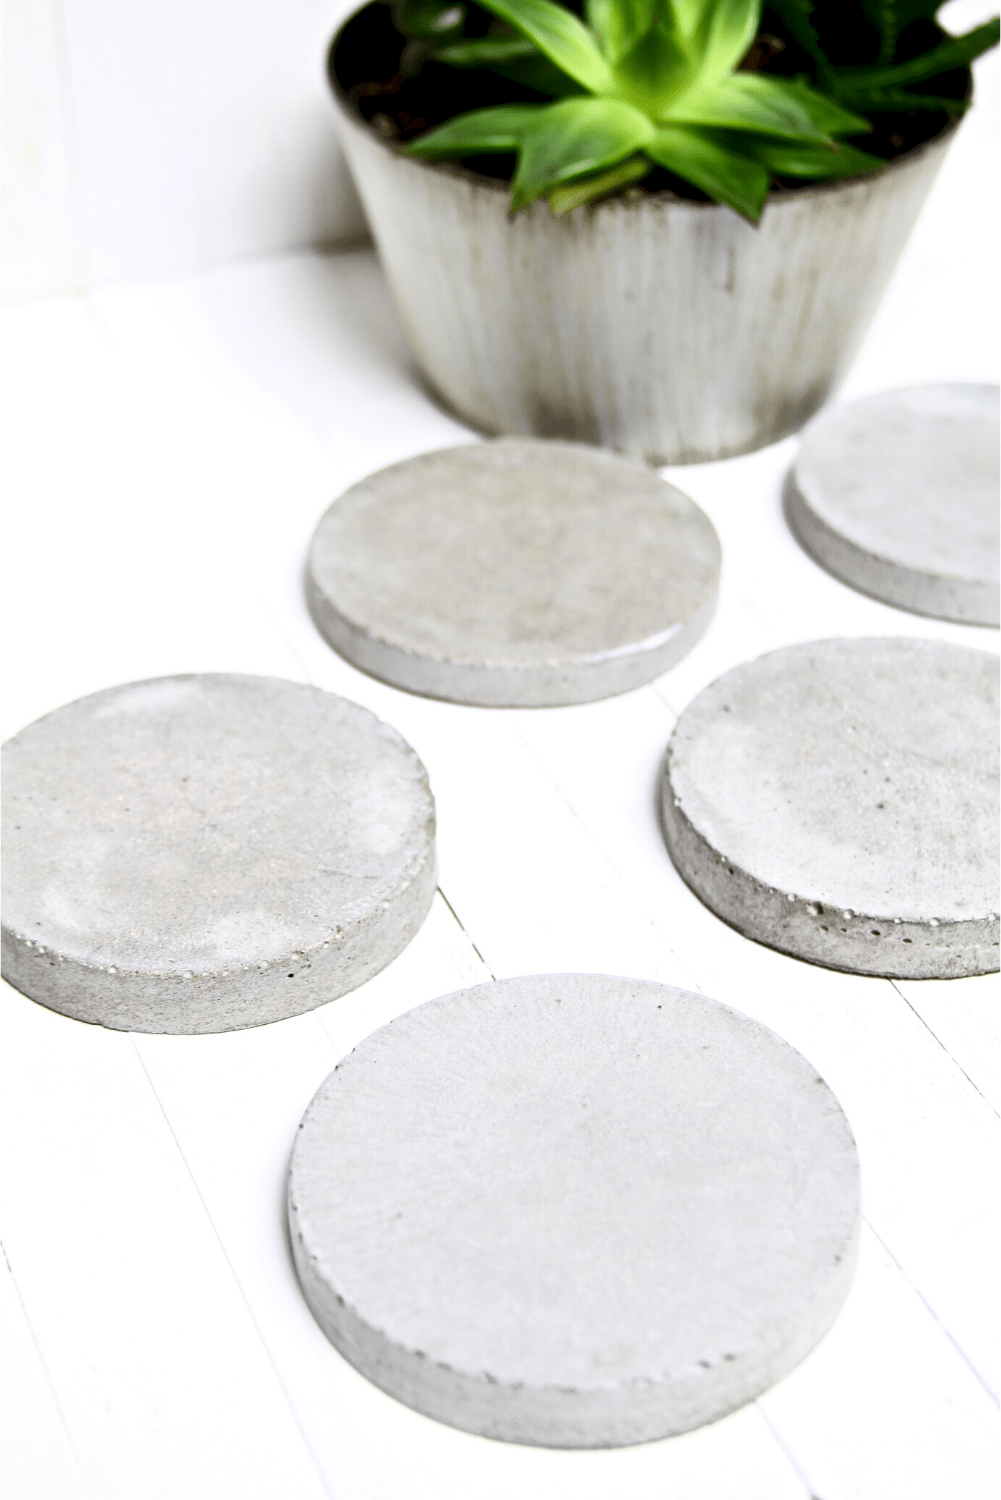
And below, my husband loves the smooth clean texture on the bottom of the coasters! That’s okay though because I made plenty of coasters to go around! Win, win!
Are you ready to make simple concrete coasters? Let’s get started!
SUPPLIES FOR 6 CONCRETE COASTERS
- 6 Pocket 4-inch circled Silicone Mold
- 3 cups QUIKRETE Ready-To-Use Concrete Mix
- Mod Podge Matte or Glossy [I used Matte]
- 18 1 inch felt pads
- Plastic Measuring Cup
- Plastic Spoon
- Sponge Brush
- Cooking oil
- Sanding Sponge
- Water
- Face Mask
- Gloves
As a reminder, SAFETY FIRST! Use a face mask and gloves when following this project! Read all manufacturer instructions and warnings for all products used! It is prefered to work with the concrete mix outdoors or a well ventillated area!
STEP 1-4
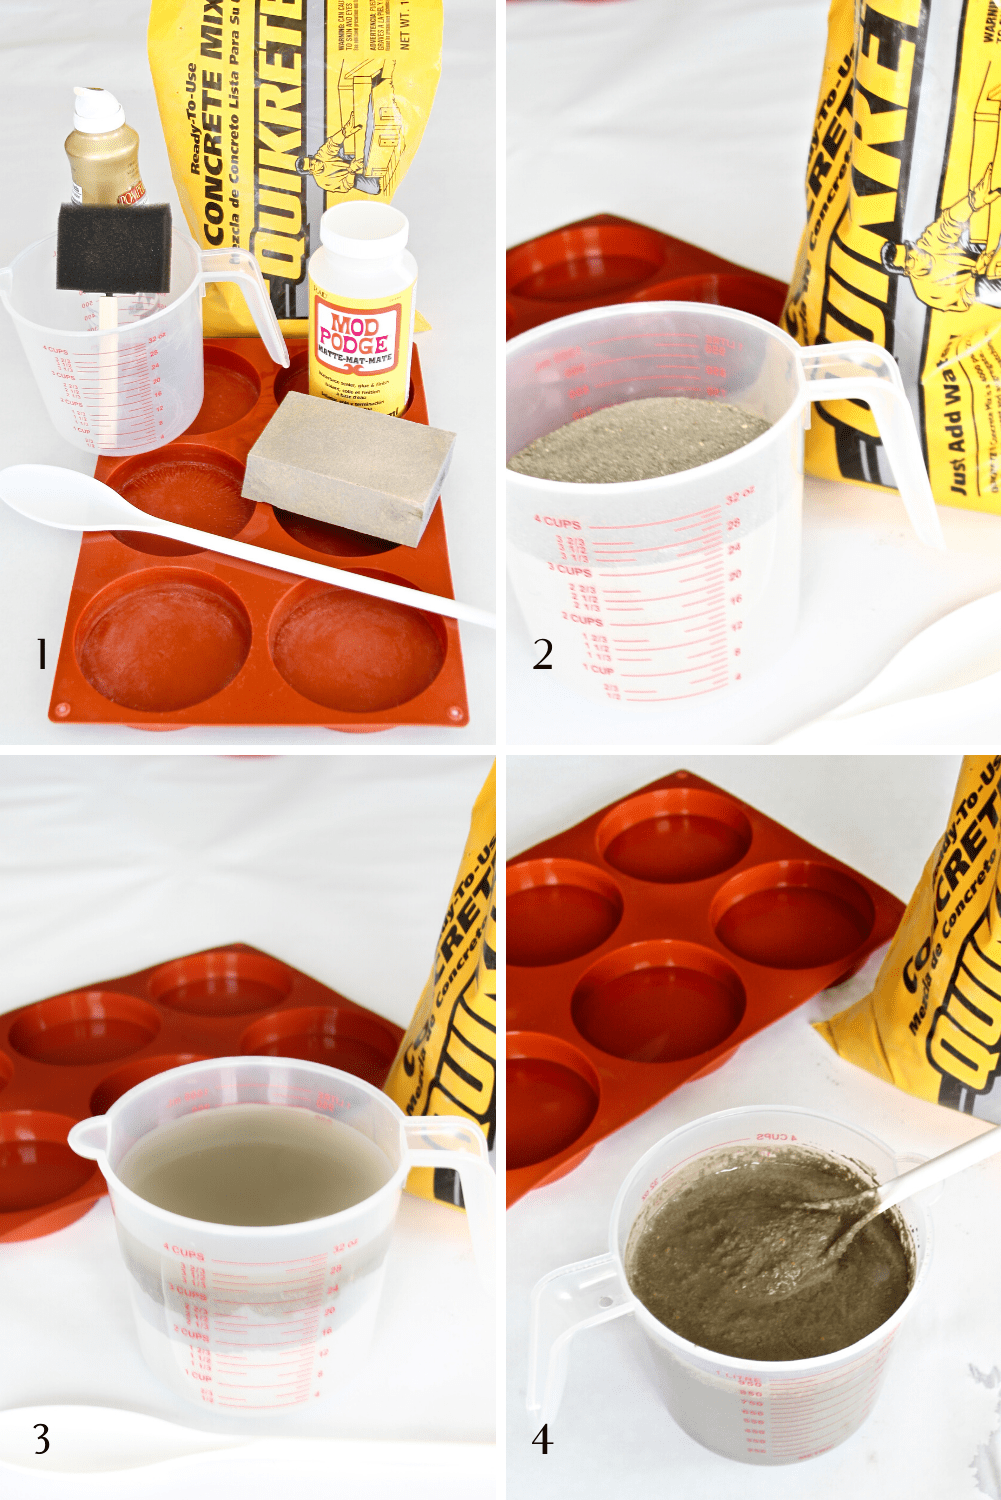
STEP 1: Gather and prep all of your supplies.
STEP 2: Measure 3 cups of the concrete mix into the measuring cup. [Dollar tree has plastic 4 cup measuring cups shown in the photos]
I love this concrete mix! It’s no fuss and Ready-to-Use!
STEP 3: Top with 1 cup of water.
STEP 4: Carefully mix the concrete and water well. Do not add more water! The mixture will thicken as you stir. Don’t worry if it’s a little runny. This makes for easy pouring into the mold.
STEP 5-8
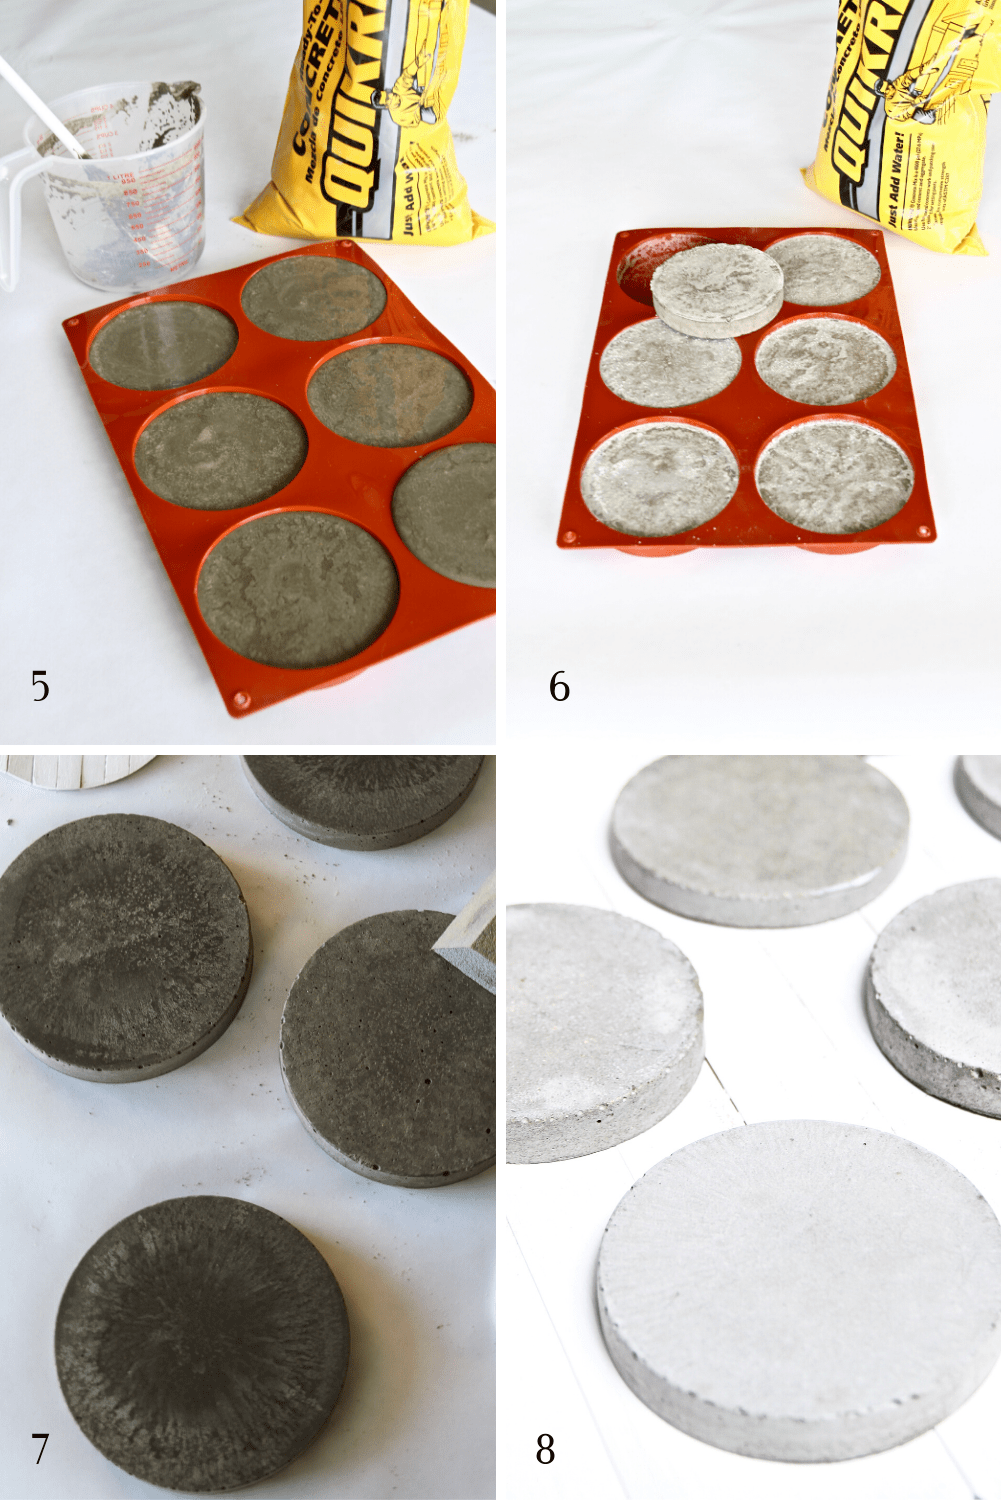
STEP 5: Lightly spray cooking oil into each pocket of the mold and spread thoroughly with your finger at the bottom and sides of the mold. Pour just enough of the concrete mixture into each pocket of the mold. This recipe will fill 6 pockets.
STEP 6: Let the concrete mixture cure overnight. Then, remove them from the mold.
STEP 7: Sand the coasters with the sanding sponge to soften the edges, sides, top, and bottom smooth. While sanding the coasters run water over the coasters at the same time to release any loose pieces and to remove the concrete dust.
STEP 8: Again, let the concrete coasters dry for several hours before adding a sealant. In photo #8 above you can see what it will look like once it’s dry. [See step 9 for how to seal the coasters]
In the photo below you’ll see the difference between the top and the bottom of the coasters.
My husband loves the smooth side and I love the textured side.
Which side of the concrete coaster do you prefer? The top, or the bottom?
STEP 9-10
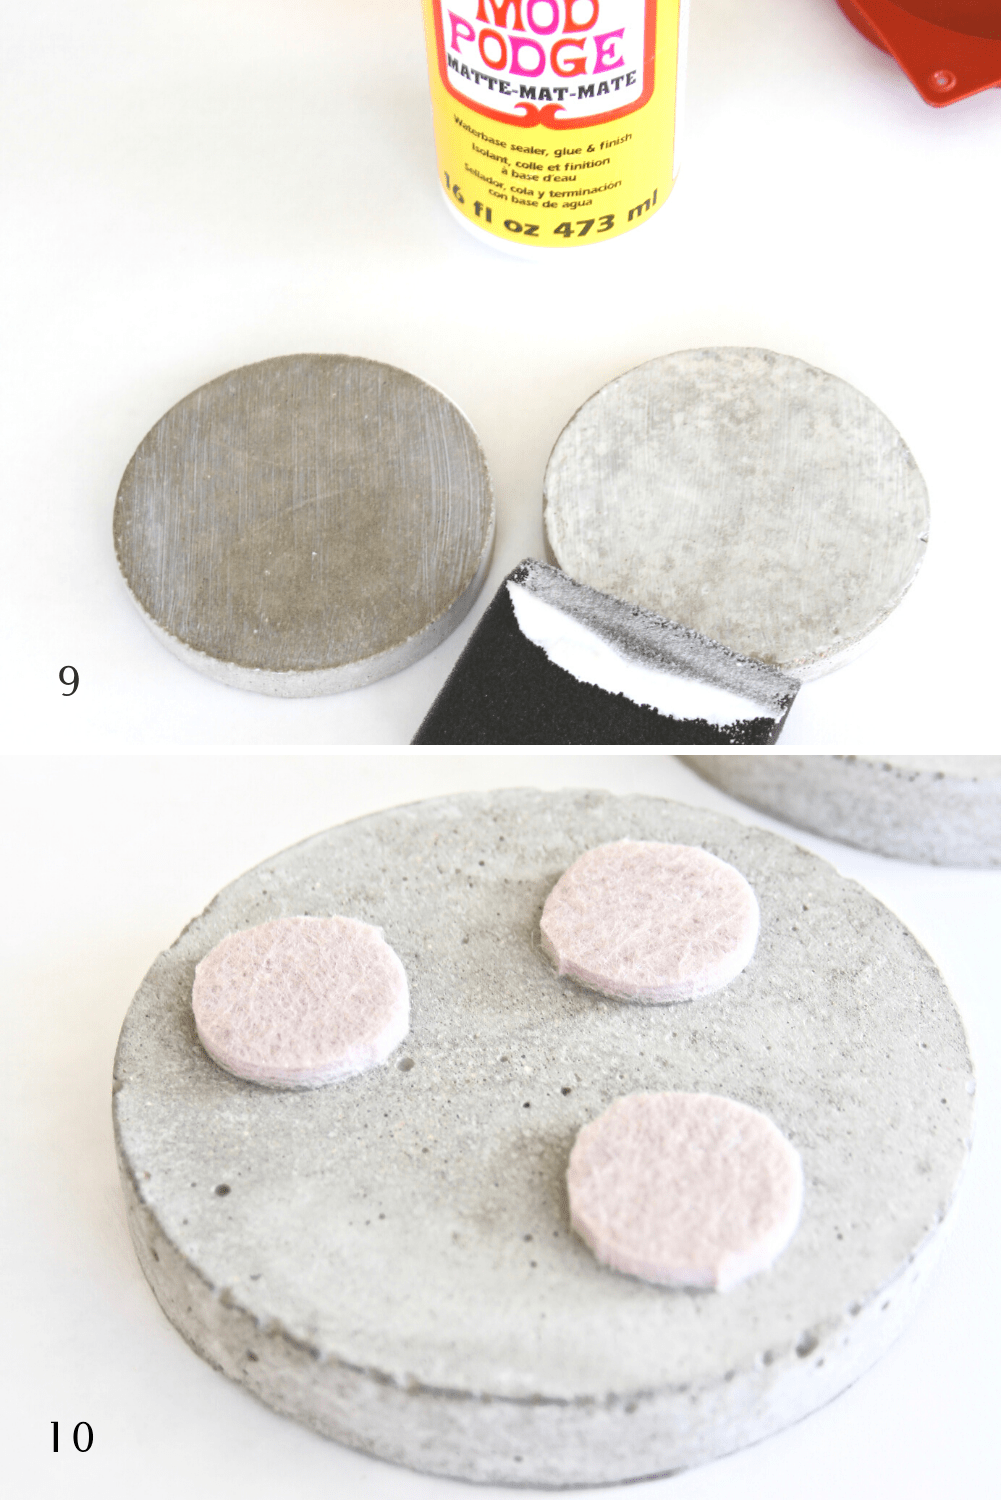
In photo #9, the coaster on the left is Mod Podged on the smooth bottom surface. And, the coaster on the right is Mod Podged on the textured top surface.
There are many ways you can seal the concrete coasters but I chose to use Mod Podge. The Mod Podge worked great for this project and dried very quickly!
There are different types of Mod Podge you can use however I used matte on mine.
STEP 9: The Mod Podge looks very creamy white, but don’t worry! It will dry clear. Apply a small amount of Mod Podge onto the foam brush to seal the coasters doing long strokes in one direction on the top, bottom, and sides. Repeat one more time. Let dry.
STEP 10: Peel the backing off of 3 felt circles and stick onto each coaster to protect your furniture from scratches, and you’re done!
PIN ME FOR LATER!
TAKEAWAY
To sum it up, I’ve seen concrete coasters trending for a while now. Many bloggers have wonderful and creative ideas on how to make concrete coasters. So, I finally tried it myself!
Since this is the first time I’ve ever played around with the thought of creating anything with concrete. I have to say I thoroughly enjoined it!
Making these simple concrete coasters was quick and easy and I was finished in less than 30 minutes. It did take extra time to allow the coasters to dry and cure overnight but other than that it was quick!
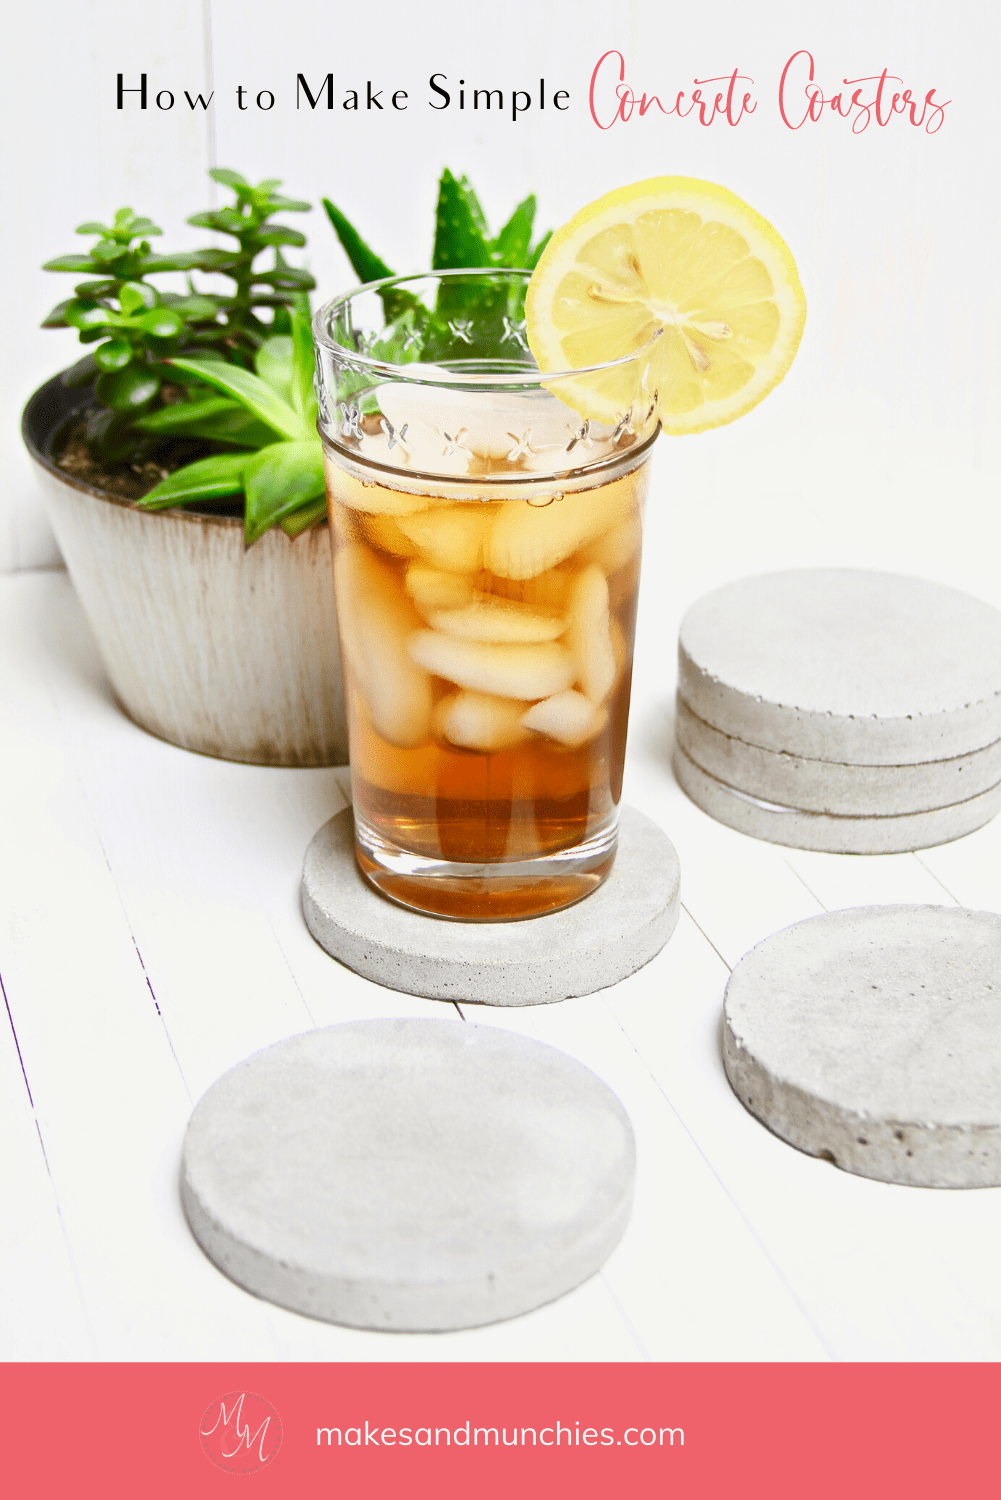
I love how they turned out. They’re simple, modern, and will be used every day!
My husband loves the smooth texture on the bottom and, I love the textured top of the coasters.
What are your thoughts on how these turned out? Do you prefer the textured top or the smooth bottom?
Keep checking back for more projects like this one!
If you try this project, let me know! Write a comment below and let me know your thoughts. Pin it, share it, and don’t forget to tag a photo to #makesandmunchies on Instagram. I’d love to see your results!

