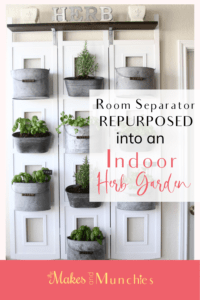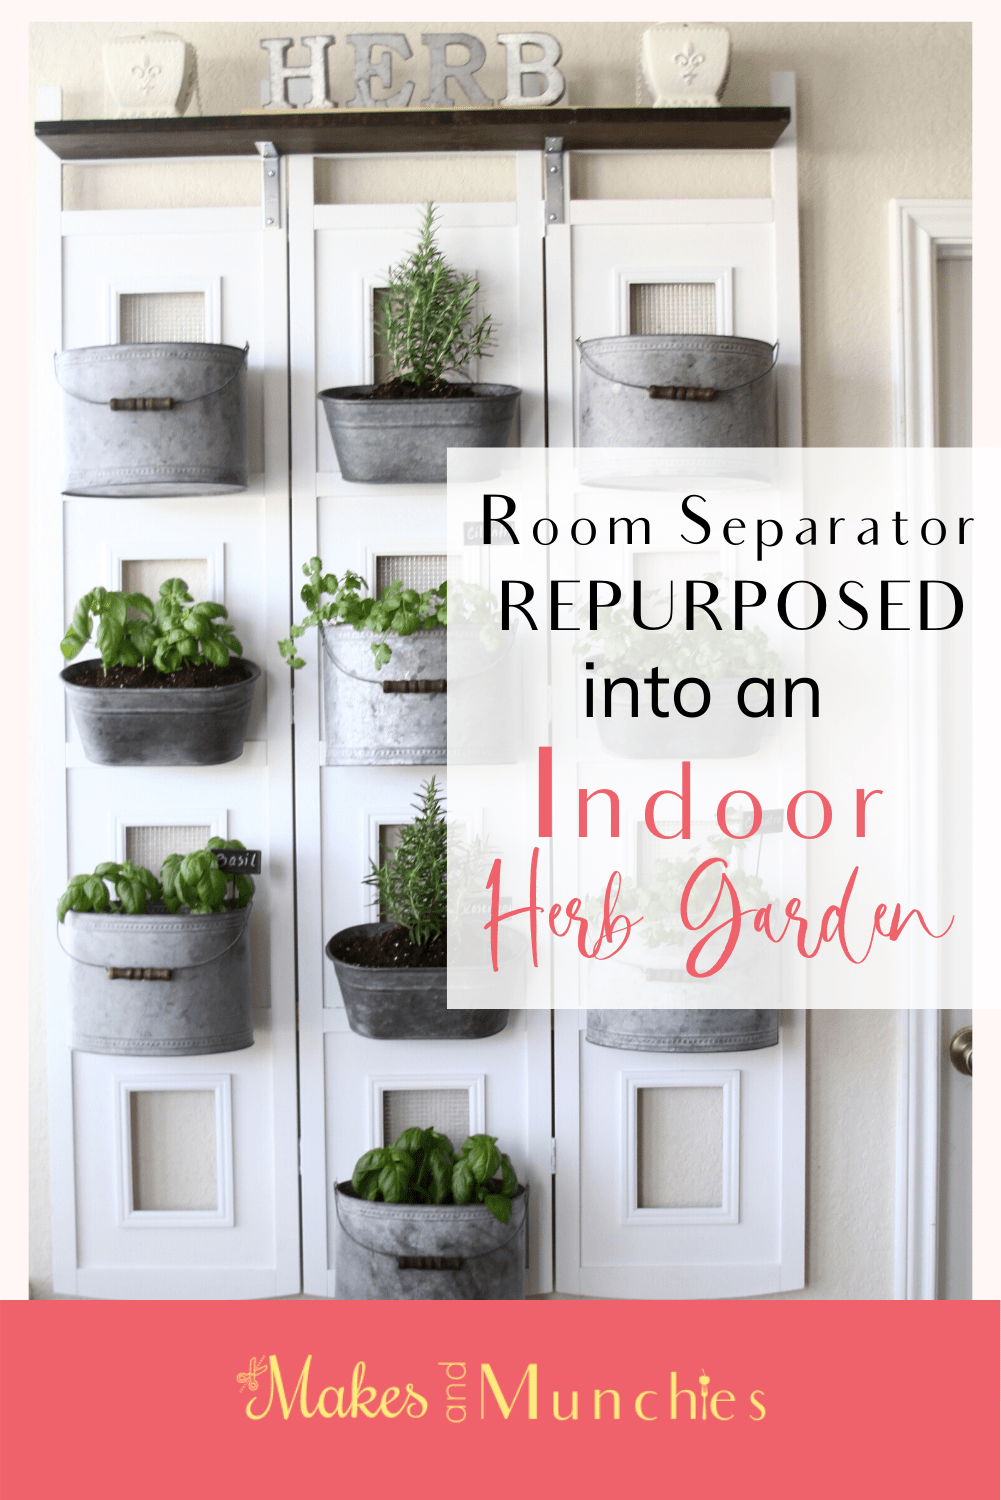
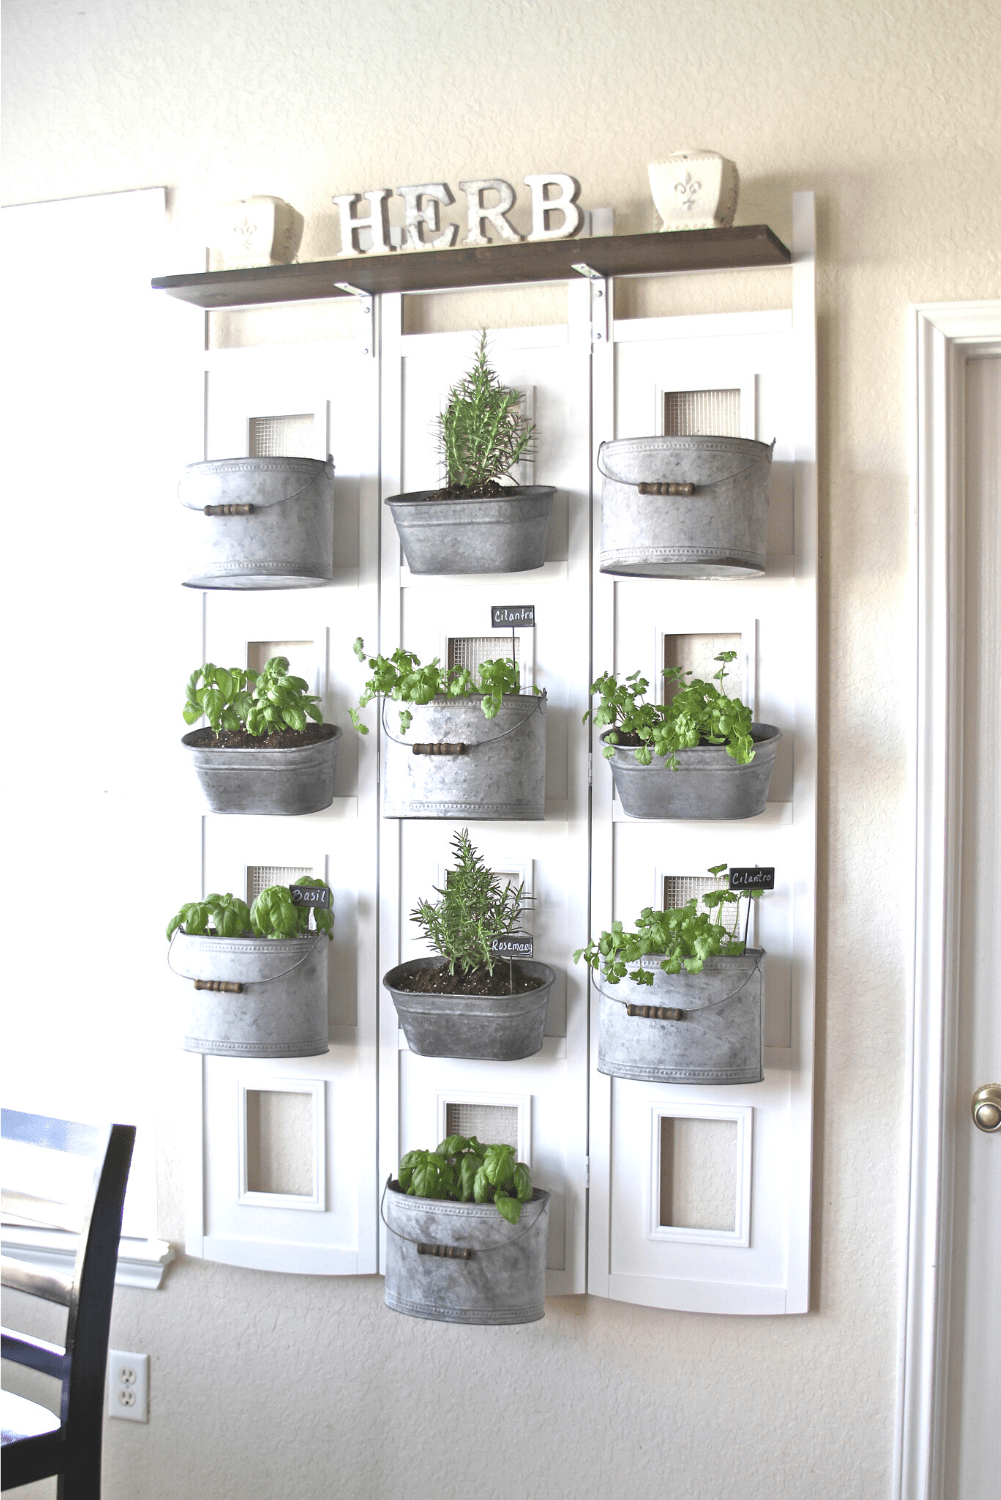
Hi, Friends! Today, I’m going to show you how I repurposed a dingy old room separator into an indoor herb garden. You’ll be surprised how simple this DIY project is.
Throwing items away is not my style. Just because it’s old or outdated, doesn’t mean it should be a tossed out.
OK, I have to admit. I’m a self-proclaimed junk furniture hoarder. I feel everything has a purpose one way or another. Anything can be repurposed or up-cycled to be precisely what you want it to be.
I’ve had this 3-panel room separator for over 20 years, and it has served many purposes. But I think my favorite purpose, is this indoor herb garden.
I absolutely adore having fresh herbs for cooking at my disposal. And it looks beautiful too.
If this project is a little bit too intense for you and you like the concept, but would rather have the same result but with a smaller scale, try this project here.
Without further ado, Go and grab your supplies and room separator and let’s get started!

Always remember to use common sense before starting any project, Safety First! Use safety glasses, gloves and/or mask when necessary.
SUPPLIES
- Black & Decker Drill
- Phillips Drill Bit
- RUST-OLEUM Painters Touch Ultra Cover Paint & Primer in Satin Heirloom White
- MINWAX Wood Stain Chestnut Brown
- Soft cloth
- 1 Paint Brush
- 4 Heavy Duty Wall Anchors
- 2 1in. X 2in. X 4ft. length-Spruce Pine [backing]
- 1 1in. X 2in. X 2ft. length-Spruce Pine [shelf]
- 10 1/4 in. X 1 in. Bolts with nuts.
- 10 metal buckets [various sizes]
- 8 2 in. screws
- Chicken wire cut into 6X8 rectangles
- Wire cutters
- Staple Gun & Staples
- Shelf Brackets and screws
- Herbs
- Pebbles or lava rock
- Garden soil
- Dropcloth [optional]
- Gardening tools
STEPS 1-4 Room Separator Repurposed into an Indoor Herb Garden
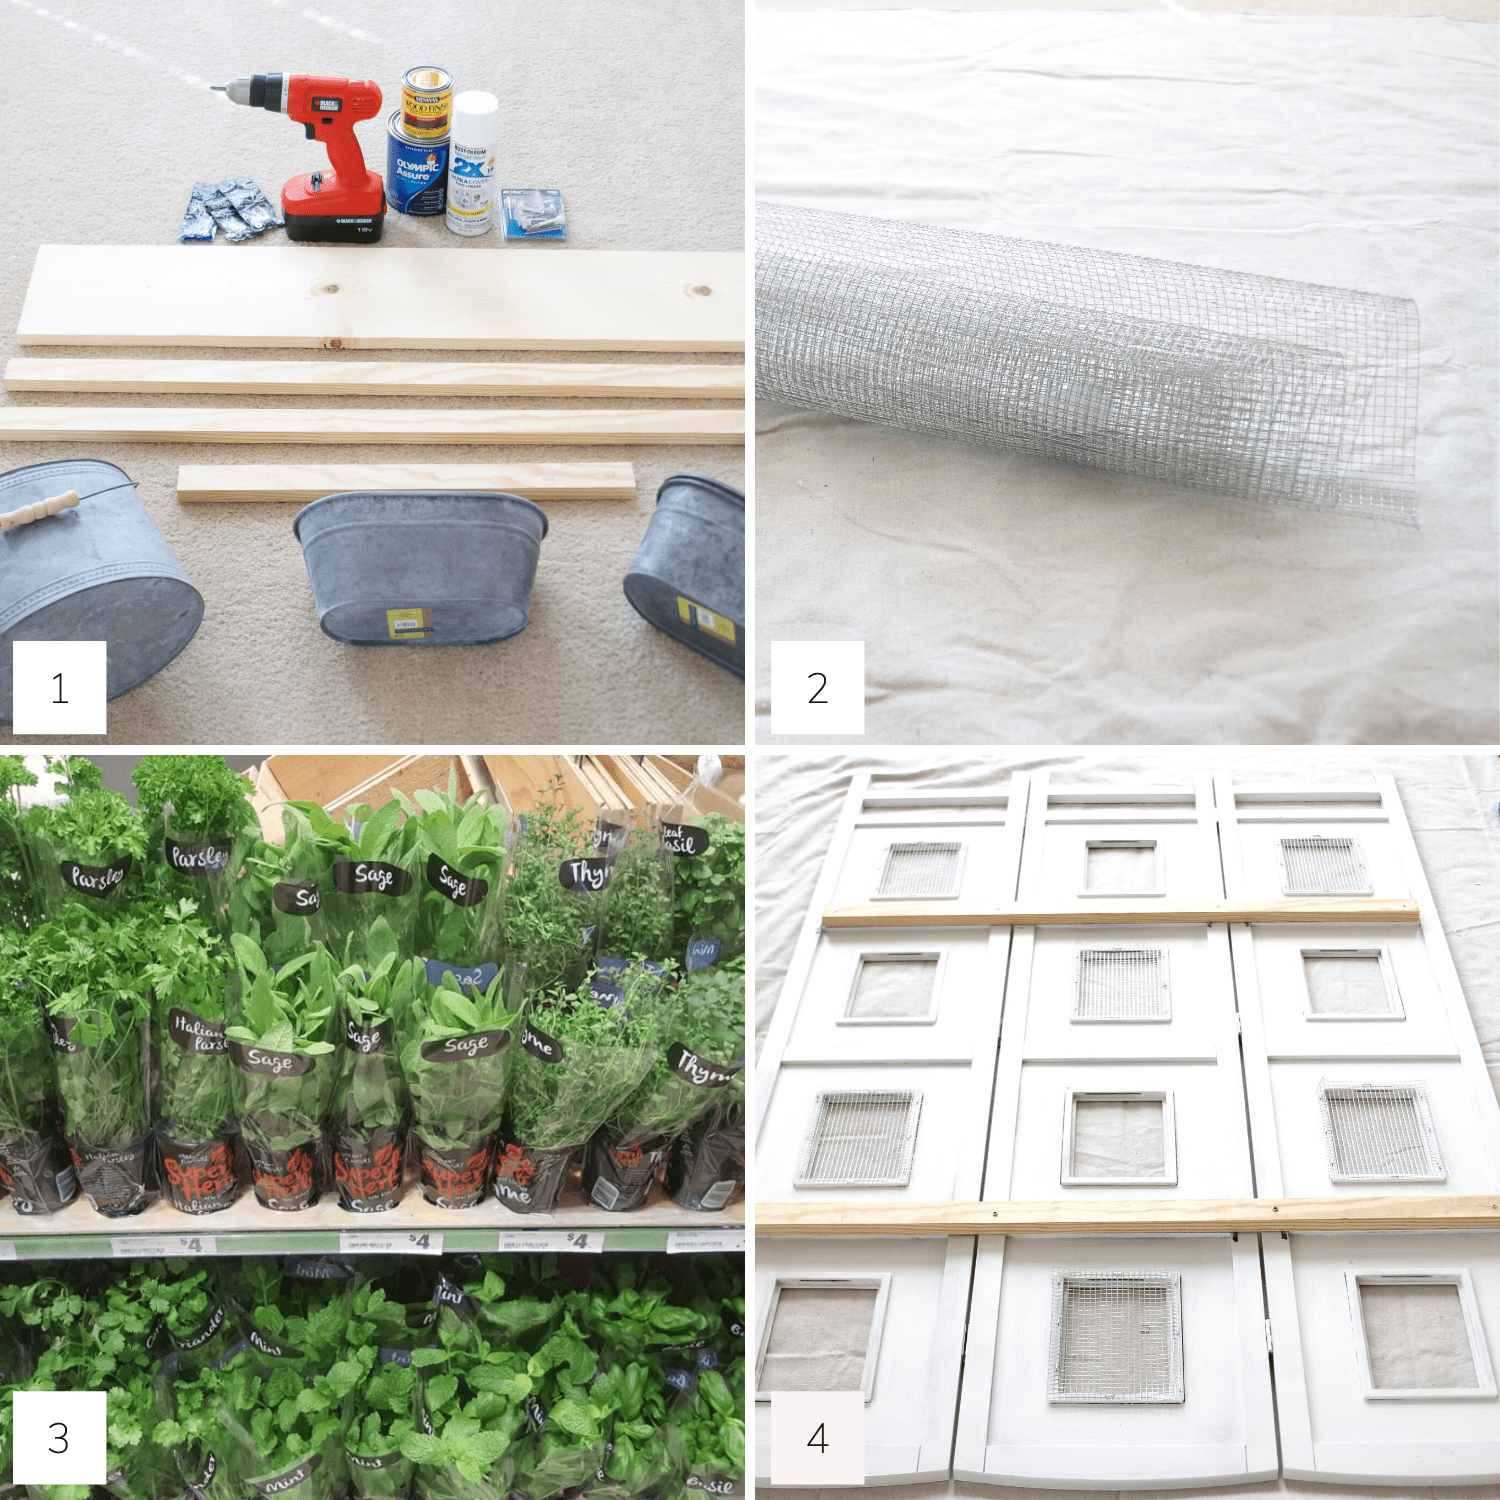
STEP 1: Gather up all of the necessary supplies and prep your workspace. Wipe down the room separator to make sure it’s free of dust. Remove the frame backing and glass from the windows. [This was a room separator that has built-in picture frames if I had lost you there for a second.]
STEP 2. Prep, measure, and cut out six 6in.X8in. rectangles of the chicken wire with your wire cutters. Set aside.
STEP 3: Unpack, and trim your herbs. Then choose which herbs are going in which bucket. Set aside.
STEP 4 & 5: Apply several coats of paint to the front and back of the room separator with the RUST-OLEUM Painters Touch Ultra Cover Paint & Primer in Satin Heirloom White. Let dry.
With the front of the separator facing down, staple the chicken wire to the window openings of the room separator. I’ve chosen every other window.
Place the 2 1in. X 2in. X 4ft. length-Spruce Pine backing in the back of the separator, as shown above, and secure with screws. Use 4 screws for each backing. This is going to keep the panels secure and free of movement.
STEPS 5-8 Room Separator Repurposed into an Indoor Herb Garden
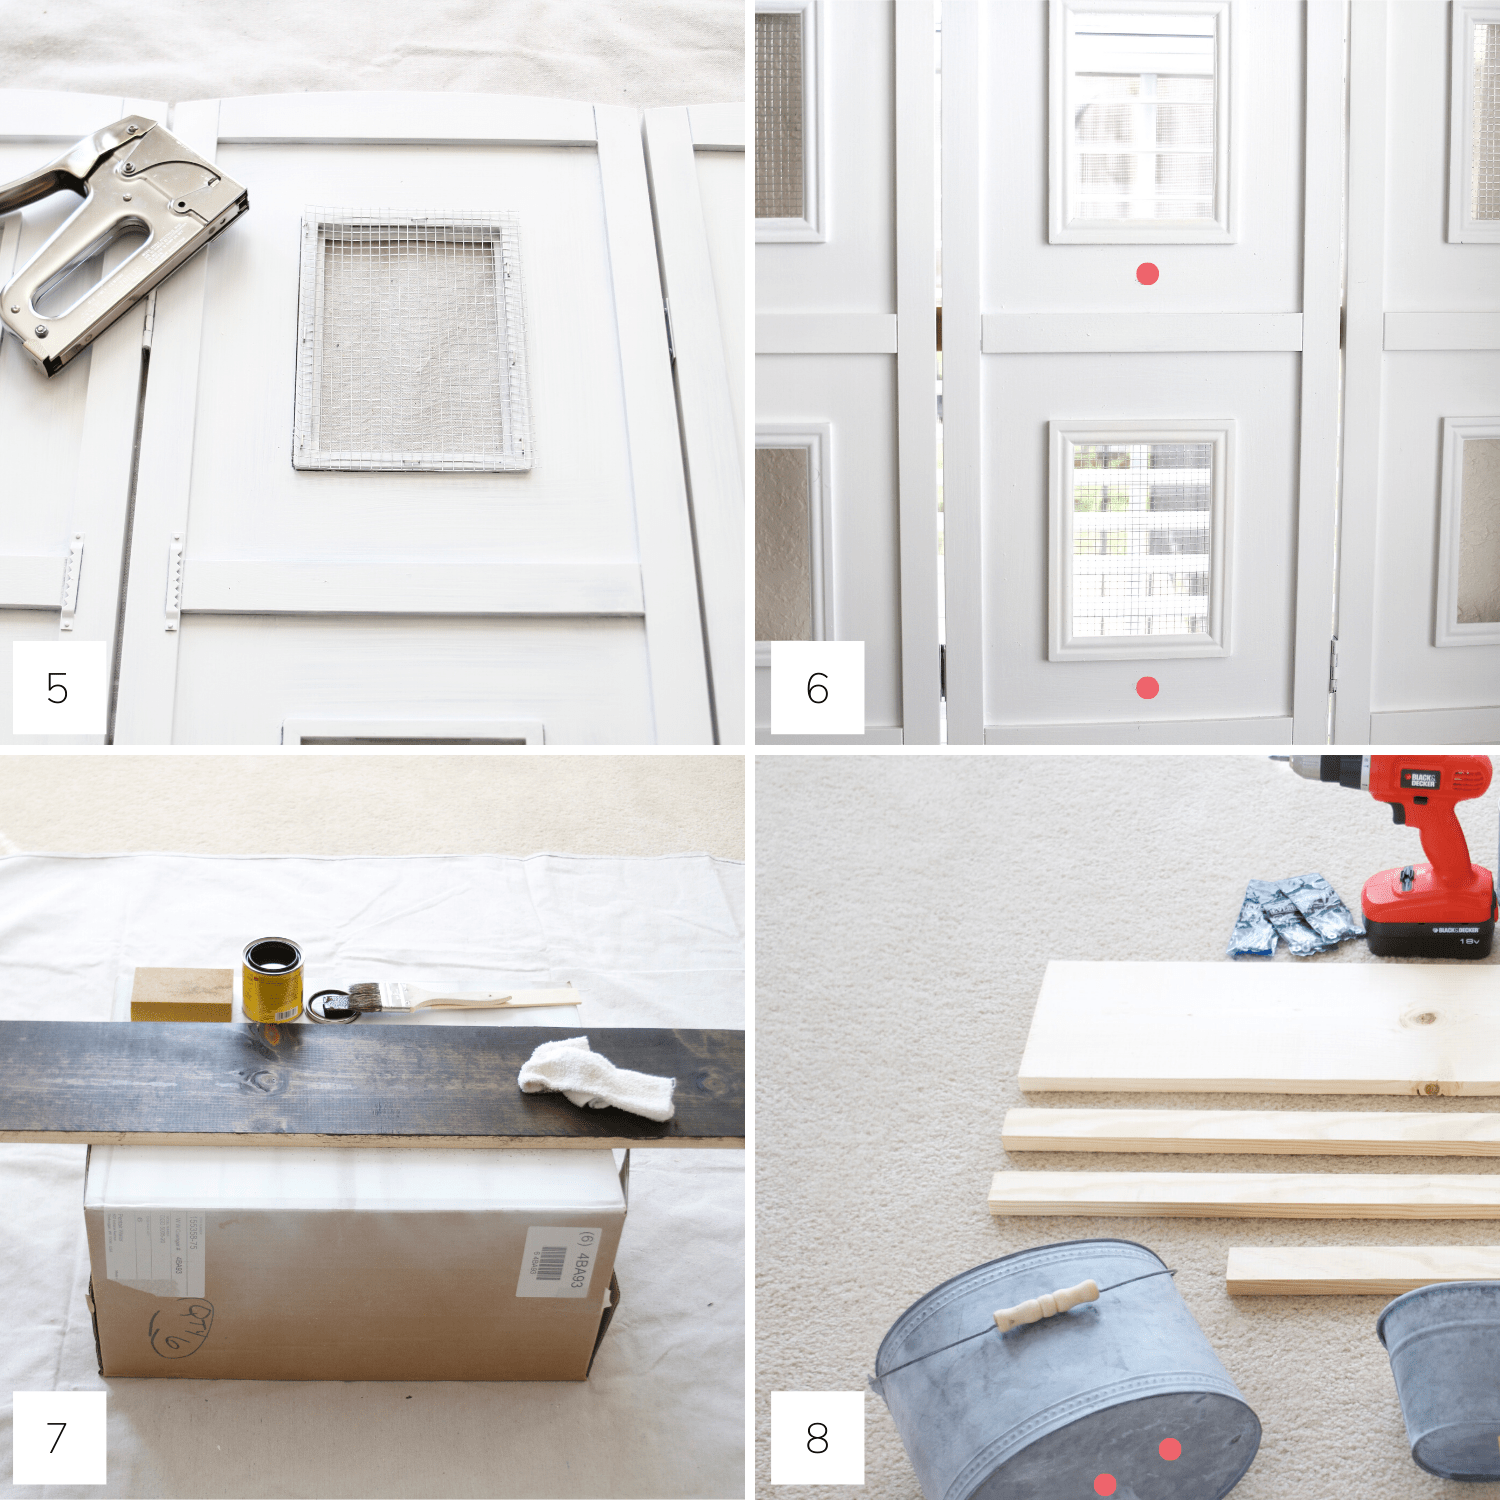
STEP 5: This is a close up of the staple placement.
STEP 6: Stand the separator upright, but upside down. The feet will be facing upwards. The feet of the separator is now the top of the indoor herb garden. Measure, mark, and drill holes where the buckets will rest.
STEP 7: Stain the shelf and bucket handles with MINMAX Wood Stain Chestnut Brown, let it dry, then attach the shelf to the separator, using the brackets and screws.
I simply brushed the stain on with a paintbrush and wiped off the excess with a soft cloth. Let dry and Set aside.
Attach the shelf to the separator using the brackets.
STEP 8: Drill several drainage holes on the bottom of each bucket.
STEPS 9-10 Room Separator Repurposed into an Indoor Herb Garden
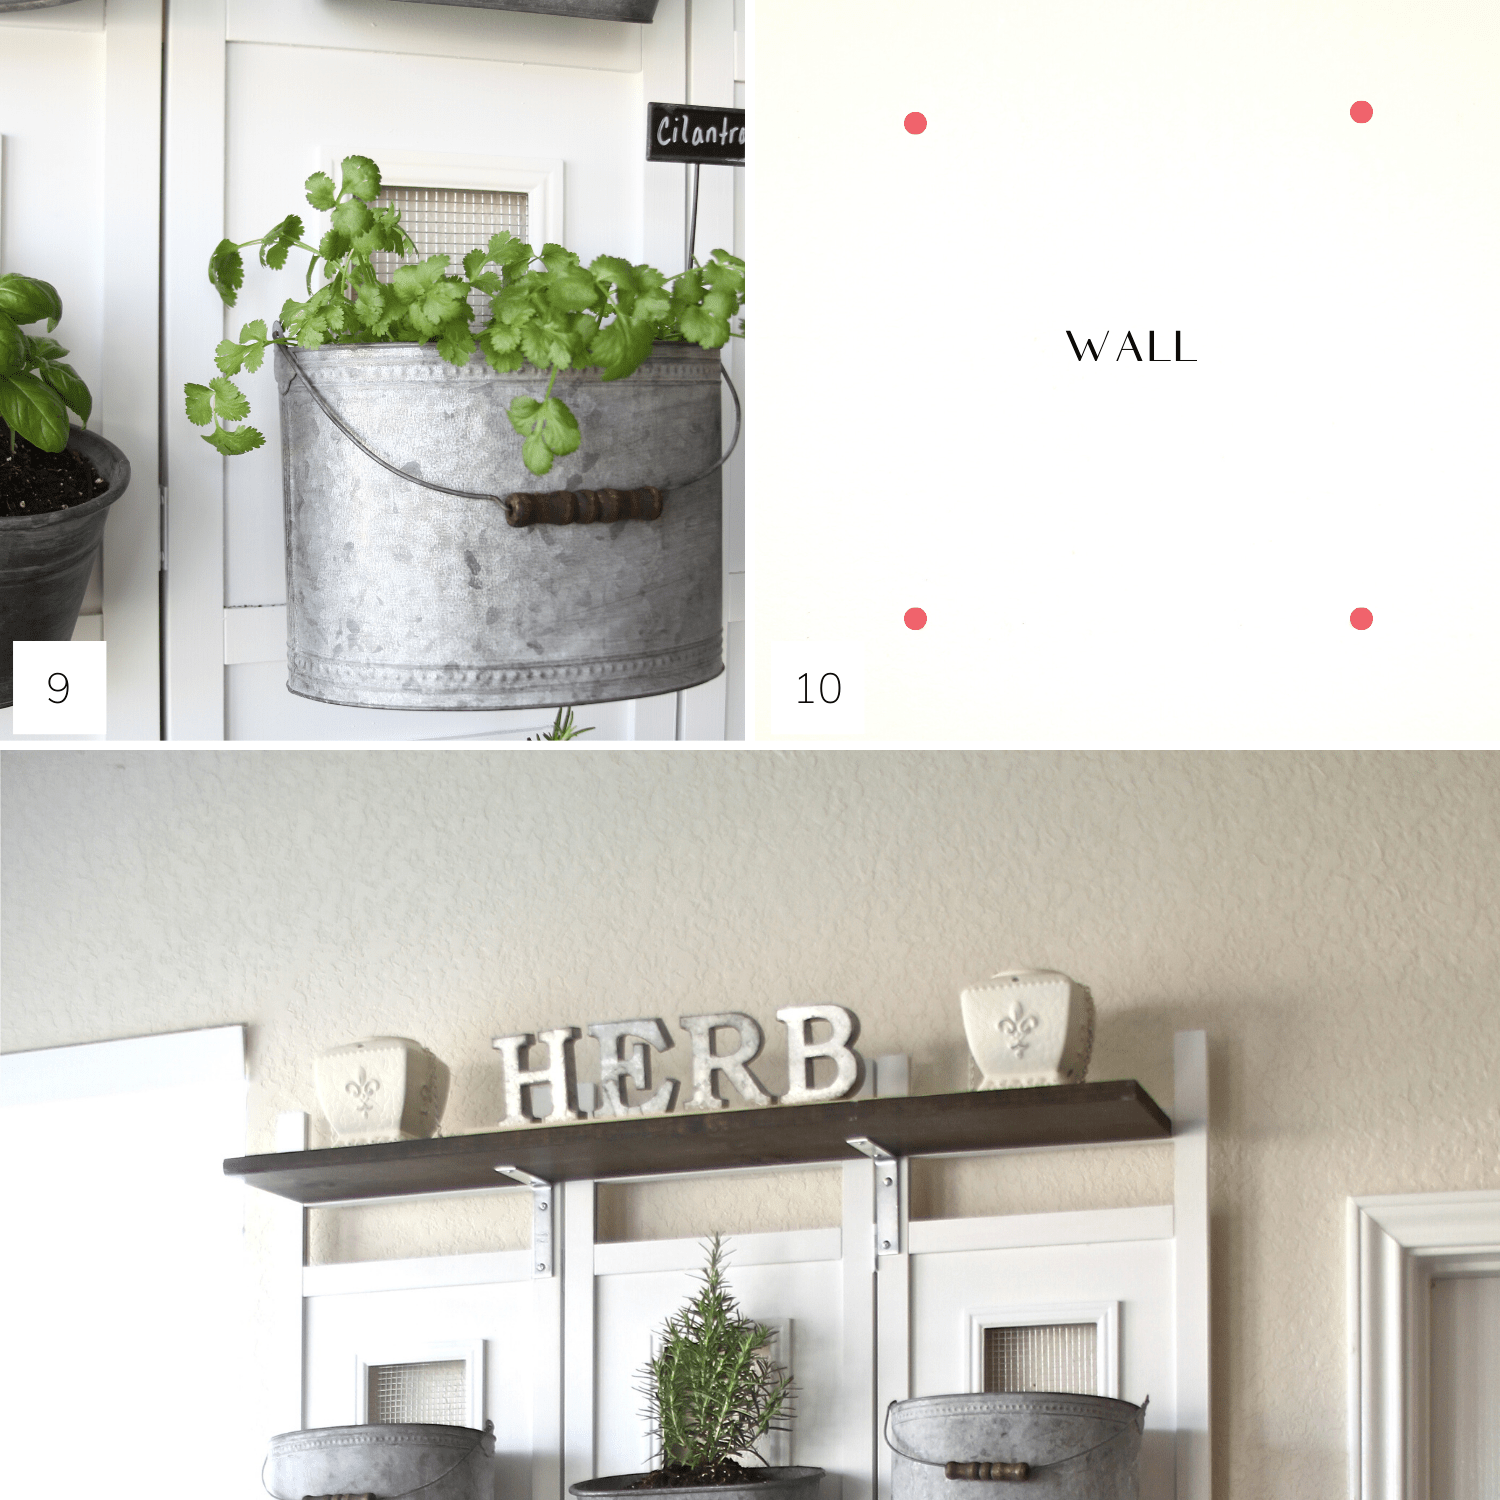
STEP 9 & 10: Attach the buckets to the room separator, using the nuts and bolts. Ensure the nuts are nice and tight.
Measure and mark the wall where the anchors will go.
It’s not shown in the images, but we drilled holes behind the buckets. These holes are for the anchors where the screws will go to mount the room separator to the wall. This will take two people. It’s heavier than it looks.
Last but not least, start planting the herbs to your new herb garden.
We placed a few pieces of lava rock on the bottom of each of the buckets to prevent root rot.
Then we added some garden soil, herb plants and then more soil and water. That’s it! We’re done!

We planted Basil, Rosemary, and Cilantro. These are the herbs we use the most.
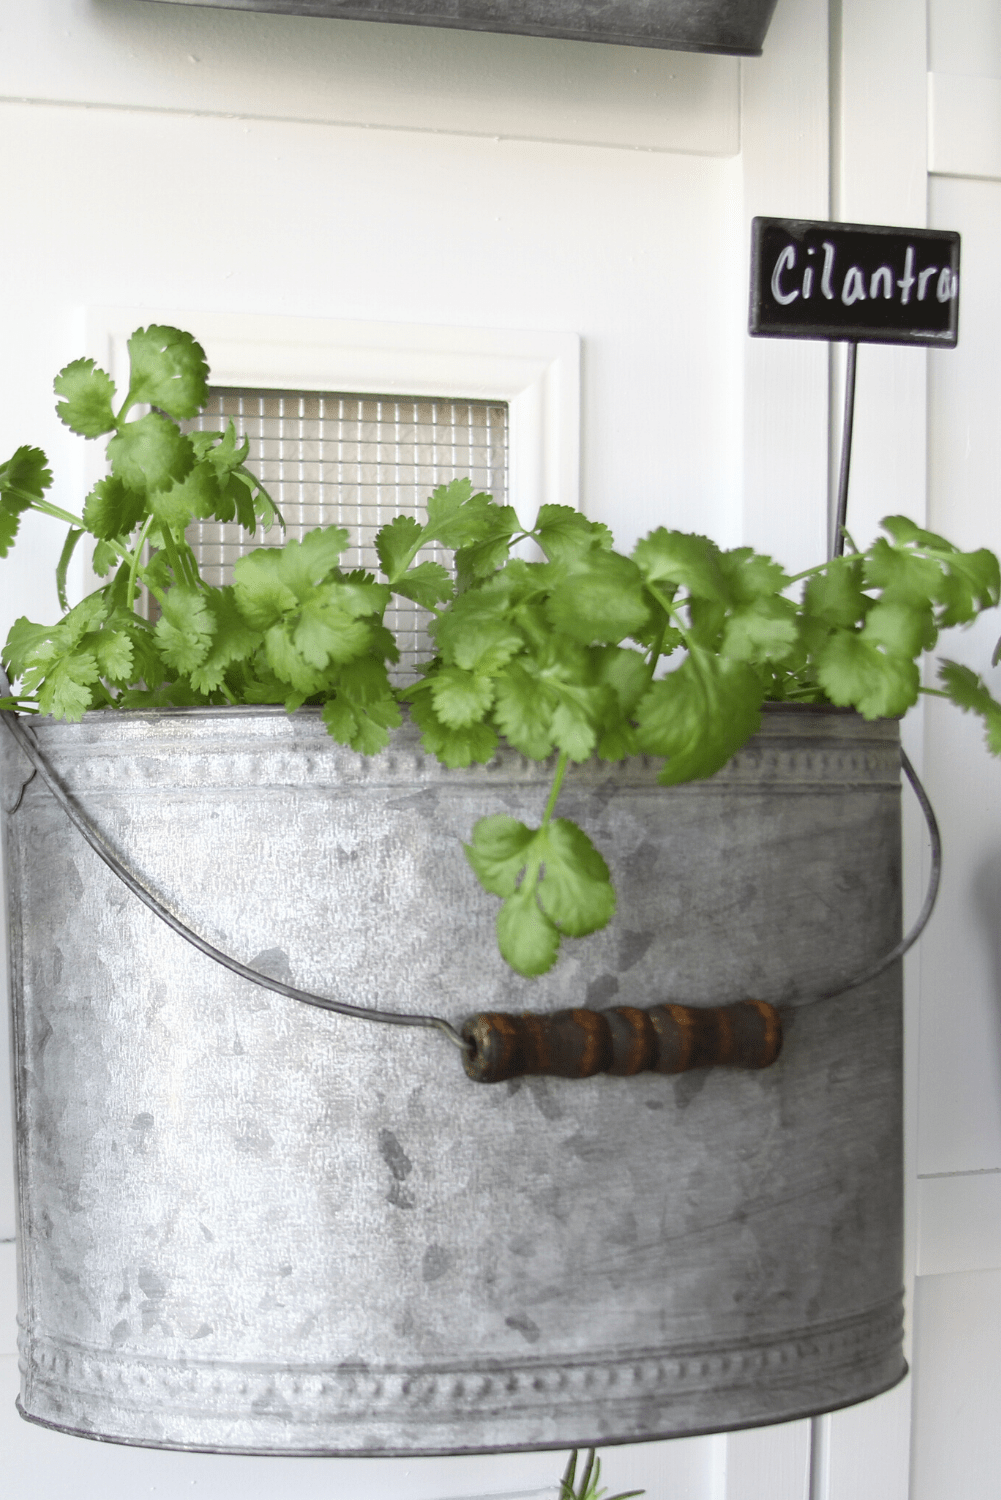

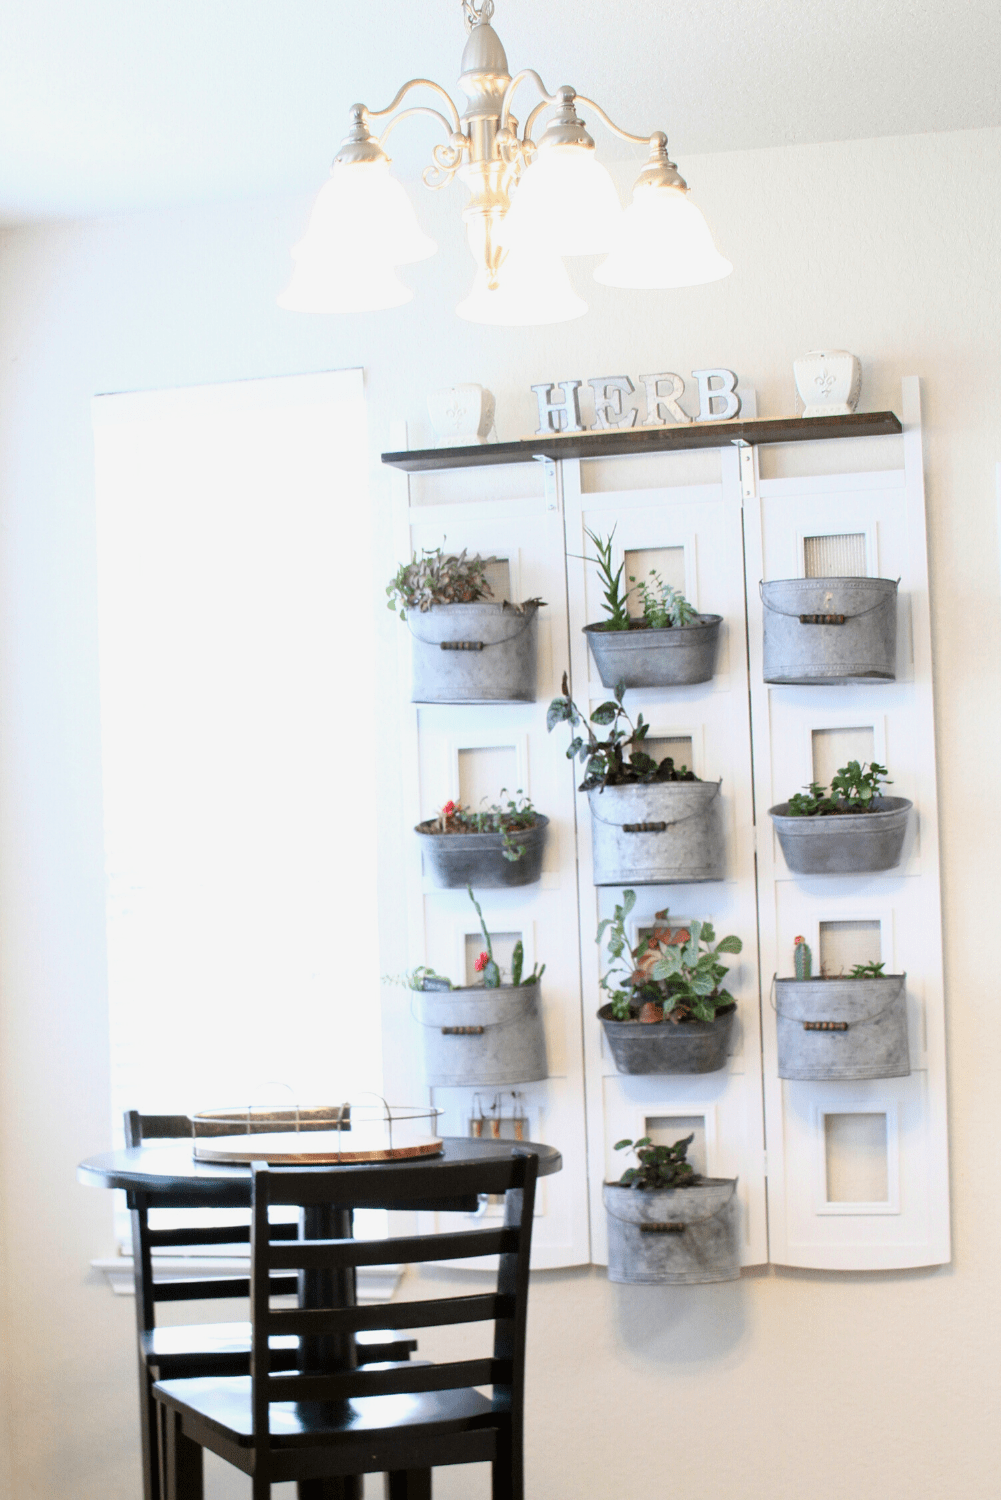
Excuse this blurry photo! I just wish I had taken more pics at the time. After I used up all of the herbs we planted and cooked with for our glorious meals, we decided to add some succulents, and house plants to our garden.
Either way, this room separator repurposed into an herb garden was so worth it. We enjoy having breakfast in our little nook every morning with our garden in the background.
TAKEAWAY
We saved and repurposed an old and outdated item [piece of junk] that most people would just chuck out the window. Now it’s wall candy!
This project took two days and cost just under 40 bucks. It would have taken 1 day, but it was Mee mee’s weekend with my Joz!
We had most of the supplies, so that alone lowered the cost.
Even though I put holes in the walls to anchor the indoor garden, my hubby says he loves it. If and when the time comes to take it down, I have to fix the holes! That was part of the deal with the hubs. 🙁
Which herbs are you going to choose for your indoor herb garden?
Let me know your thoughts in the comments below. I’d also love it if you’d share this project with someone who’d get a kick out of this room separator repurposed into an herb garden project. Thank you so much!
