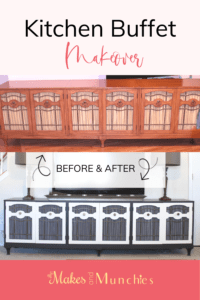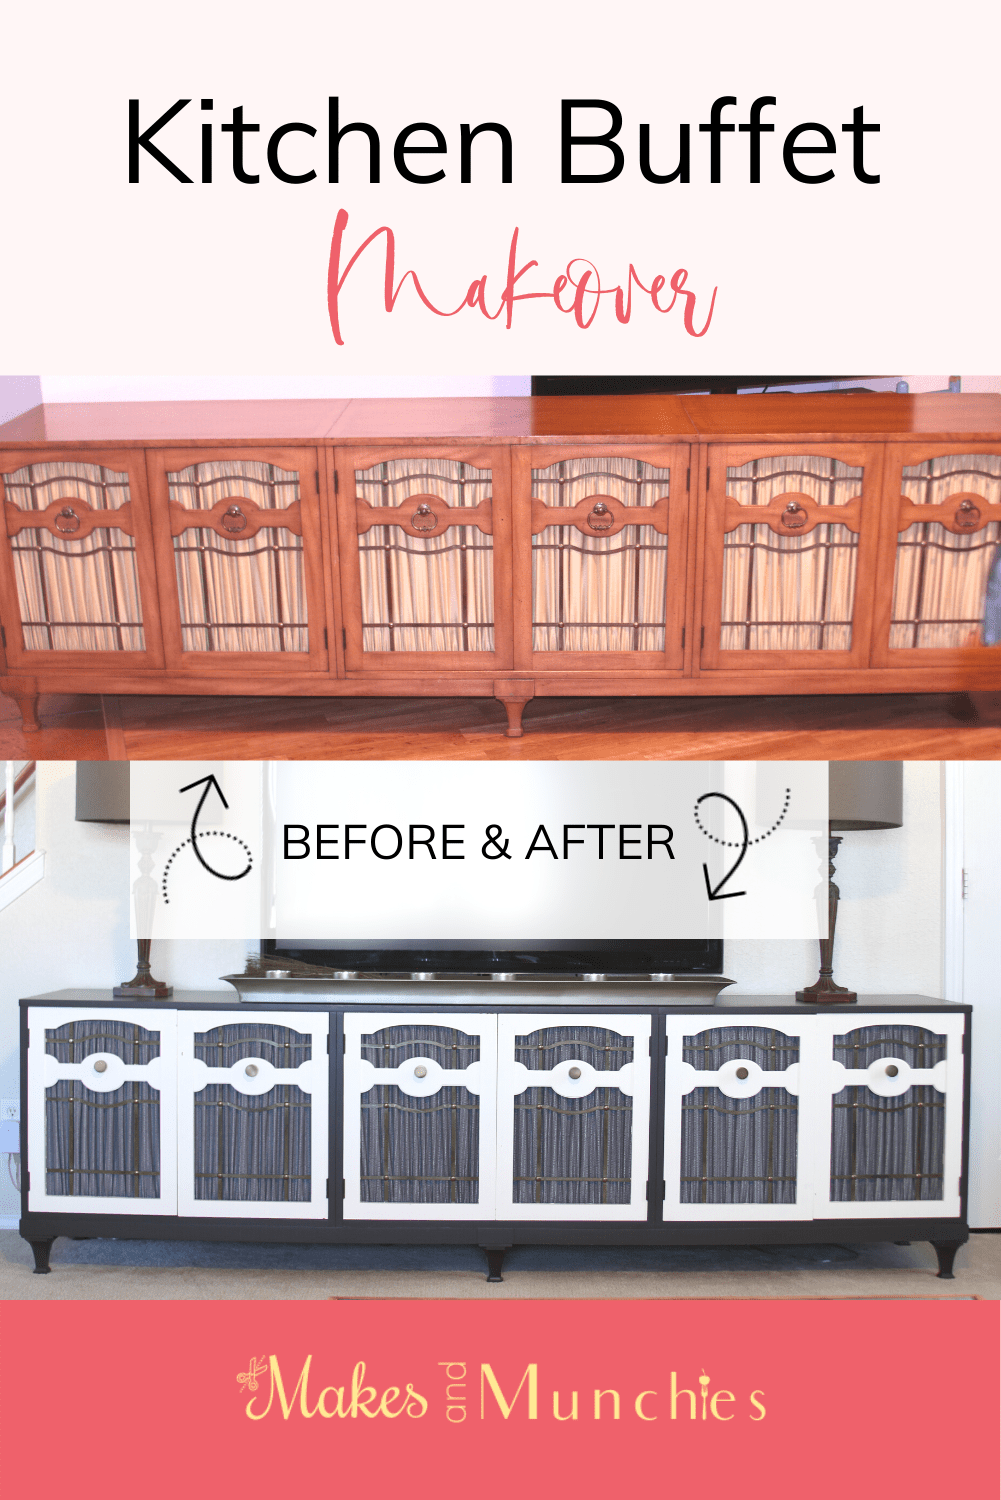
Hi Friends! I wanted to show you my DIY kitchen buffet makeover. I gave it a pop of character, and it went from plain Jane to ooh la la!
My husband and I were window shopping in downtown San Antonio, Texas, when we ran into this beautiful mid-century buffet. We fell in love with it and had to have it! We were up for another project, so we went for it!
I loved everything about it, however, up close it was kind of dingy, and in desperate need of a transformation to match our style.
My gosh, the curtains in the cabinet doors were so gross, they had to go!
We also replaced the old pull knobs with new ones.
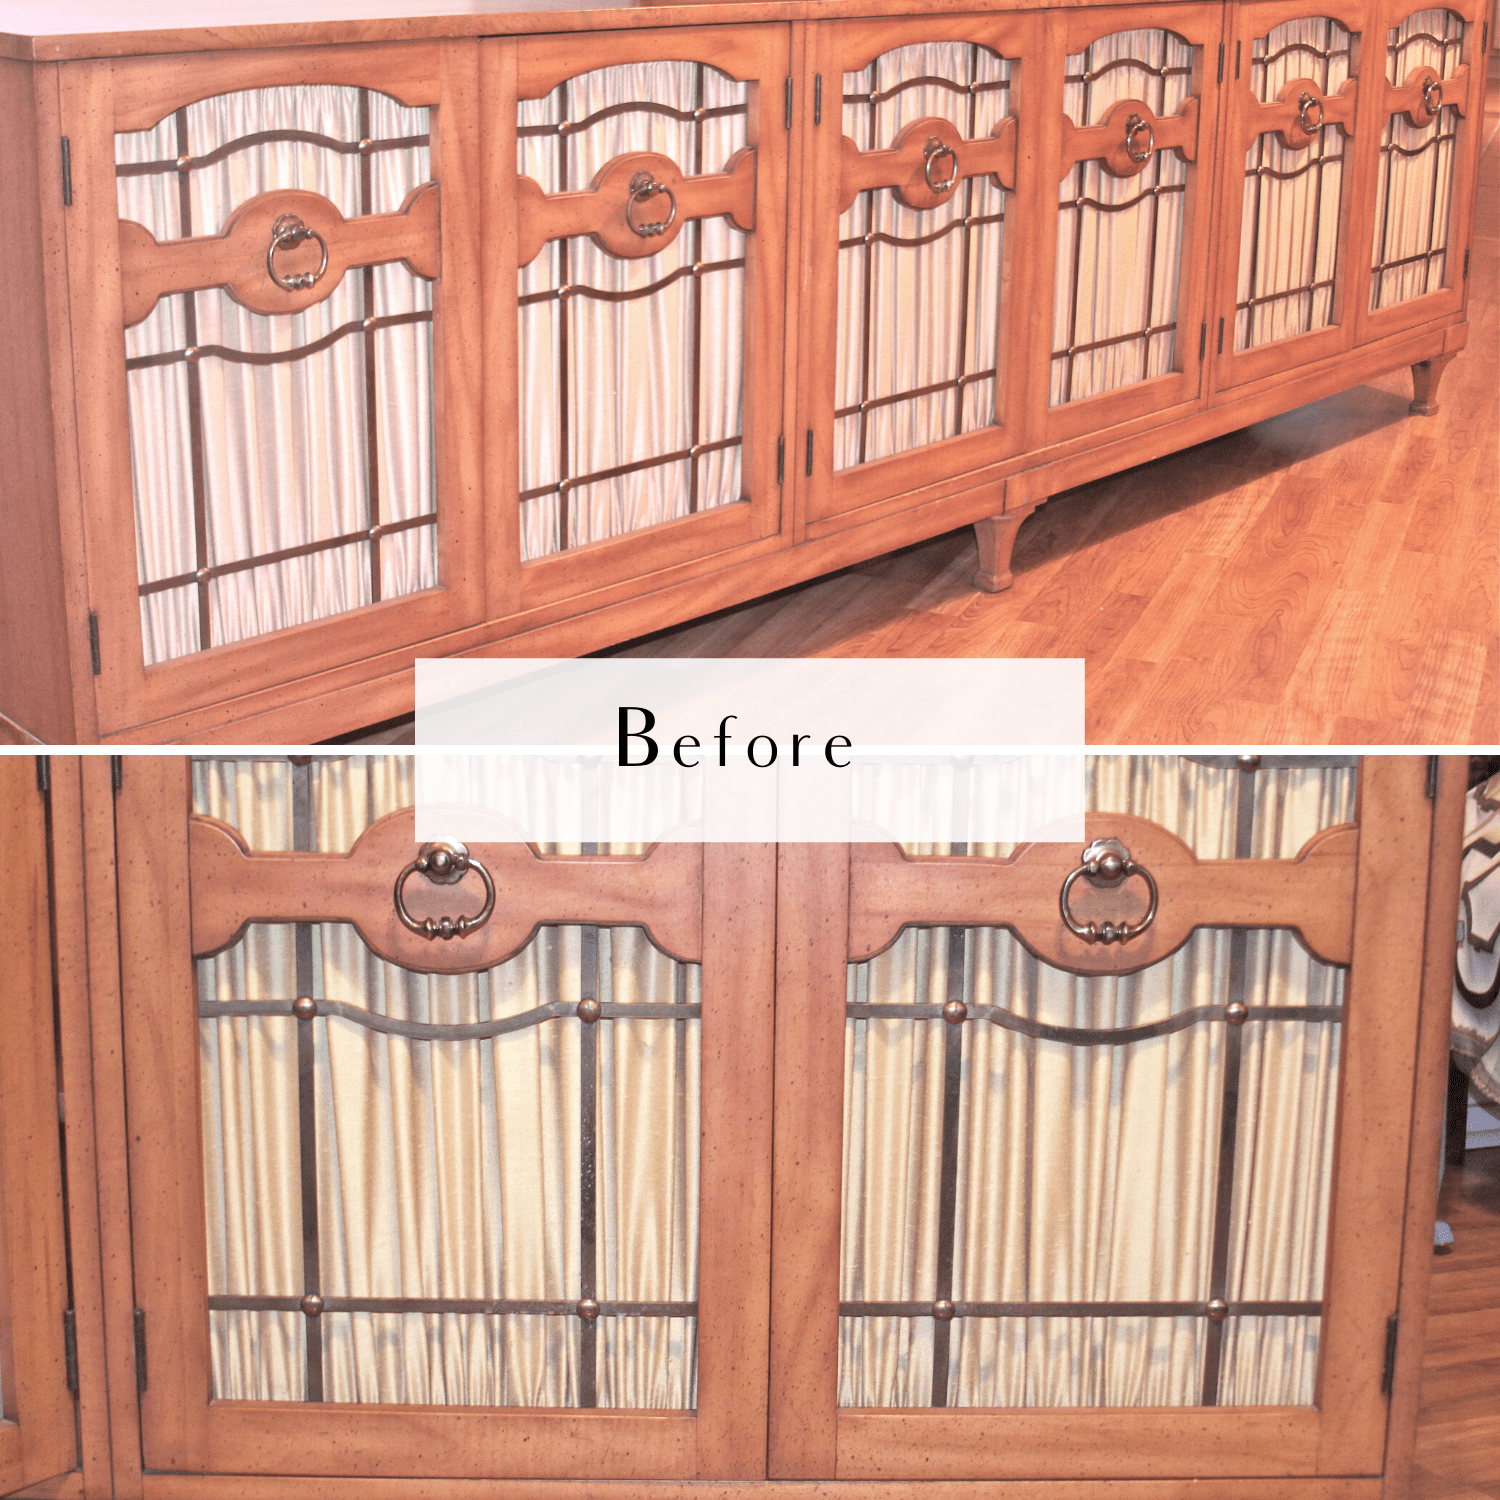
The saleslady mentioned this buffet was used as a kitchen buffet way back when.
Although it was used as a kitchen buffet, my husband and I decided to repurpose into an entertainment center.
It’s perfect for hiding all of the unsightly movies, records, and electronics that I don’t care to display.
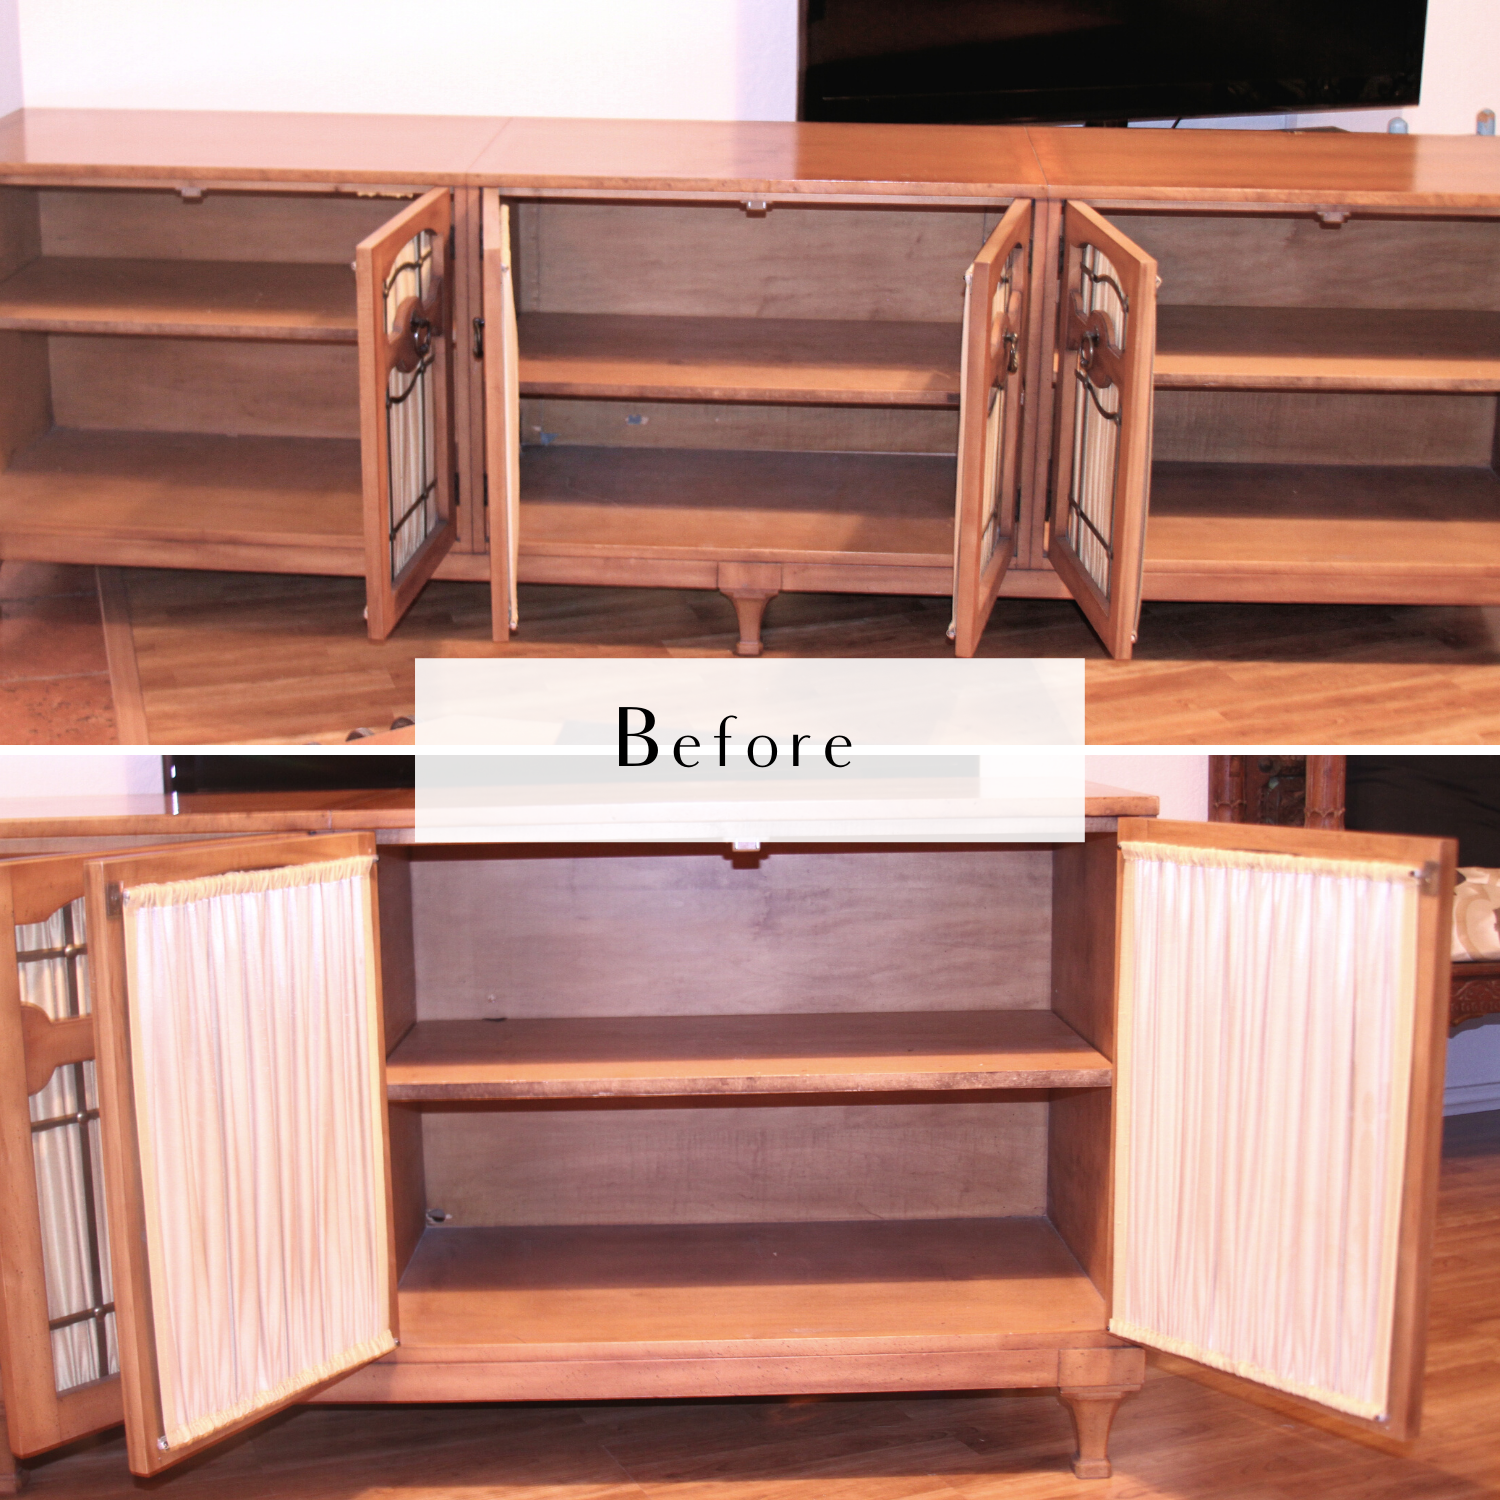
This piece is a whopping 8 feet long! It was pretty interesting getting this baby home!
My husbands’ friend helped us get this monster home and OMGosh, it was kind of hilarious to watch them load it up, but thankfully we got it home safely, and so thankful for the help.
The inside of the kitchen buffet and the shelves are in great shape, we’re just going to lighten it up a bit with some paint.
These are the steps we took to transform this Plain Jane into a sophisticated entertainment center.
SUPPLIES
- Safety Gloves
- Face Mask
- Safety Glasses
- Electric Sander RYOBI
- DIABLO 1/4 inch Sanding Sheets-ultra fine/220 grit
- Paint Tray
- Paint Stick
- Paint Can Opener
- Rolling Brushes
- Paint Brush
- Painters Tape
- BEHR Premium Plus ULTRA Paint & Primer in One / Dark Walnut
- RUST-OLEUM Painters Touch Paint & Primer/ Satin Heirloom
Always remember to use common sense before starting any project, Safety First! Use safety glasses,
gloves and/or mask when necessary.
STEP 1-4 KITCHEN BUFFET MAKEOVER
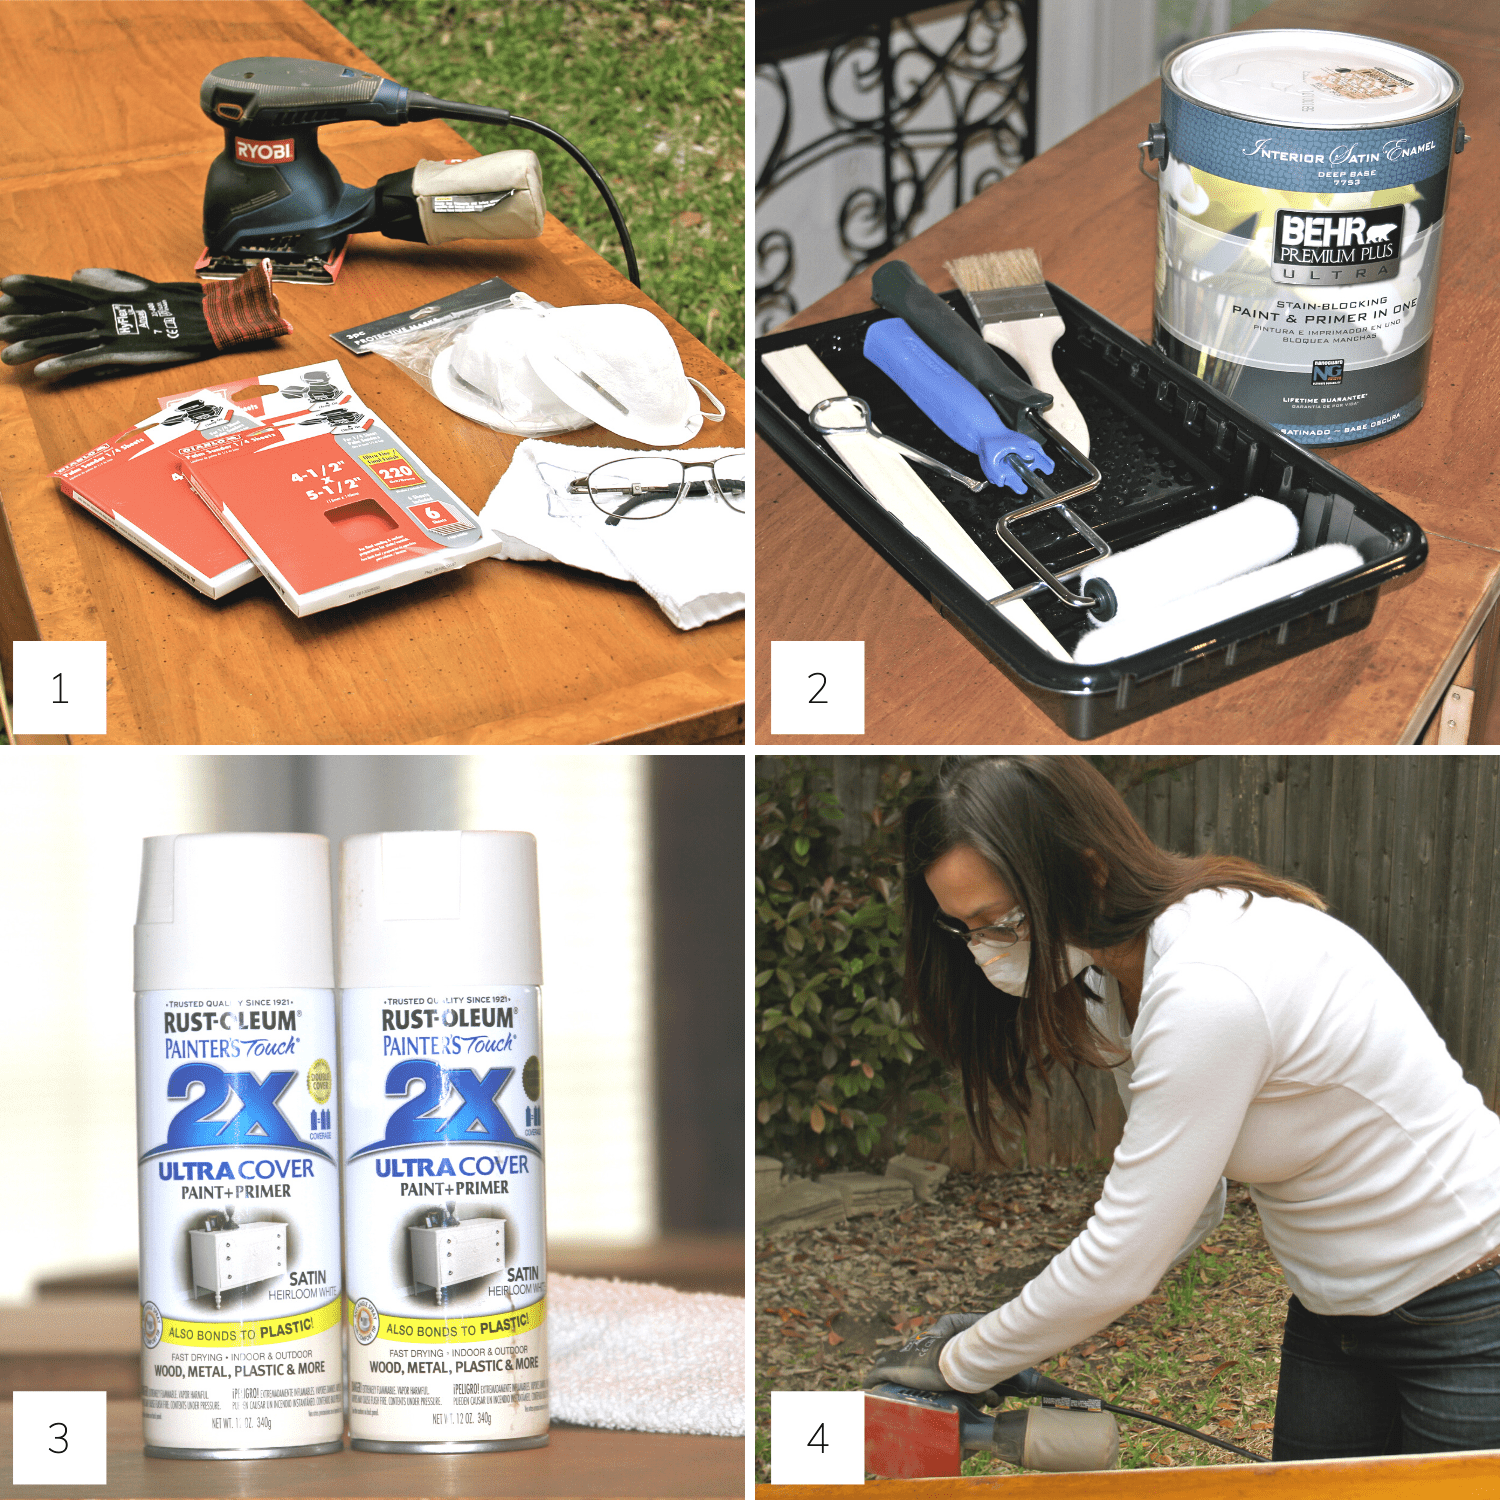
STEP 1: Gather all of the necessary supplies for sanding.
- Safety Gloves
- Face Mask
- Safety Glasses
- Electric Sander RYOBI
- DIABLO 1/4 inch Sanding Sheets-ultra fine/220 grit
STEP 2 & 3: Gather all the necessary tools for painting.
- 1 Paint Tray
- 1 Paint Stick
- 1 Paint Can Opener
- Rolling Brushes
- Paint Brush
- Painters Tape
- BEHR Premium Plus ULTRA Paint & Primer in One / Dark Walnut
- RUST-OLEUM Painters Touch Spray Paint & Primer/ Satin Heirloom
- 1/4 inch Plywood for backing
- 6 Vintage Pull Knobs
STEP 4: After removing all of the cabinet doors, shelves, hardware, and dingy curtains, we lightly sanded the buffet inside and out.
After we lightly sanded the buffet, we cleaned it by using a soft cloth with a tad of water, and a touch of dish soap to wash away the sawdust, and let it dry thoroughly.
STEP 5-8 KITCHEN BUFFET MAKEOVER
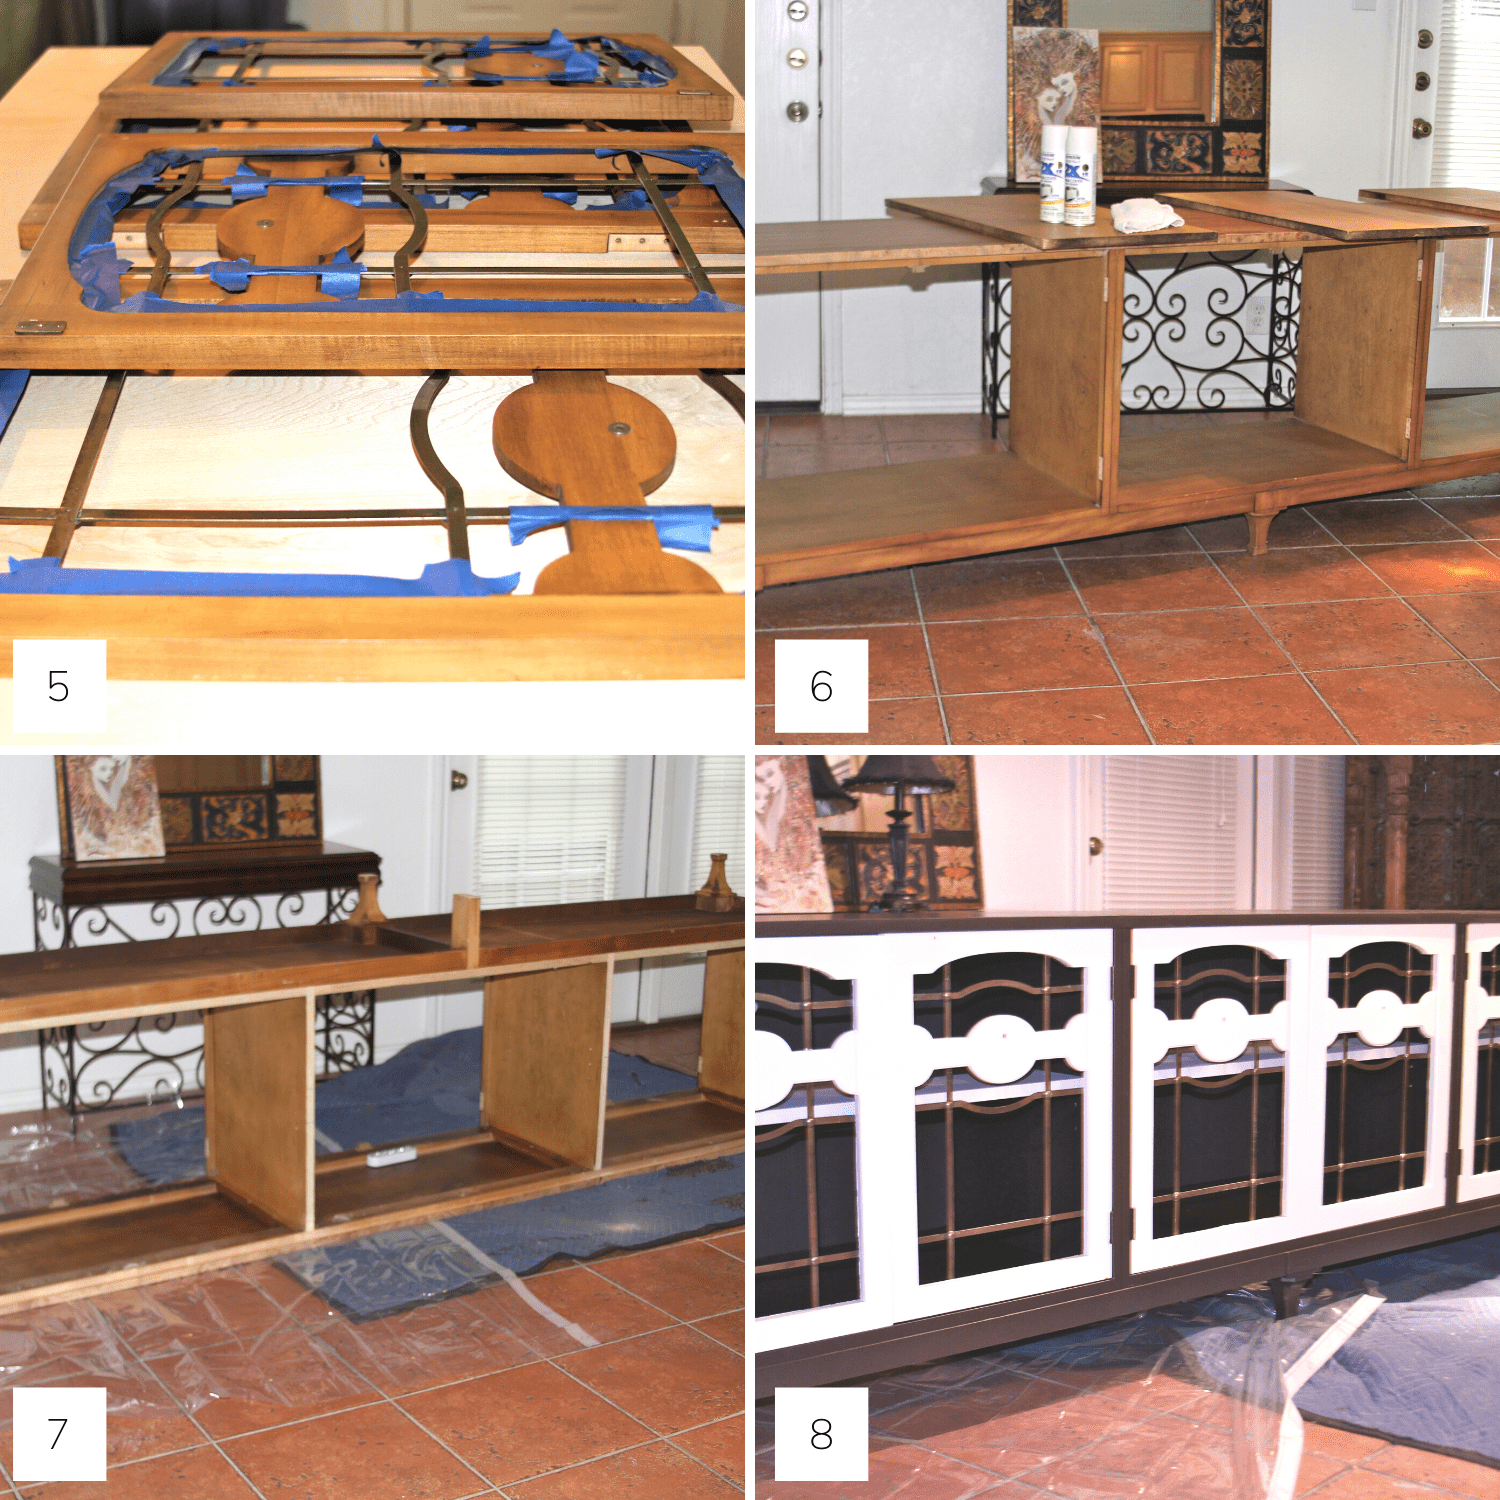
STEP 5: To protect the brass on the cabinet doors, we covered it with painters tape before painting.
For the paint, we used RUST-OLEUM Painters Touch Spray Paint & Primer/ Satin Heirloom. The cabinet doors got 2 coats of paint, and we let it dry thoroughly in between.
STEP 6: We decided to remove the backing and replace it with a new one. The old one appeared as if it was replaced in the past with cheap materials. That was a NO GO for me!
Finally, after replacing the backing, we prepped the inside of the buffet for painting by wiping it down once again.
Step 7: It started to rain!
Therefore we packed up and brought everything inside to finish painting. The show must go on, right?
We laid a tarp and a dollar store clear shower curtain down on the floor to protect the tile flooring from paint droplets.
STEP 8: The body inside and outside of the buffet was painted with BEHR Premium Plus ULTRA Paint & Primer in One / Dark Walnut and the shelves and doors were painted with RUST-OLEUM Painters Touch Spray Paint & Primer/ Satin Heirloom.
Lastly, we added the pull knobs.
We chose round vintage black glass knobs for the hardware. They were kinda cool! If you look straight on, they look solid black. From a side view, they are see-through.
See what I mean? In the photo below, you can see right through the knob.
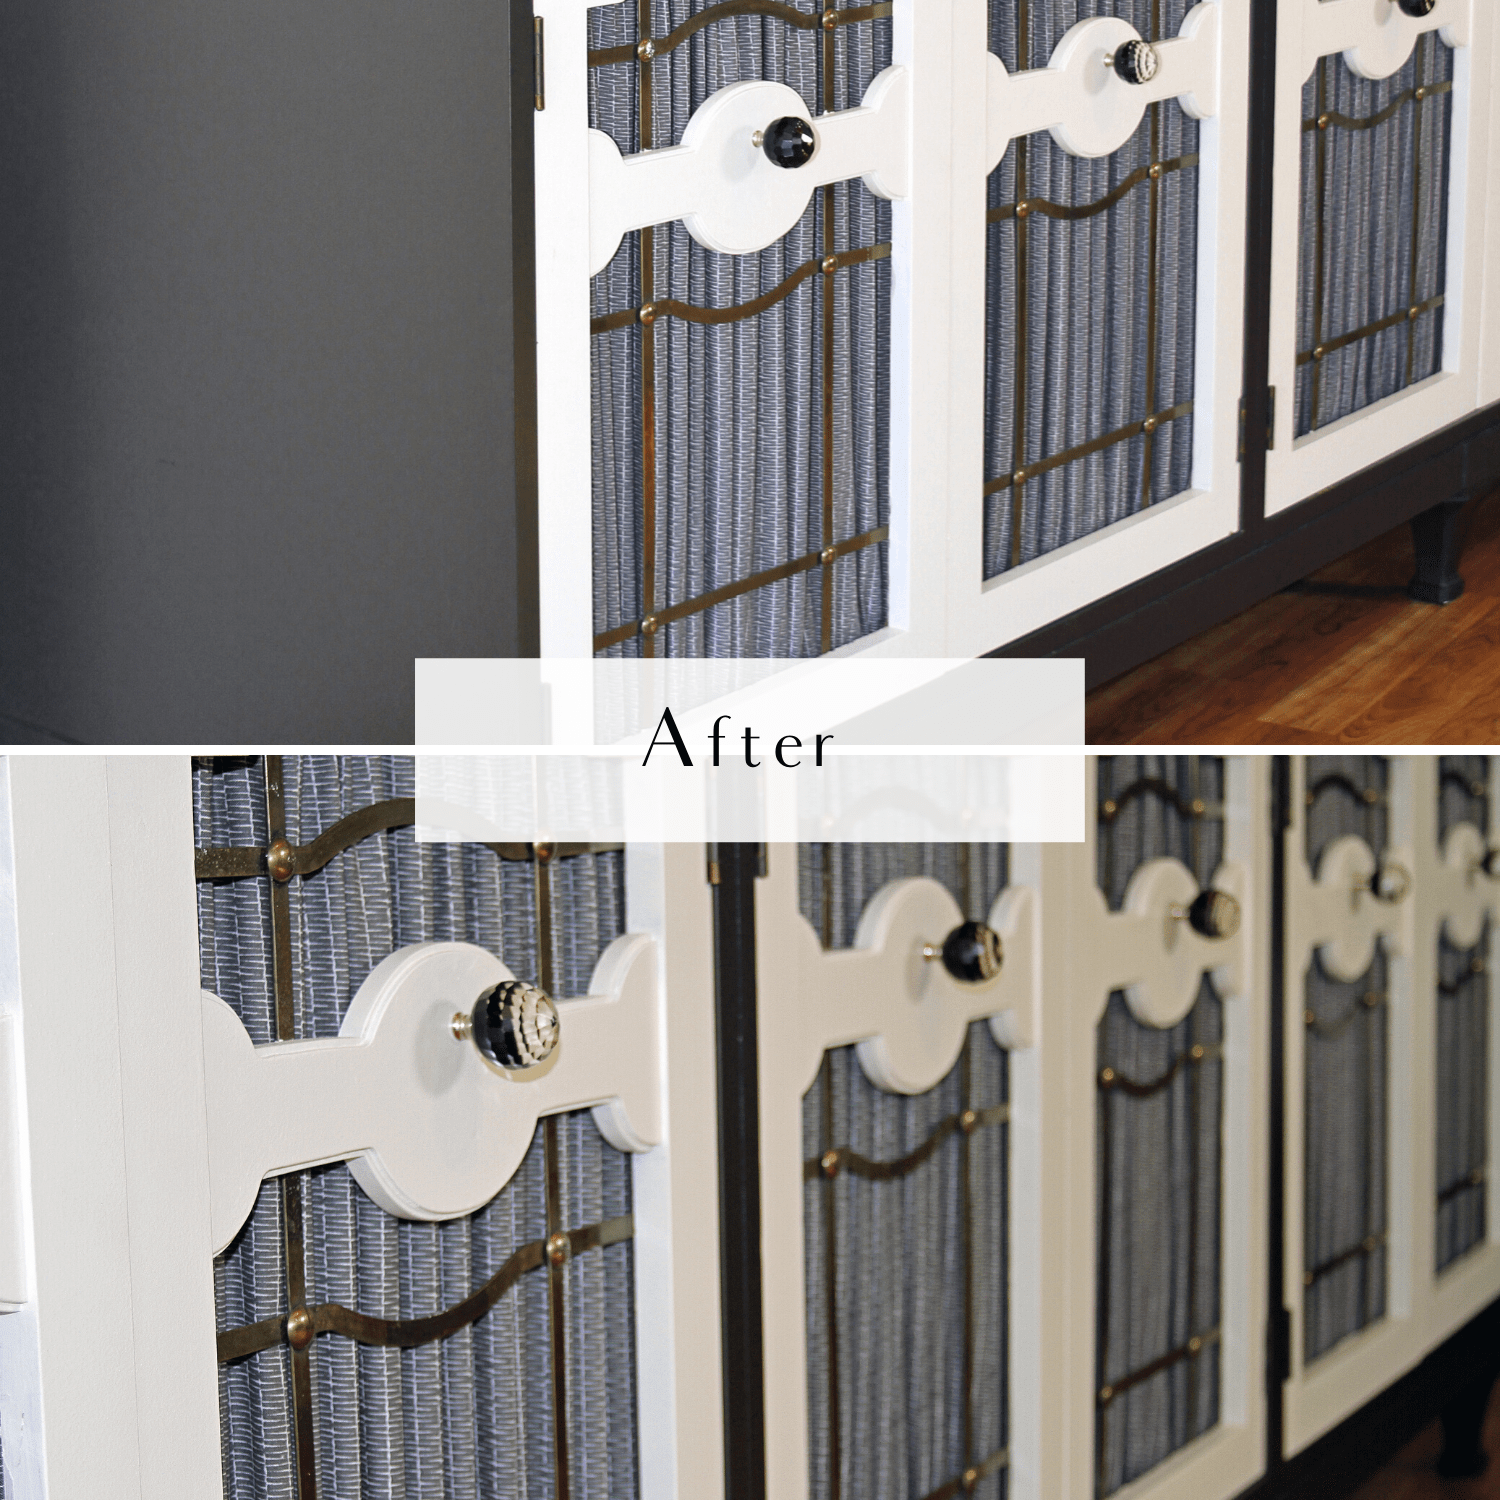
SUBSEQUENTLY,< WE CHANGED THE KNOBS!
Honestly, I LIKED the pull knobs we had on the buffet, but I didn’t love them.
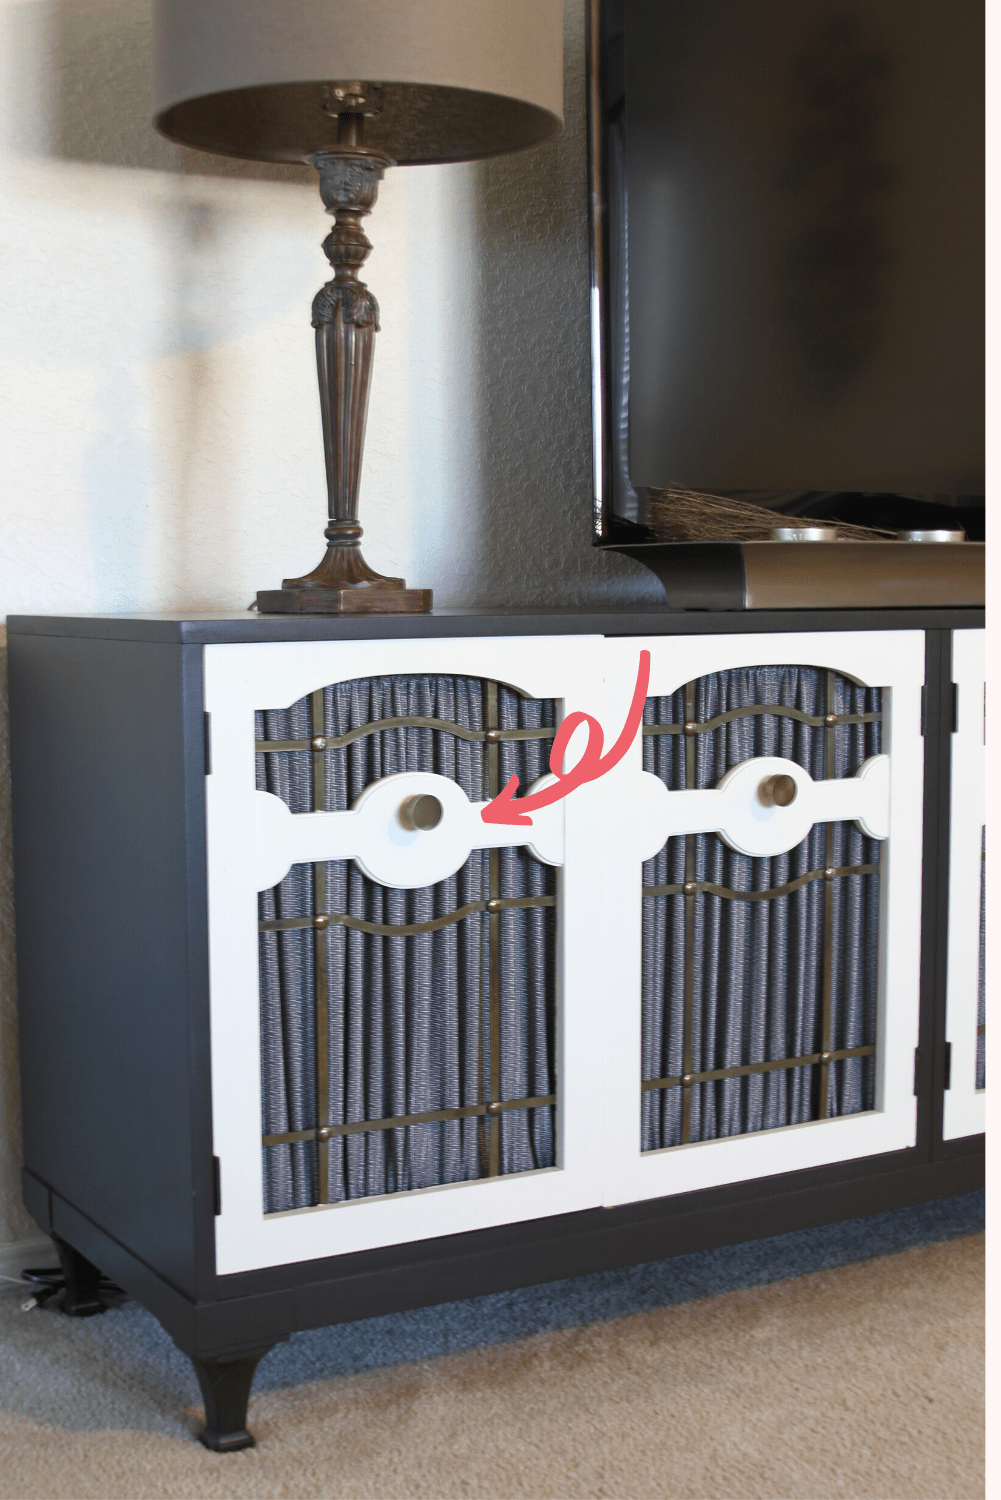
During the next couple of weeks, I searched for a different pull knob and found these [see above]. We changed out the glass knobs for antique brass knobs to match the brass inlay in the cabinet doors.
What do you think, looks a lot better, or no? Now, I actually can say, I LOVE them. 🙂
I’m going to have more furniture makeovers in the near future. Be sure to sign up to receive M&M updates. That way you can be notified of future furniture makeovers I post here on my blog.
Sign up here, so you won’t miss a thing!
Or simply fill out the form below.
TAKEAWAY
To sum it up, the before and after transformation for my DIY kitchen buffet makeover took some time.
However, I have to say it was well worth it! It has some character now with a touch of eclectic pop. The two-tone makes it interesting and we are very happy with the results!
What do you think?
Do you like this DIY Kitchen Buffet Makeover as much as we do? Let me know your thoughts in the comments below. I’d love it if you’ll share this post to someone who gets a kick out of Before and After reveals. Thank you so much!
Keep checking back for more before and after transformation projects!
