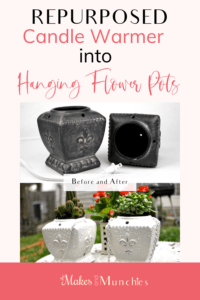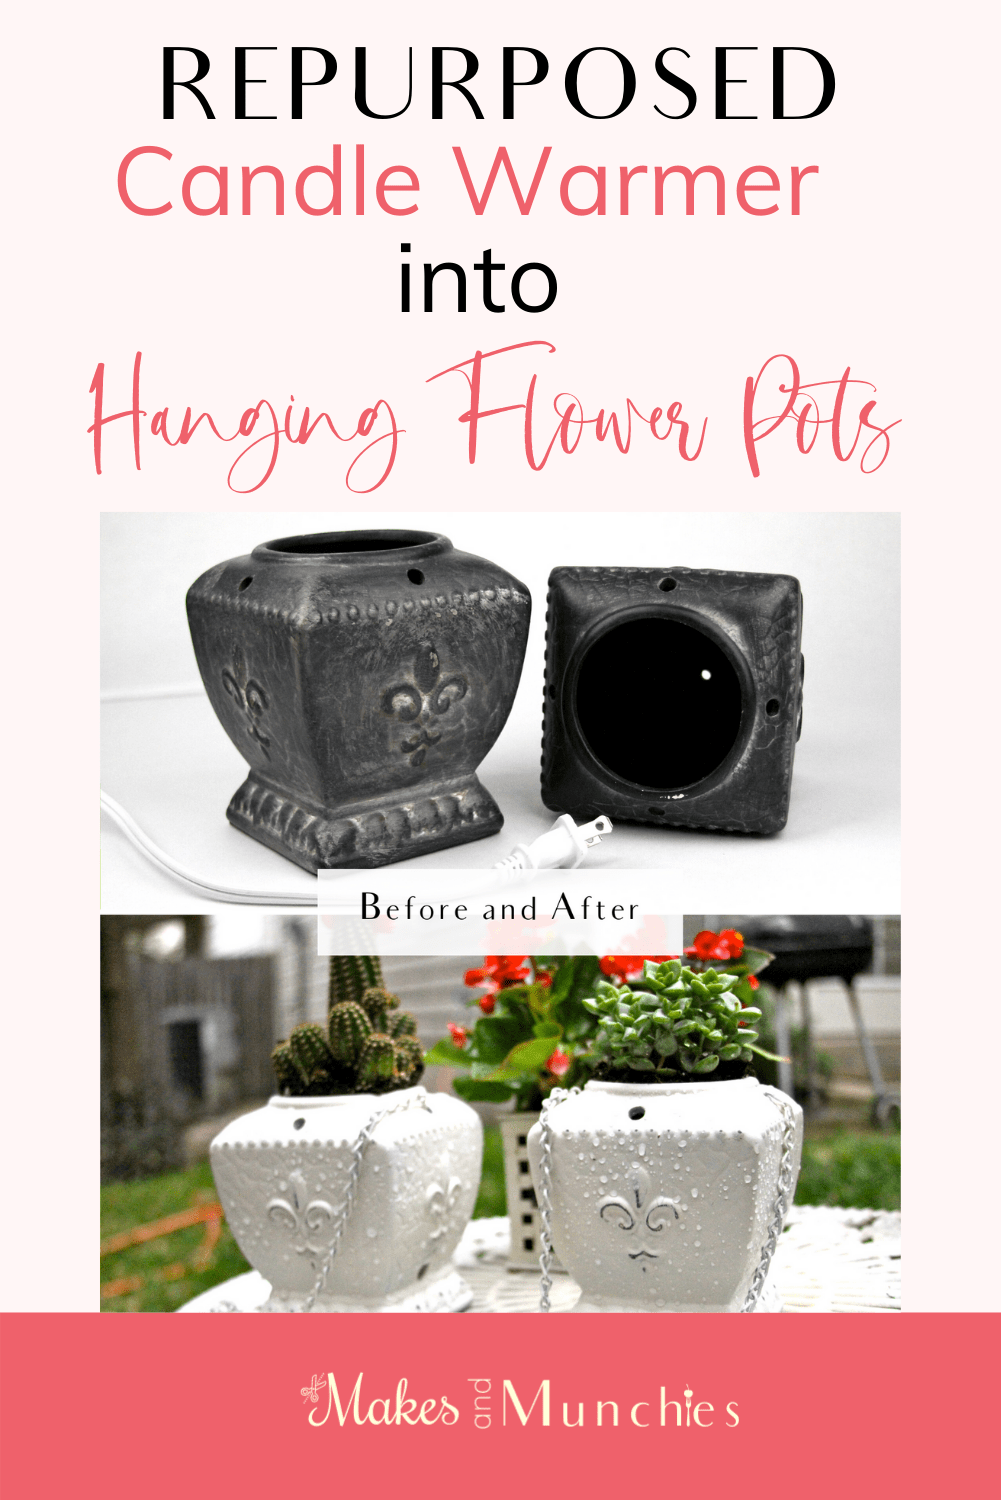
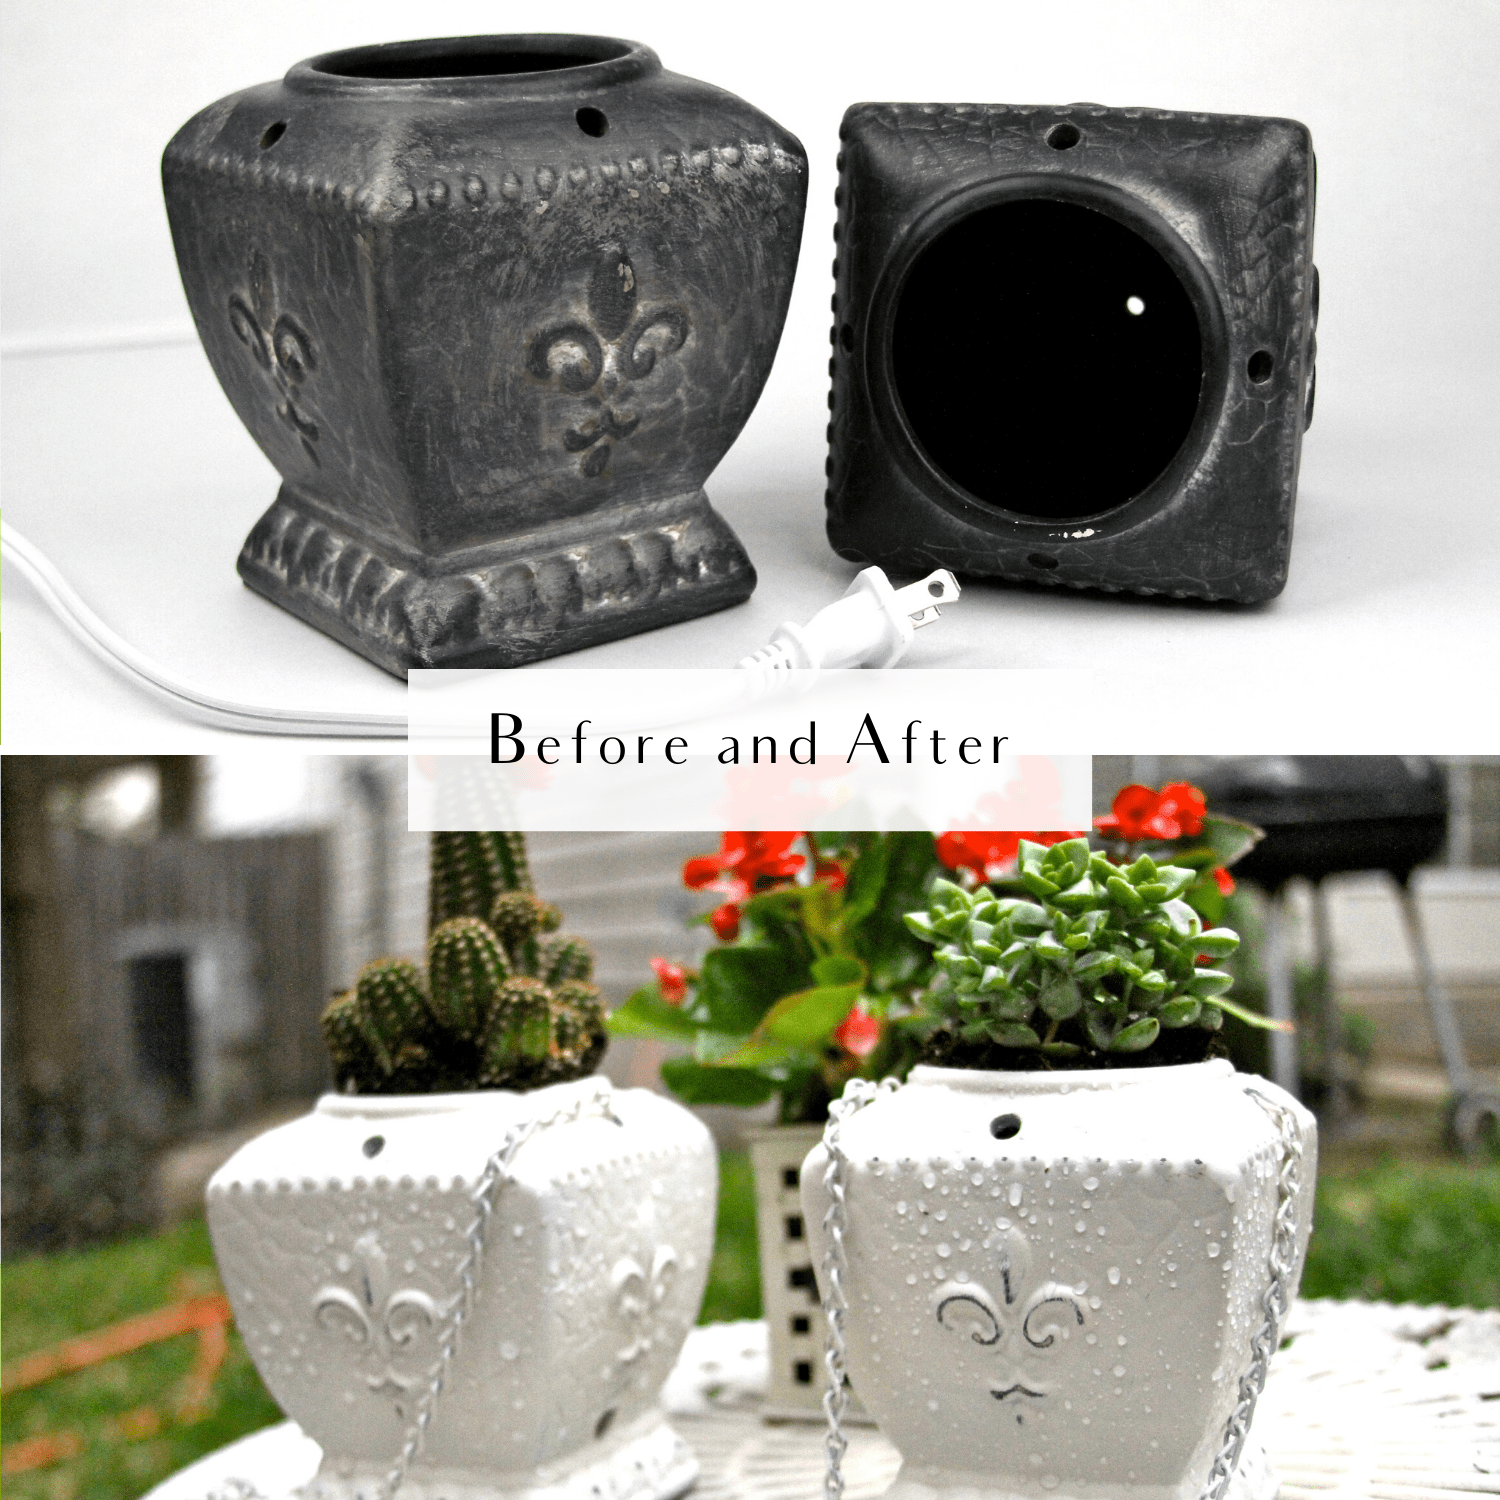
Hi Friends! Guess what? I repurposed candle warmers into a hanging flower pot and had to share with you how quick and straightforward it was.
How many of you have candle warmers or items that are lying around the house, just sitting there not being used any longer without a purpose?
I do! The candle warmers were resting nicely under my kitchen sink for years, and I didn’t have the heart to get rid of them.
I felt it was time to repurpose them into something useful, and it was long overdue. At the same time, my hubs would appreciate it if I got rid of the clutter.
As I’ve mentioned in a separate post, I’m a self-proclaimed hoarder of junk furniture and old decor. Everything has a purpose. Why not revamp or upcycle the old and outdated junk into something more beautiful?
Without further ado, let’s get started!
Always remember to use common sense before starting any project. Safety First! Use safety glasses, gloves, and/or mask when necessary.
SUPPLIES
The supplies below are for one hanging pot.
- Candle warmer
- Potted Plant or Potted Flowers
- Potting Soil, if needed.
- 1 small Chain link [your desired length]
- 1 2in. “S” hook
- RUST-OLEUM Painters Touch Ultra Cover Paint and Primer-Heirloom White
- 1 Small piece of sandpaper [any kind]
- Pliers
- Electric drill
- Diamond Tip Drill Bit
STEP 1-4 Repurposed Candle warmer
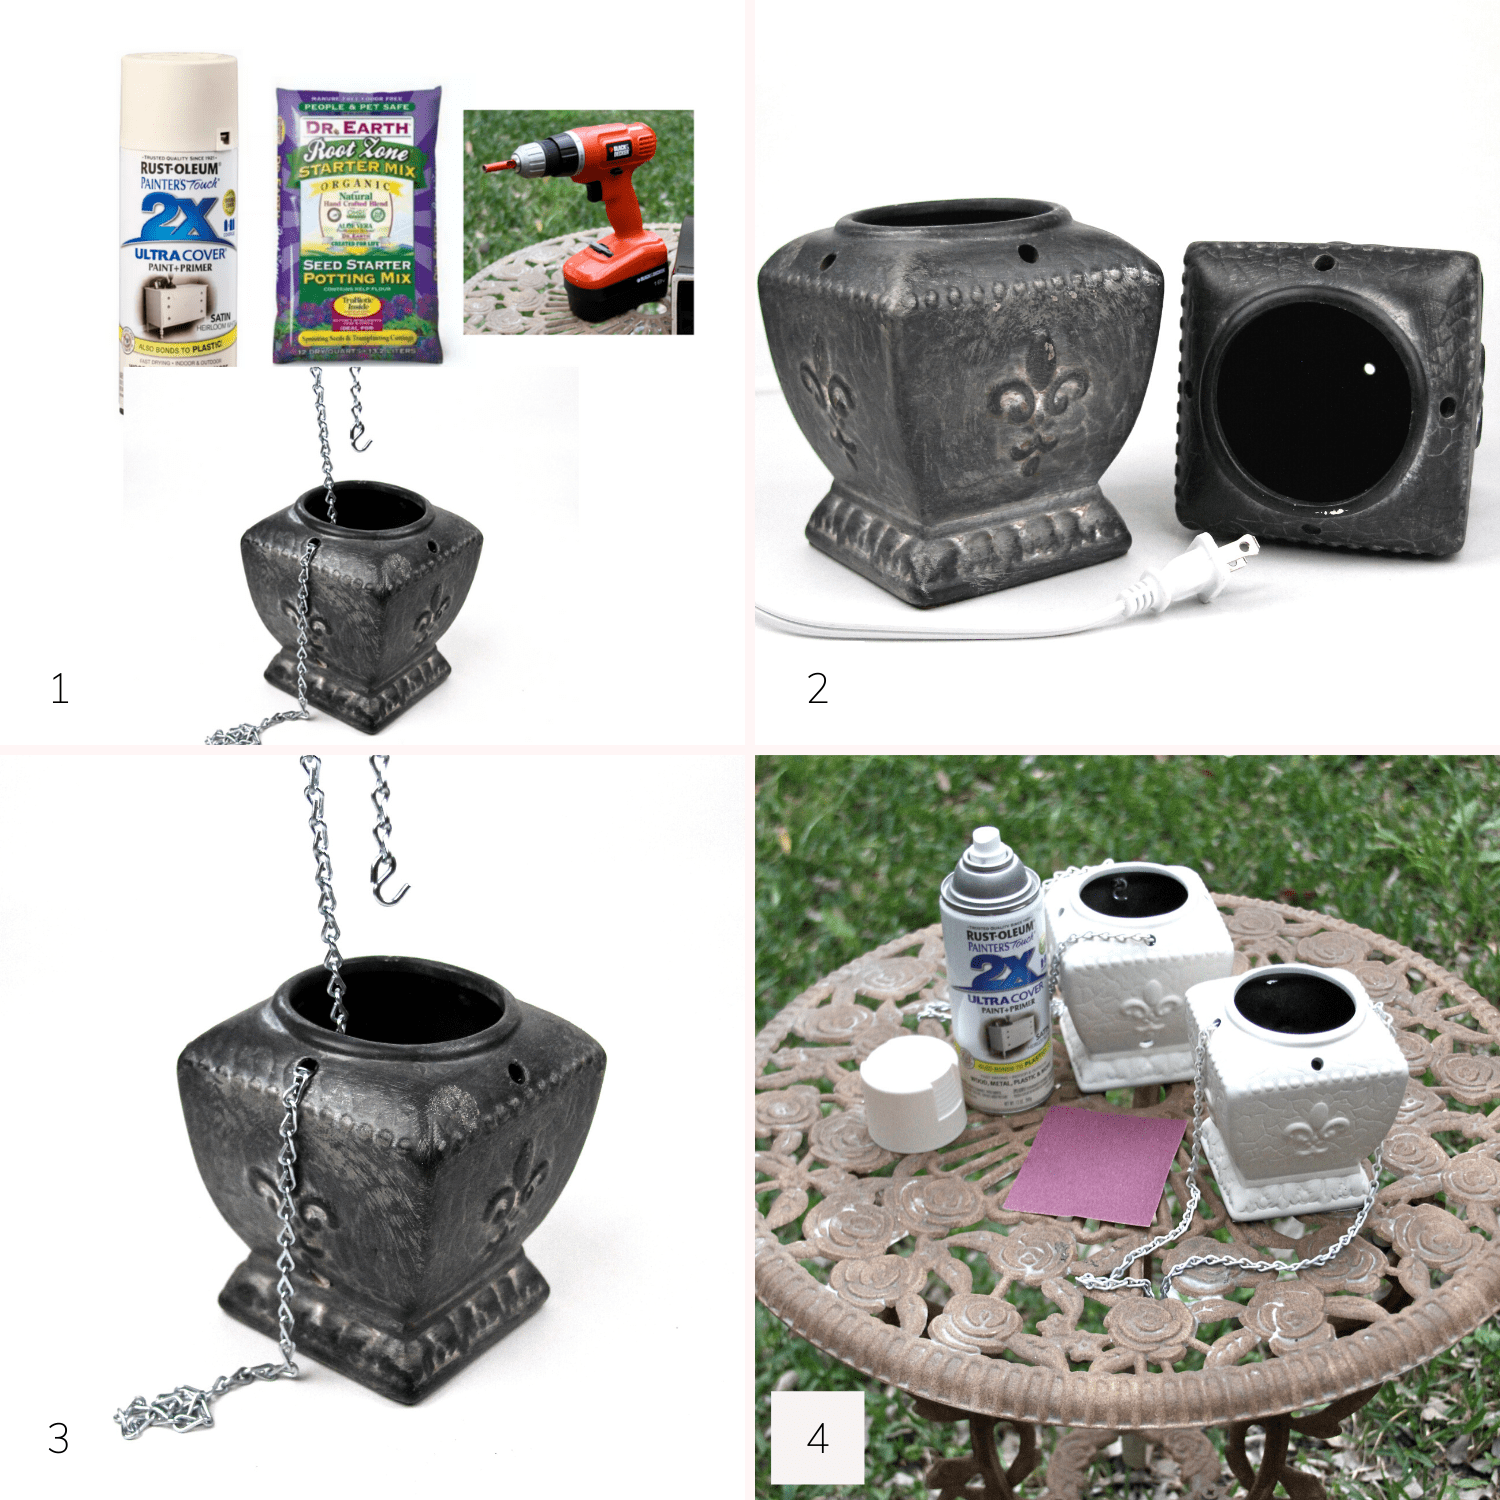
STEP 1: Gather all of the supplies, and prep your workspace.
STEP 2. Remove the hardware and electrical cord.
To loosen the electrical cord and unit, of the candle warmer, I unscrewed the nut and bolt that was holding in the hardware. I was able to remove it with no issues at all.
STEP 3.
- Drill holes close to the opening of the rim of the candle warmer, as shown in the photo above, using the diamond tip drill bit and drill. The holes will be for the chainlink. Make sure you make the holes are big enough for the chainlink to fit through it.
- My candle warmers already had the holes on the top and the bottom. The holes on the rim were used to ventilate the melted candle wax, I think? And, the hole on the bottom is for drainage when watering your plant.
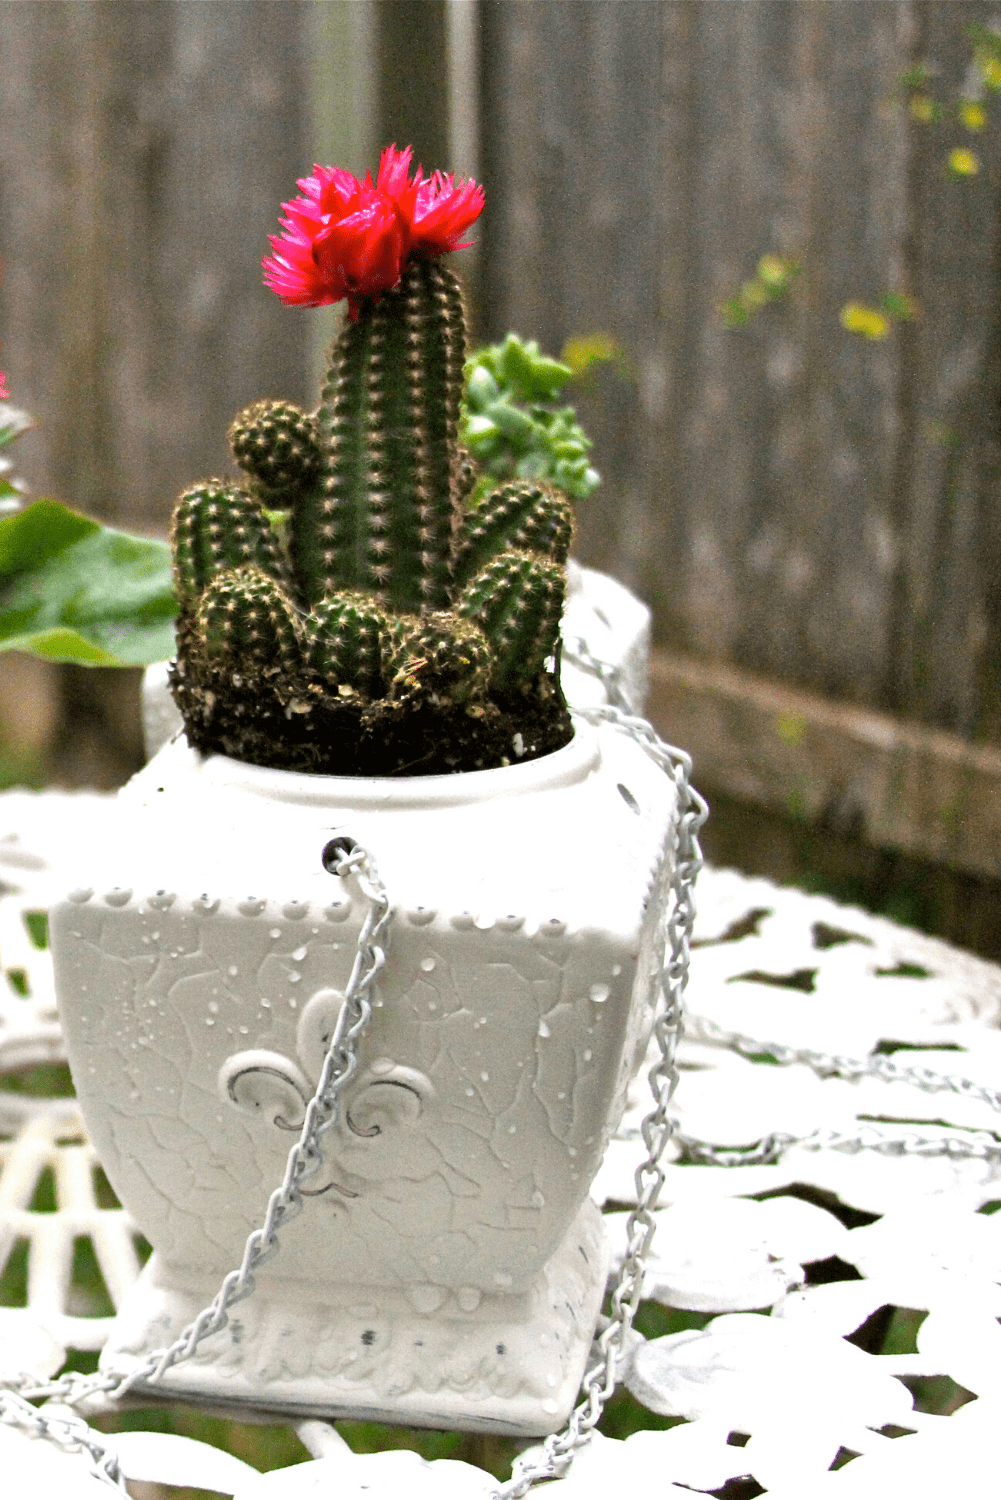
- At the rim of the candle warmer, guide the chainlink through the hole on the left, then into and out of the hole to the right. Assemble the “S” hook to each end of the chainlink. Secure the “S” hooks to the chain link by squeezing each end of the “S” together, using your pliers.
STEP 4:
- Wipe clean the candle warmers and ensure they are free of dust.
- Paint the candle warmer and chain using RUST-OLEUM Painters Touch Ultra Cover Paint and Primer in Heirloom White.
Painting the chain is up to you.
STEP 5-8 Repurposed Candle warmer
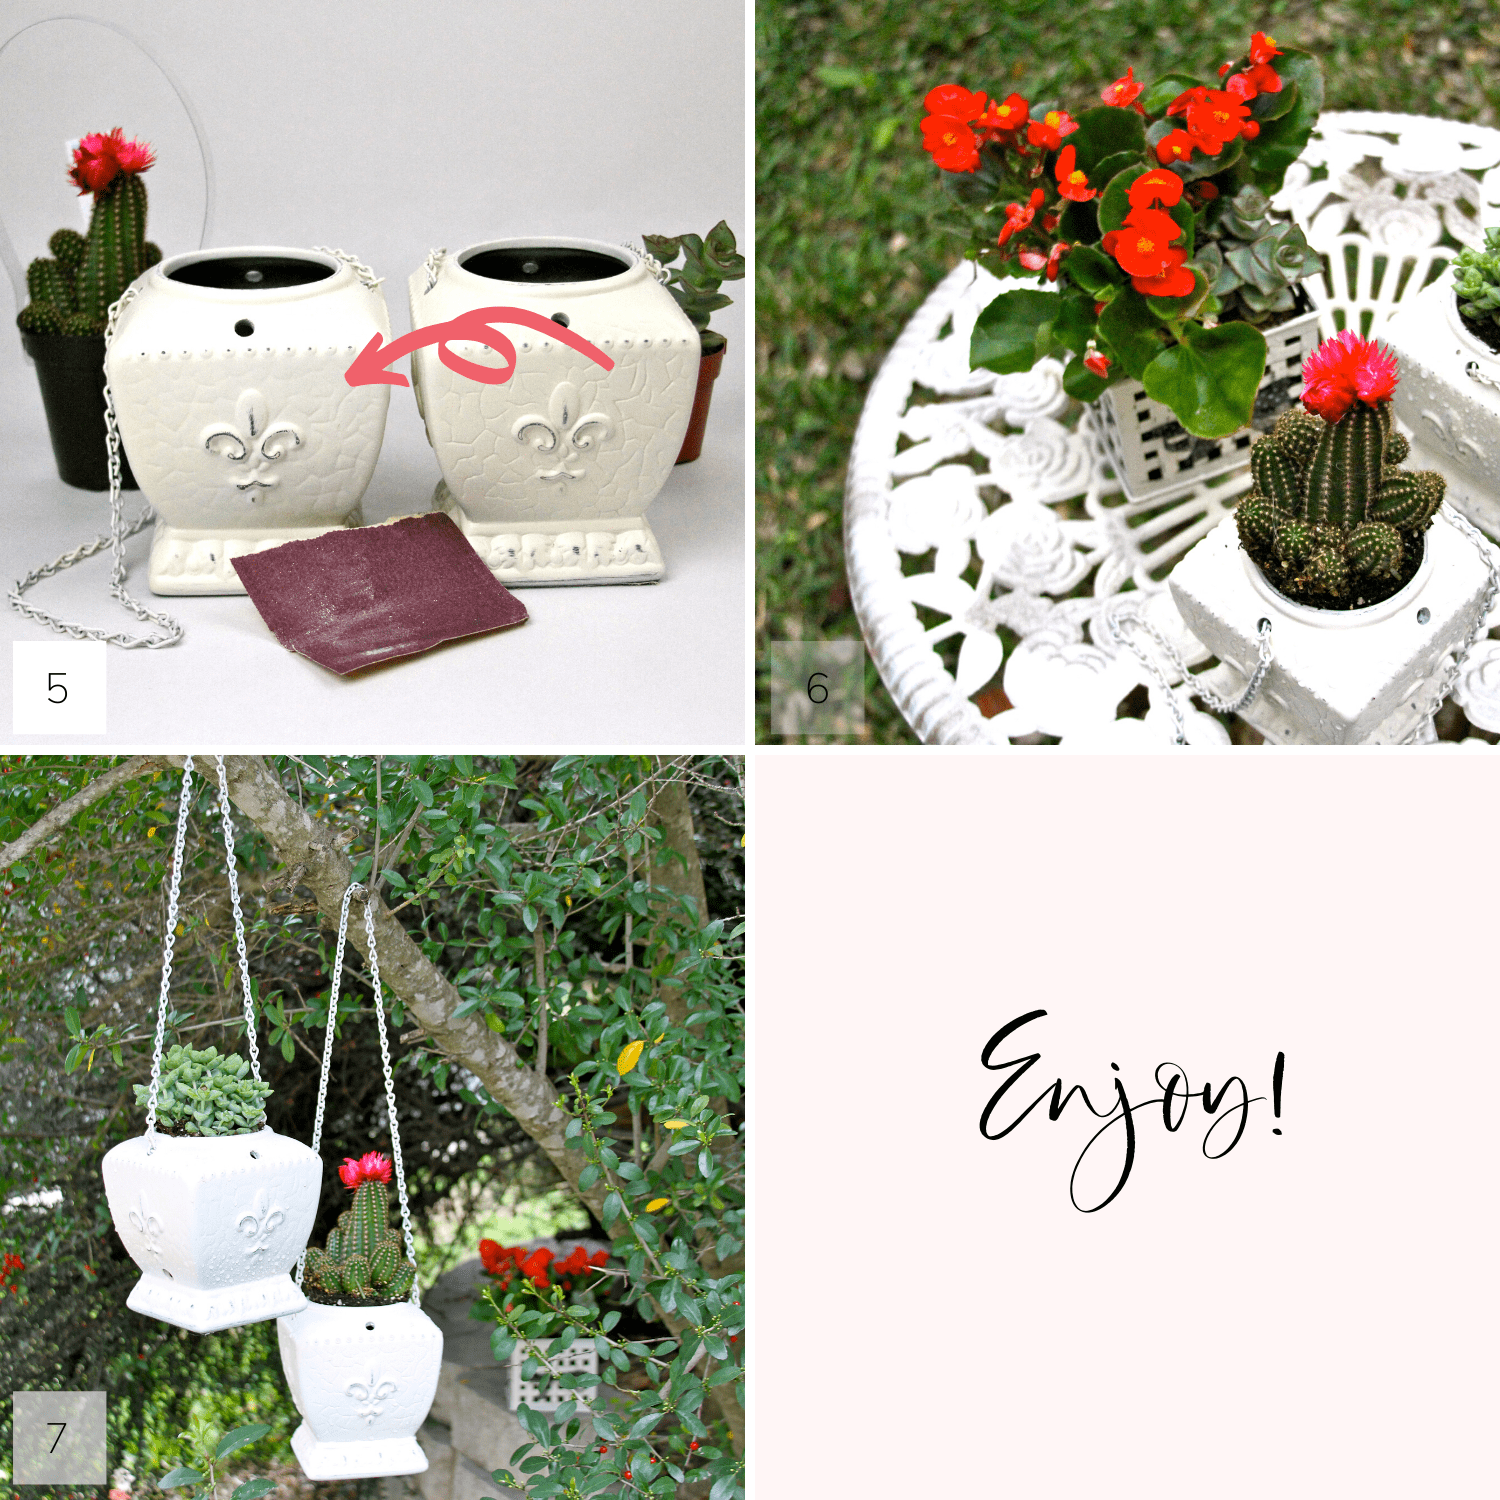
STEP 5: Give the flower pot and chain a distressed look by using the small piece of sandpaper. To get the distressed look, apply wiping motions from top to bottom in random places until you get the desired results.
STEP 6: Start planting your flowers, cactus, or succulents, adding extra soil if needed.
STEP 7: Hang up in a tree and place on your front porch, back porch, or wherever you desire. No matter where you hang your new flower pot, it’s going to look beautiful!
Step 8: All that’s left to do is enjoy!
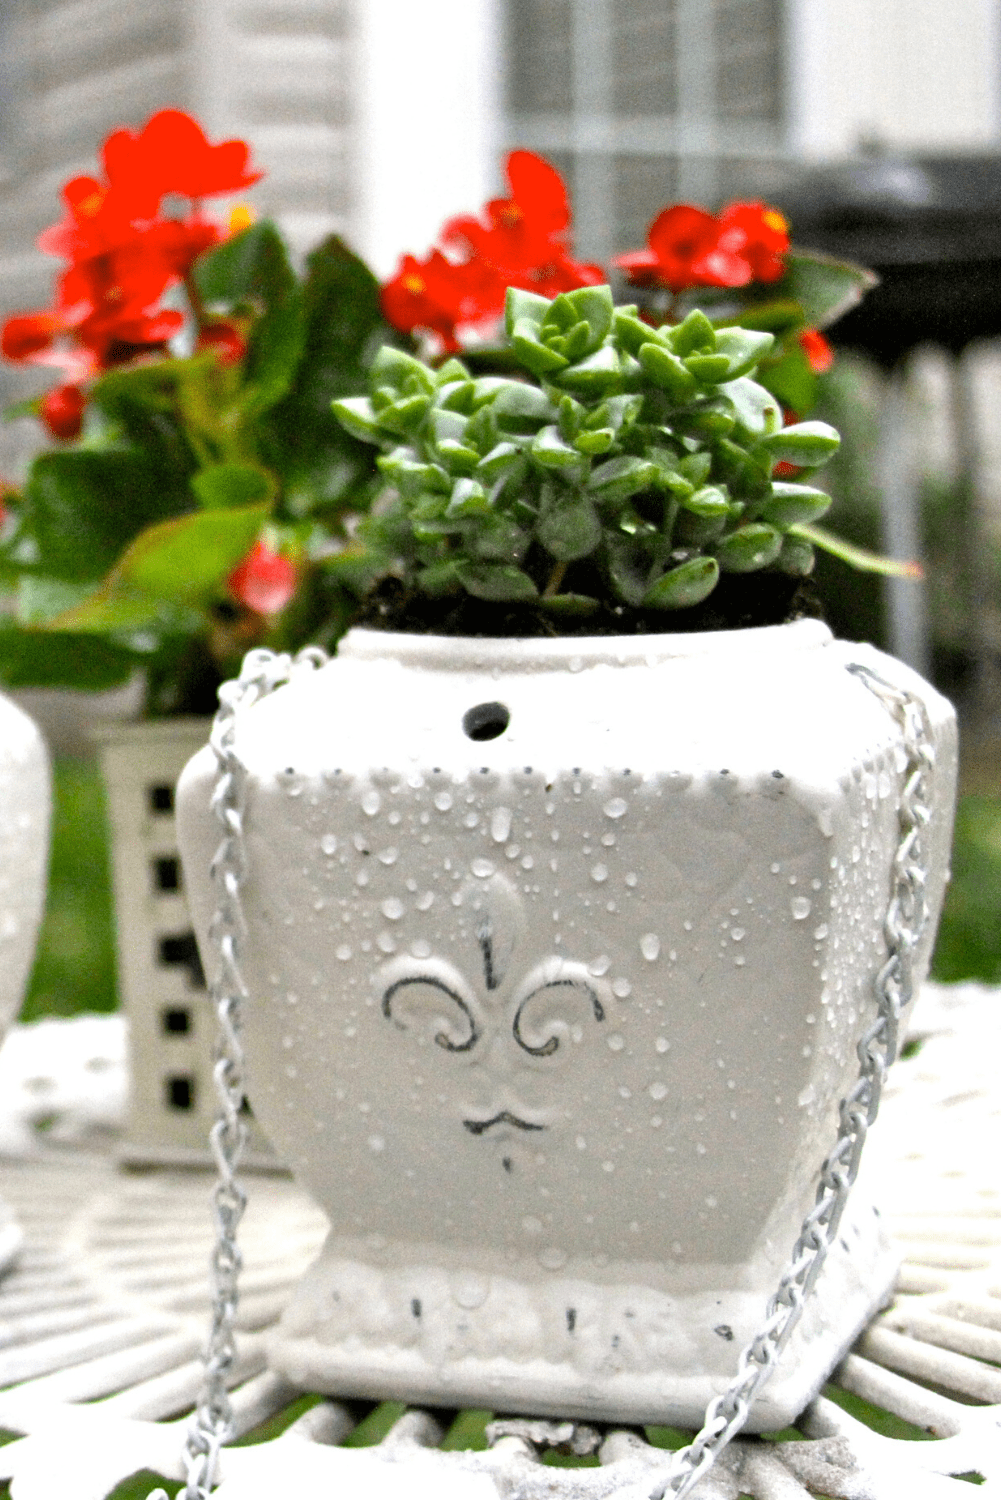
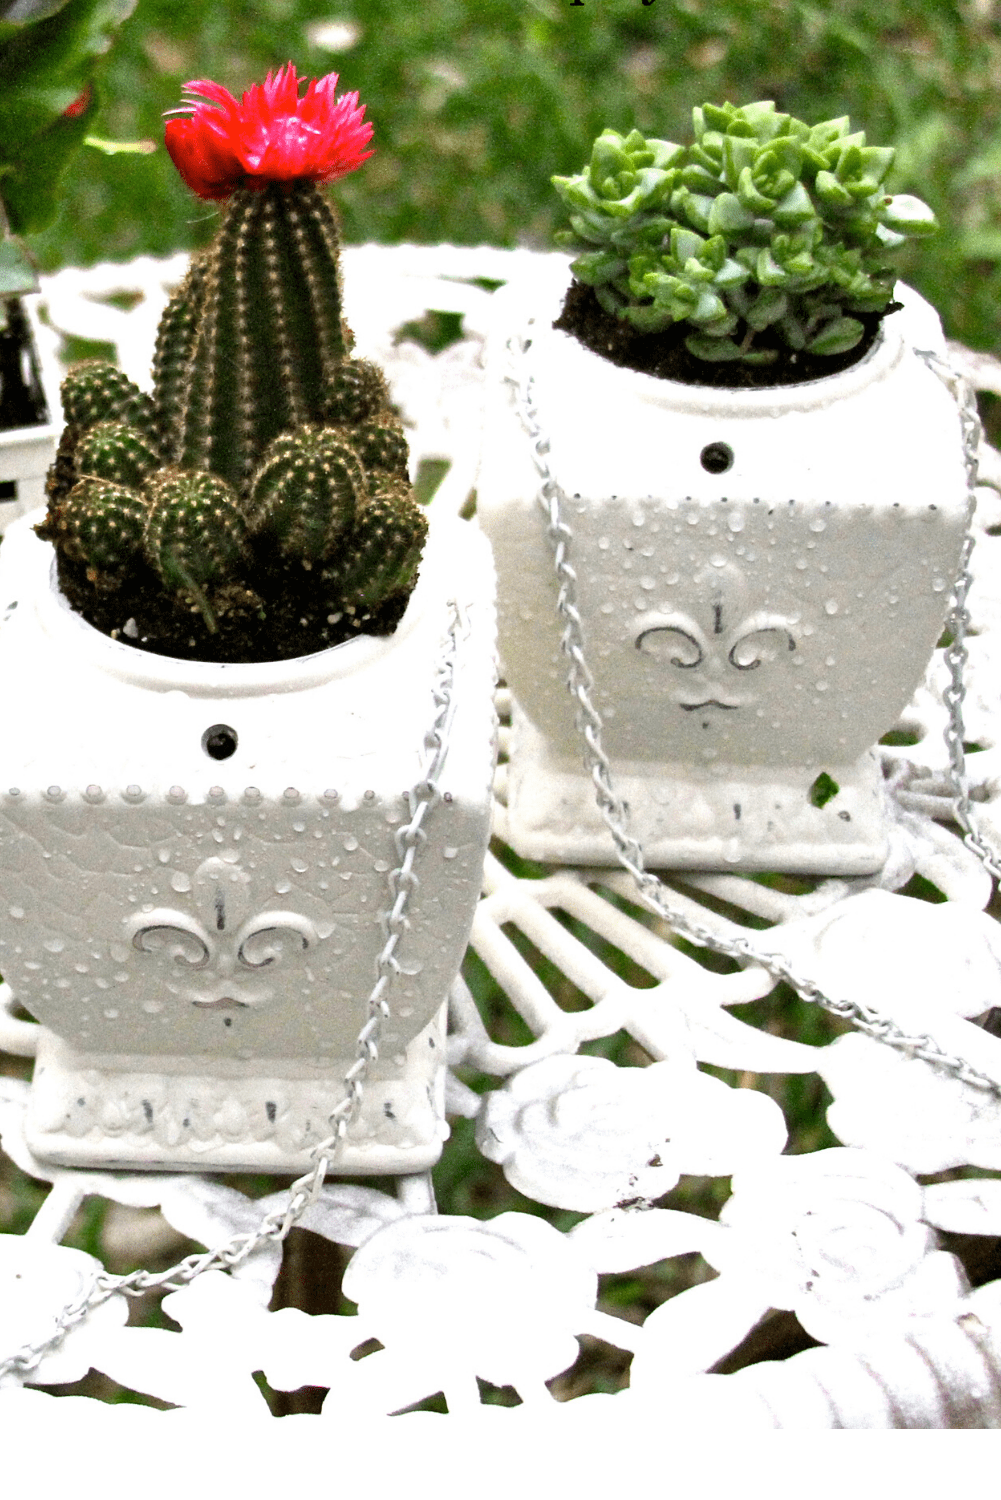
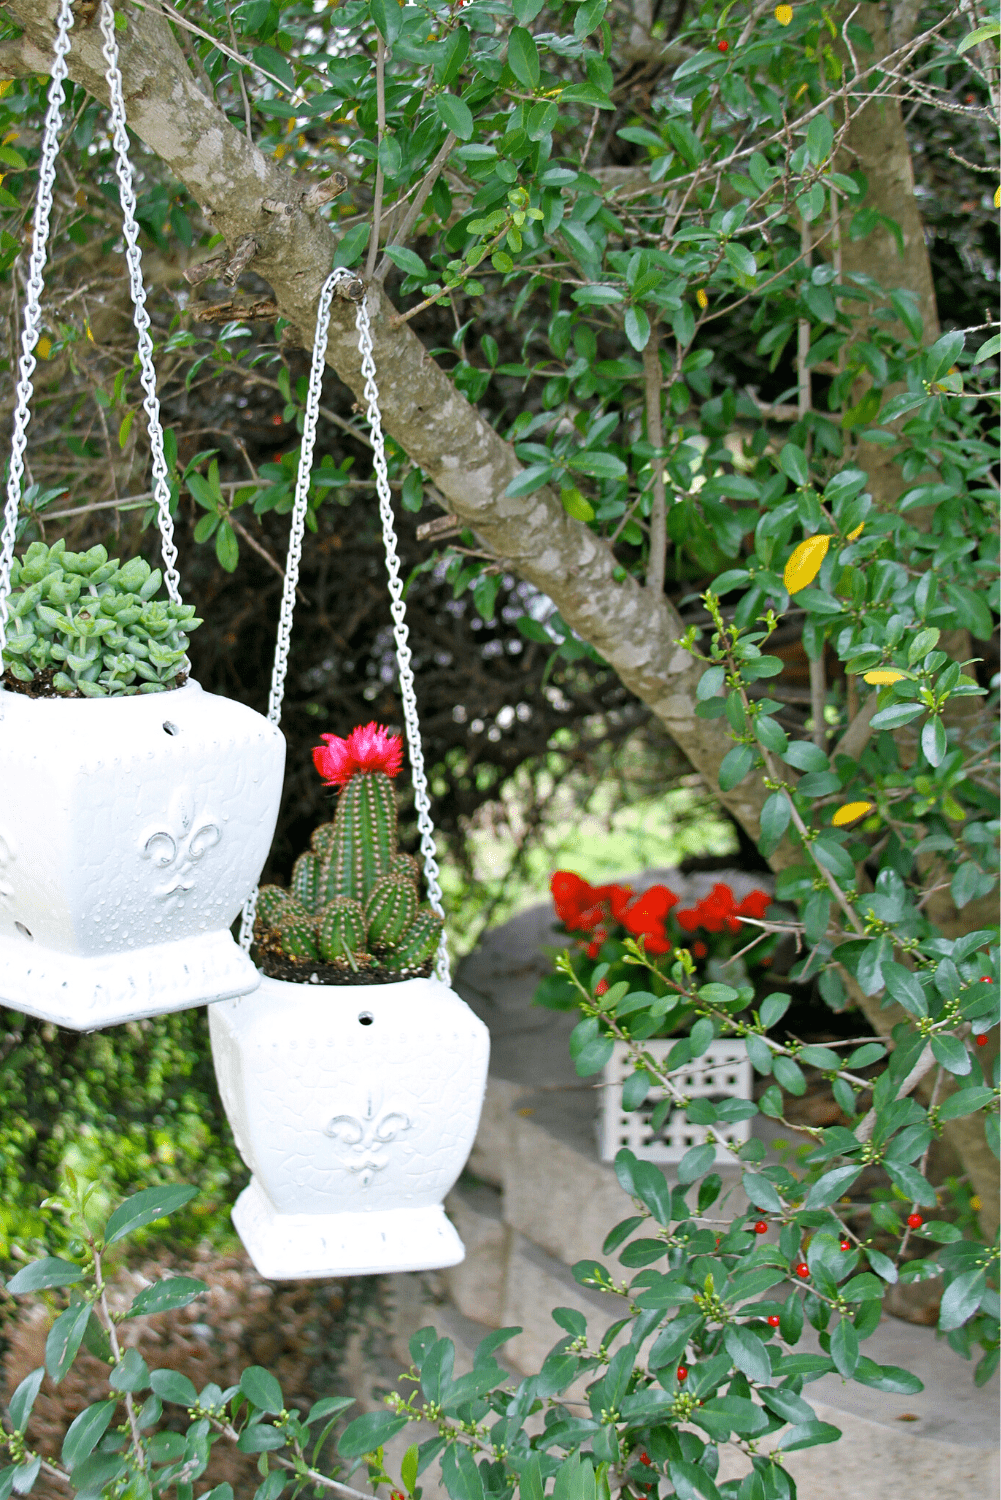
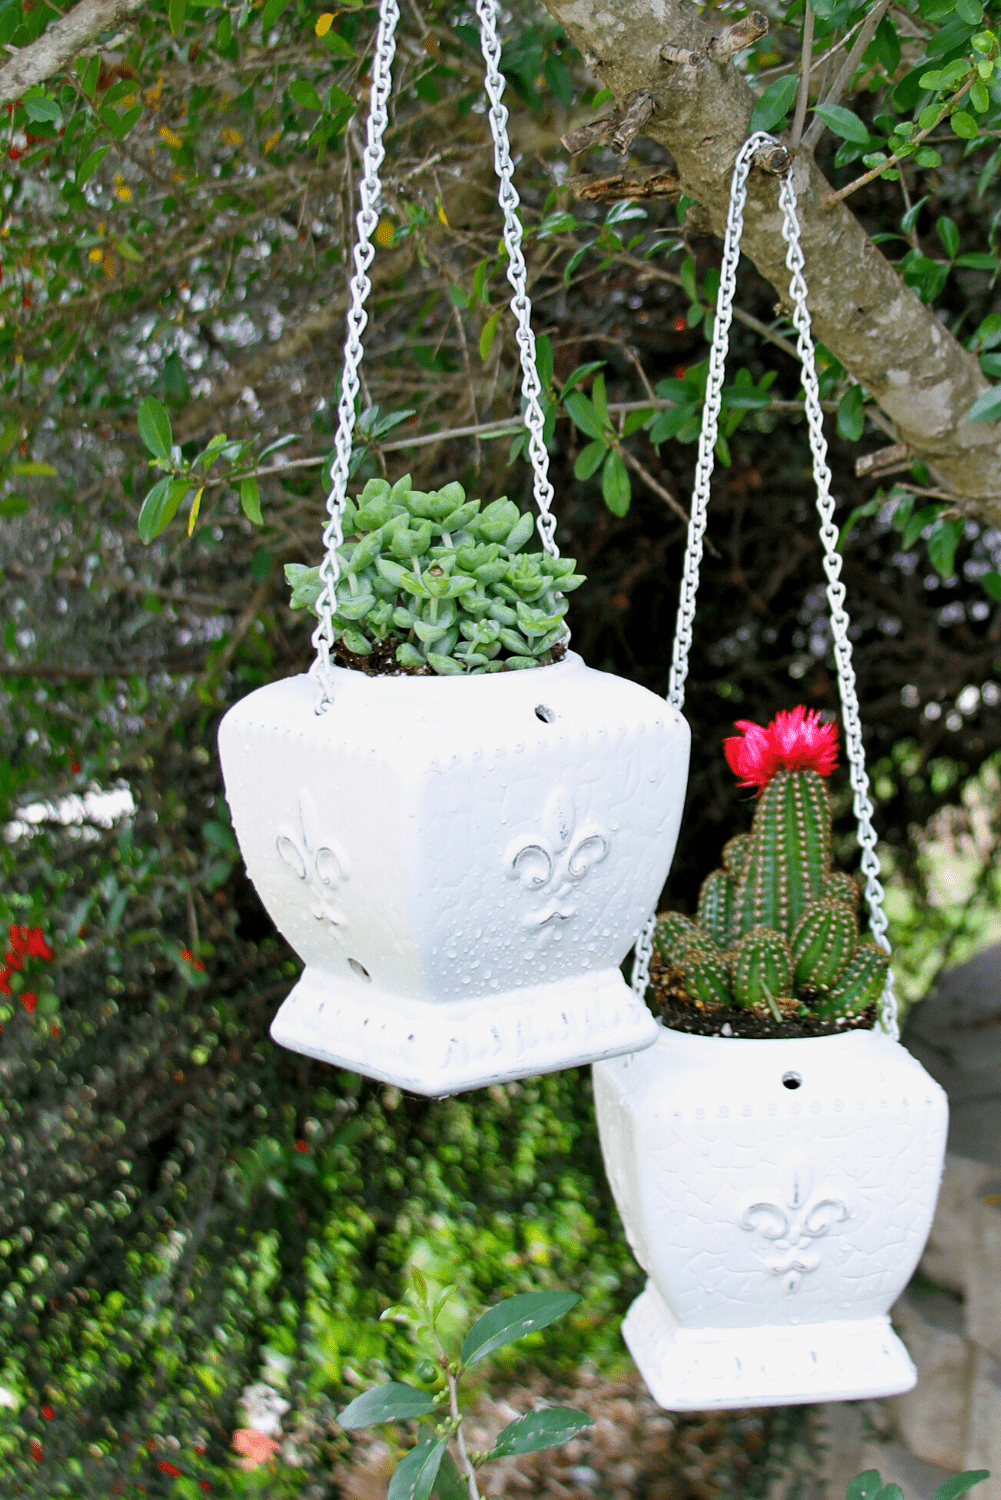
If you’re wondering, the plants I potted in my repurposed candle warmers are doing great, and look fabulous in my front yard! Those who know me, know I can’t keep plants alive. 🙂
TAKEAWAY
The repurposed candle warmers to hanging flower pots project turned out quite lovely. And, my husband is happy that I’ve cleared the junkie candle warmers that had been sitting under the sink for years. That sounds like a win, win to me!
The hanging flower pots were simple and quick to make, and the supplies only cost me $12 bucks! Not including the tools and such that I already had.
Do you have candle warmers or any items stashed away in your home that needs to be cleared out, and is serving no purpose anymore?
What are your thoughts on this simple transformation? Do you think you’ll try this project? Let me know in the comments below. I’d love for you to share this project so someone can benefit from this. Thank you so much!
